Speedmetal H I D light kit installation in an 1100 Interstate

Classic Goldwings

Help Support Classic Goldwings:

This site may earn a commission from merchant affiliate links, including eBay, Amazon, and others.

dan filipi

Well-known member
Staff member
Administrator
Moderator
Supporting Member
Joined
Dec 3, 2009
Messages
22,403
Reaction score
238
Location
Van Nuys Ca.
My Bike Models
1983 Interstate
2018 KLR 650
2018 BMW S1000 RR
My Bike Logs forum link
https://classicgoldwings.com/forums/dan-filipi.122/
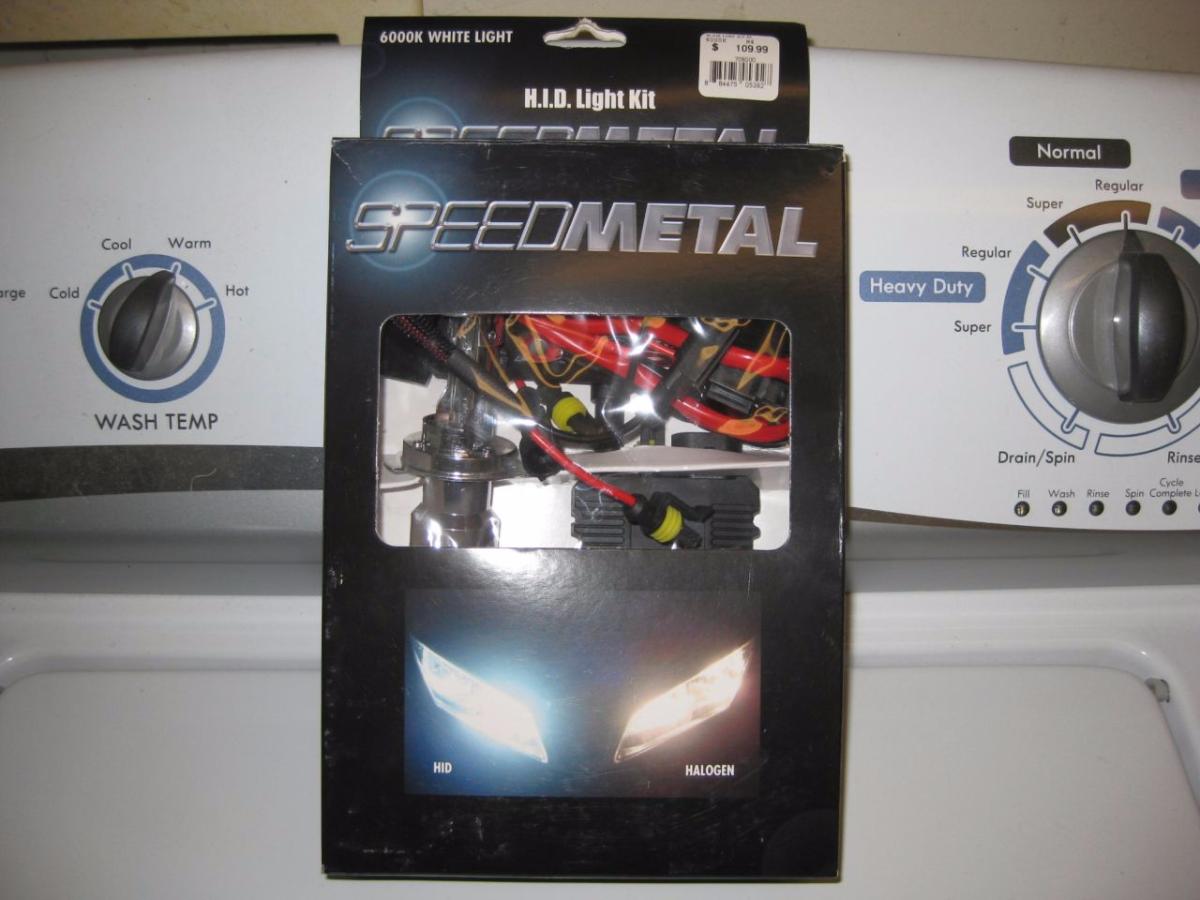
This is a 35 watt 6000k kit I bought from Cycle Gear.


image.php


Parts included.
image.php


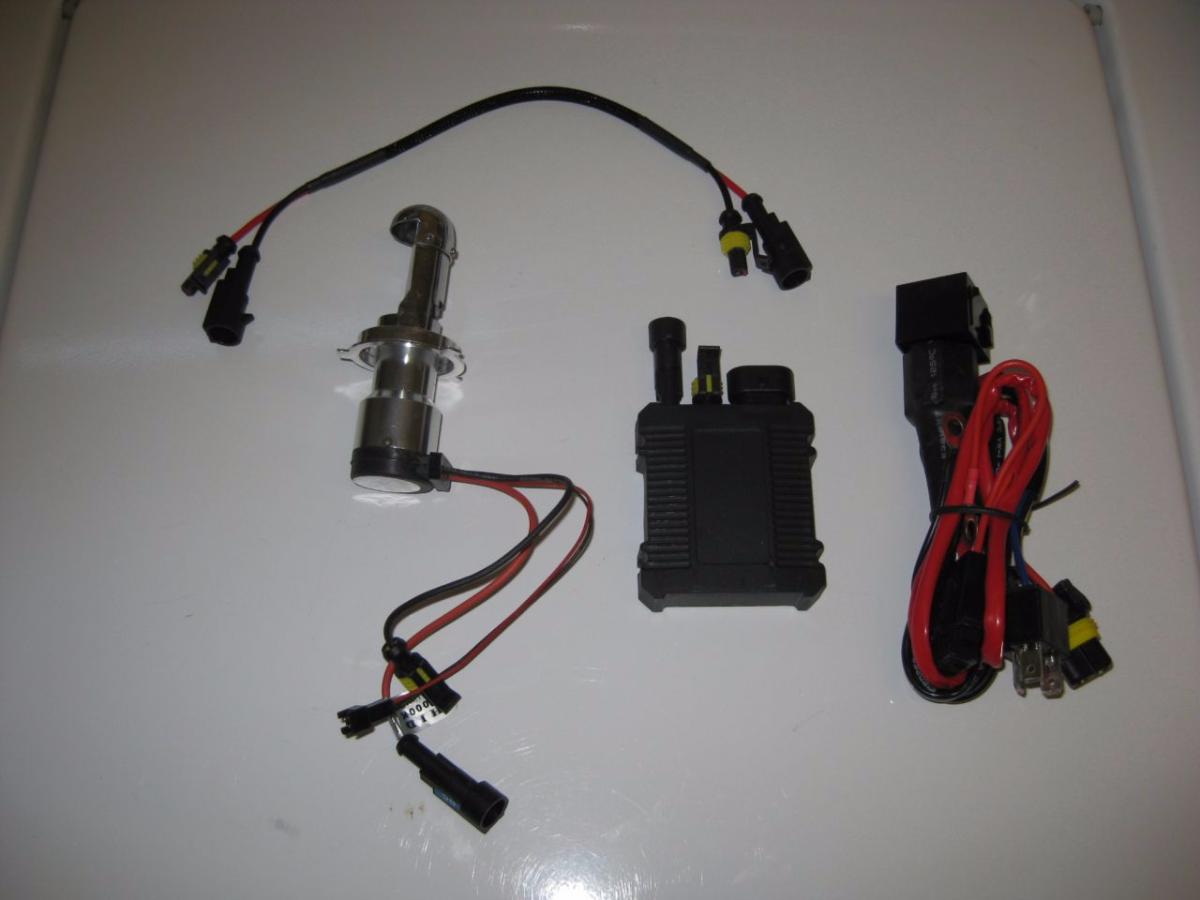
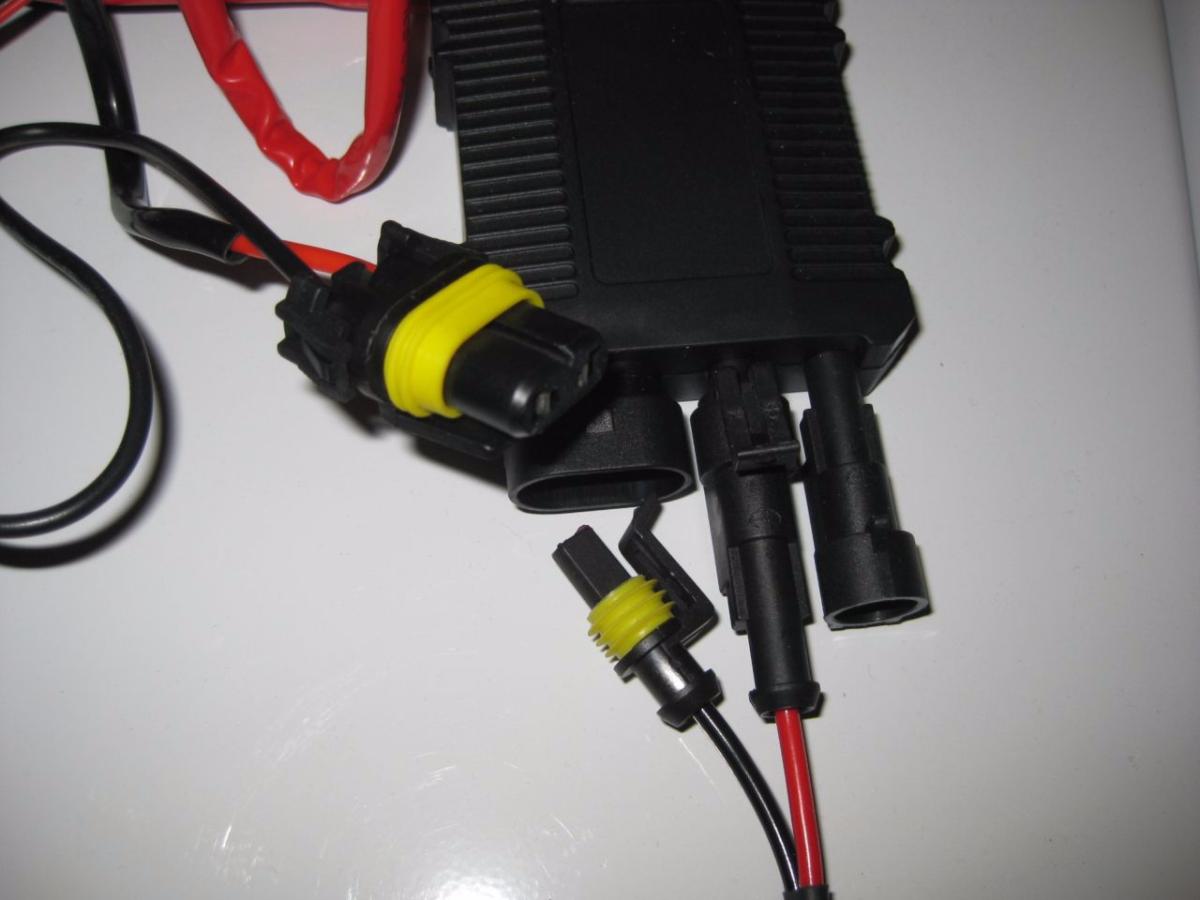
Seems to have decent quality connectors.
image.php


First, remove the headlight bucket.
My adjuster knob is missing.
image.php


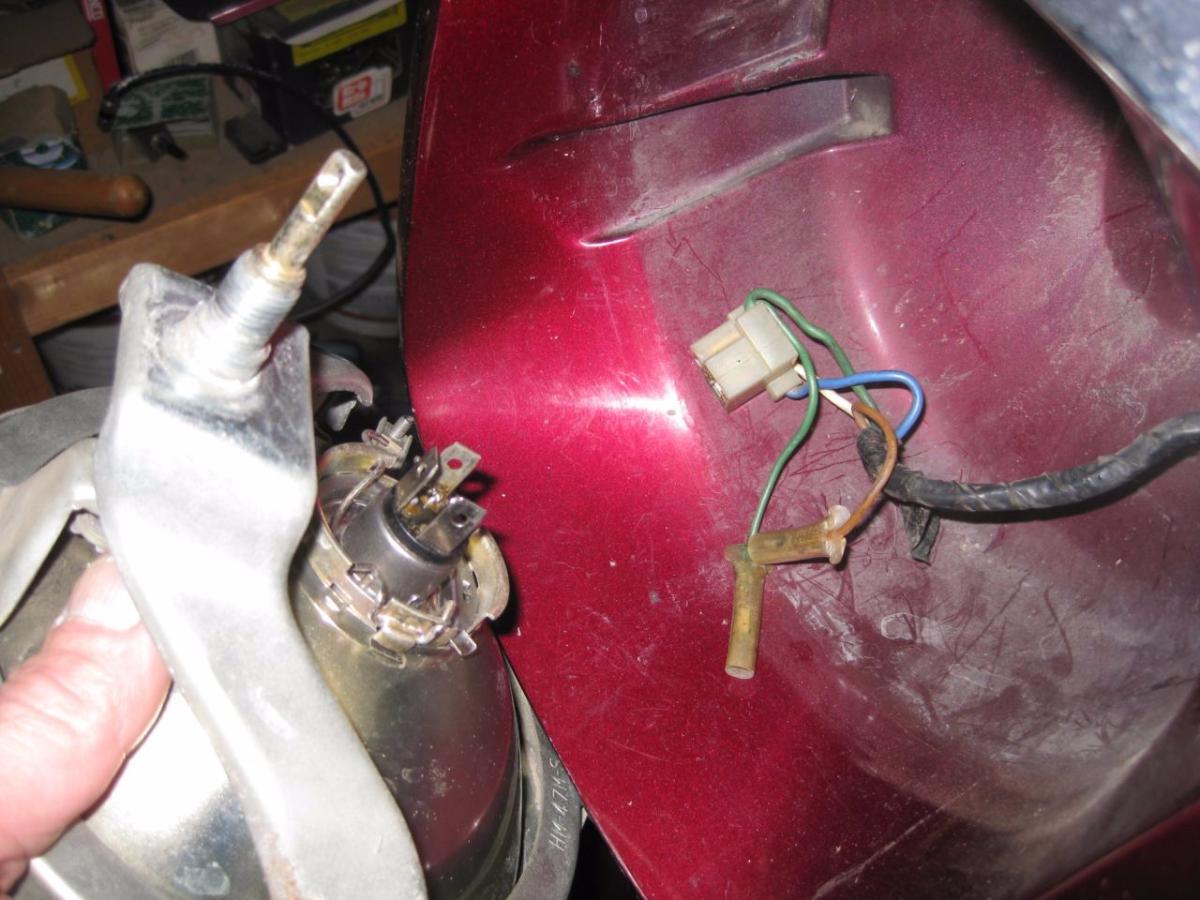
Pull the headlight out and unplug it.
image.php


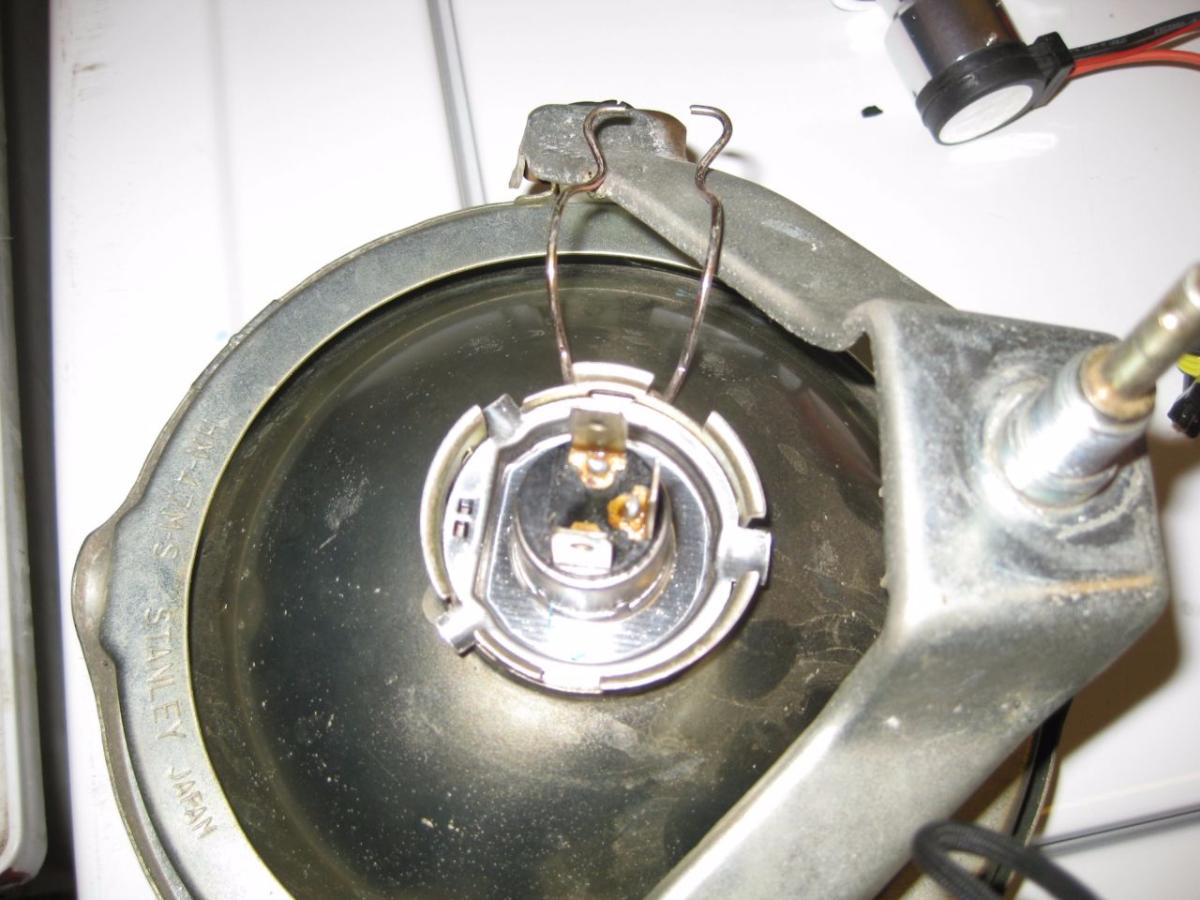
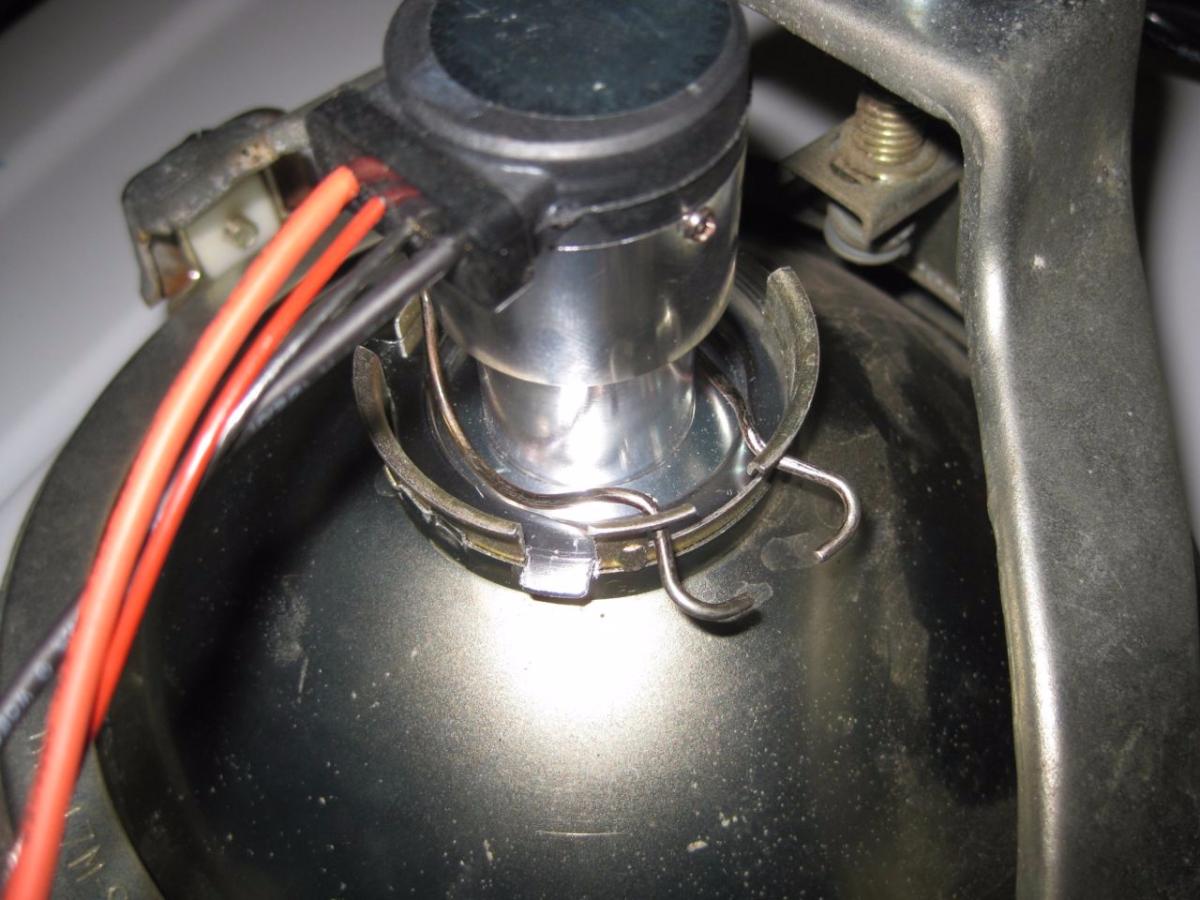
Unclip the bulb retainer and pull the bulb out.
image.php


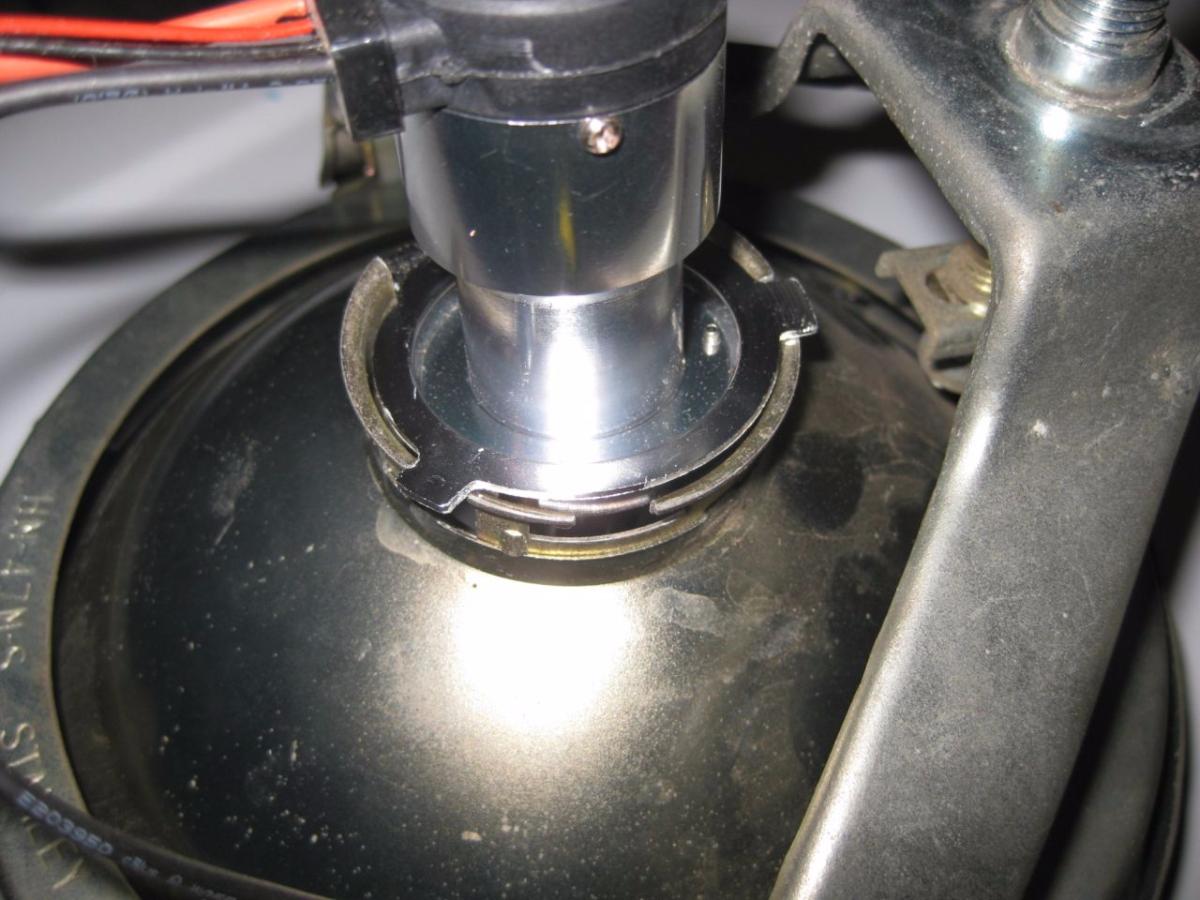
The tabs on the HID bulb were too large for the headlight notches so I dremeled the notches a bit wider.
I made the shell notches wider because vibration on the bulb narrowing the tabs wouldn't be good and a replacement bulb may be too large also anyway. A stock bulb still fits good.
image.php


Bulb in and seated. Have to bend the retainer clip around the large bulb body.
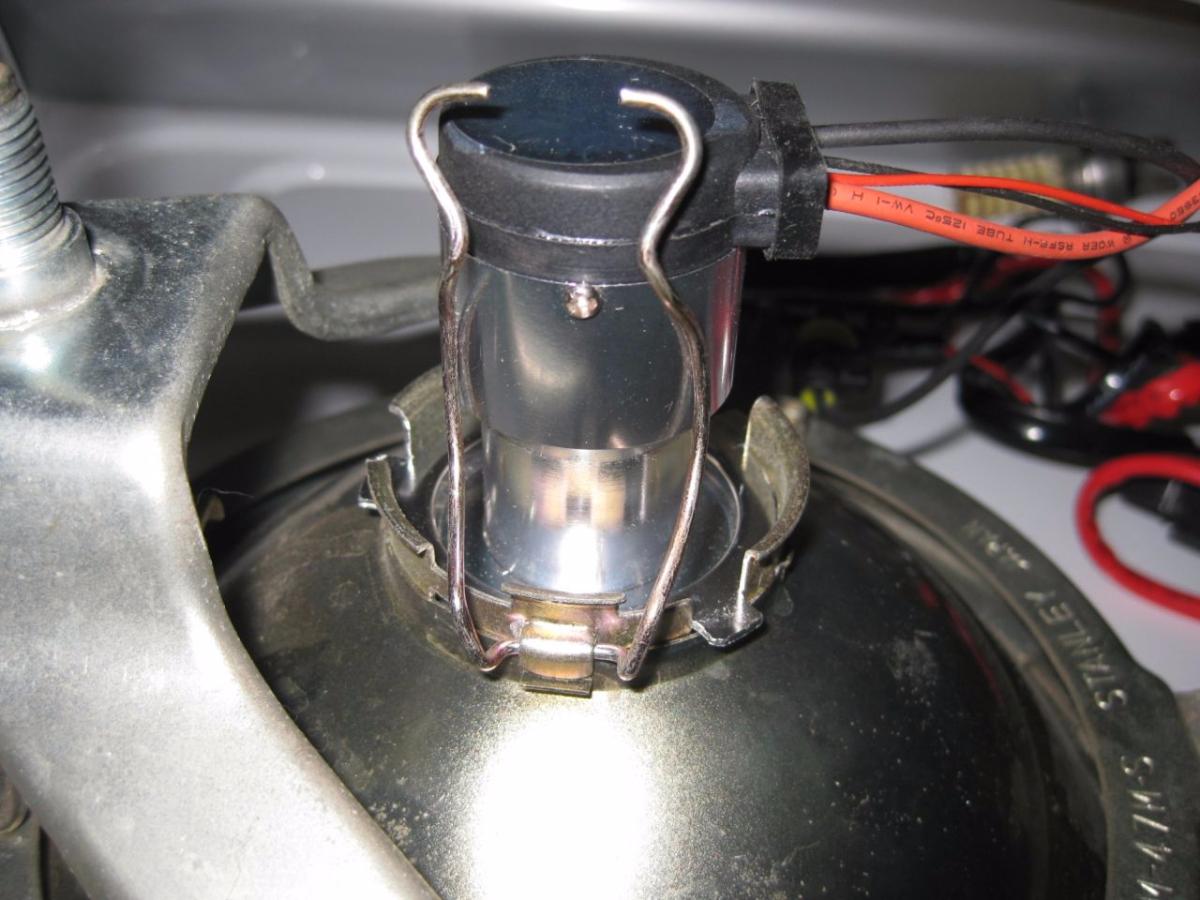
image.php


Then clip it in.
image.php


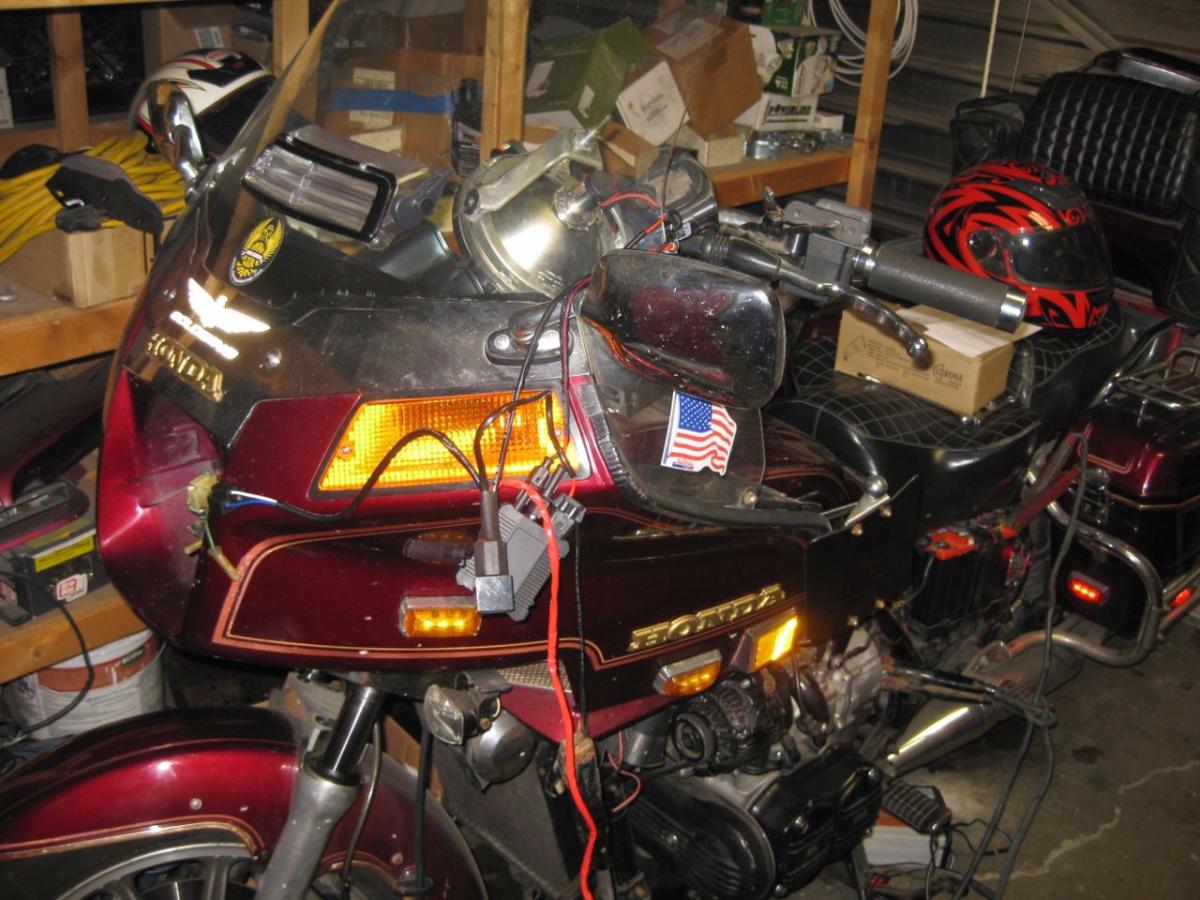
My test bed to make sure it works before install.

image.php


I'll install it tomorrow or this weekend and finish this thread.
 
Dan, could you check the high / low beam one more time :smilie_happy: . It looks pretty cool. I'm anxious to see what you think of it installed in the bike :Egyptian:
 
Any particular reason you went with the 35W bulb instead of the 55W one? I've not read anything about the difference in output (measured in lumens) of either kit compared to an H4 bulb......just wondering.....
Another thought - is it necessary to add a time delay latching relay with an HID light so it doesn't cycle on/off/on when you hit the starter? I'd read somewhere on one of the Gold Wing forums about the life cycle of the bulb being shortened with that... or is that even applicable to an HID bulb? If not, that would ease the installation process...
 
I went with this 35 watt because I want to see how the lower wattage does because that's better for our stator.

Hmm, time delay relay? I wouldn't bother since I haven't seen any kits offered with one I figure the manufacturers don't think it's a problem. Besides, another relay is one more part to fail.
Supposedly we should get around 4 times the life from an HID so I think even if the cycling reduces it's life it will last a very long time.
 
"I always like to test these things before I hack the wiring and VOID THE WARRANTY." :smilie_happy: :smilie_happy: :smilie_happy: :smilie_happy: :smilie_happy:
 
KYWinger":14ye7xnf said:
Copy that....
Guess this is one more thing to do during winter down time - everyone, including you, seems to think this is the way to go, sooooooooooooooo.......
I shined it outside, the low and high beam have a real nice beam spread. Definitely the way to go.

About the wattage.
Hid's will draw more as the warm up so my reading of 23 watts will no doubt go up. It was 40 degrees in the garage.
 
How hot does that thing get? Hot enough to be a problem with melting anything? I have an H4(halogen, I think) bulb I have been considering installing in mine, but it sure gets damn hot just hot-wiring it. I'm askeerd to put it in....
 
Dan, I read a post somewhere that said you could remove the shield on the bulb and that it gave better light without it. I have not seen the actual kit yet , just wondering why the shield is there covering the bulb? :headscratch:
 
stratocat":2dmvax7g said:
Dan, I read a post somewhere that said you could remove the shield on the bulb and that it gave better light without it. I have not seen the actual kit yet , just wondering why the shield is there covering the bulb? :headscratch:
I'll have a look at the bulb.
 
The cover on the bulb does come off.
I think it might have something to do with the flatter beam it projects but I'll try both ways.
Ran into a snag though.
The longer bulb hits the fairing, can't even get the nut started.
Looks like I'll have to cut out the fairing for the bulb to go through to make it work.
 
Here's where I'm at so far.

I ran a separate 14 gauge hot and ground to the battery.
Need to pick up 2 eyelet crimps for the permanent connections to the battery.
Also, I put a better quality fuse holder on it. The one they provide is a bit chinsy.
image.php


Bundled the wiring then stuffed into the fairing.
image.php


Run the wiring out thru the existing hole behind the headlight.
image.php


The arrow points to where the bulb is hitting the fairing, dang nut won't even start on the threads so I'm gonna have to cut the back of the fairing for the bulb to stick out of.
Thinkin I'll cut it the diameter of a 2" ABS plumbing cap and glue it to the fairing.
 
Now THAT is constructive problem solving at it's finest....

Thank you SO much for blazing the trail and working all the bugs out so I don't have to!

:clapping: :clapping: :clapping: Merry Christmas :clapping: :clapping: :clapping:
 
The fun continues..........

I tried a smaller hole, bulb still hits..
image.php


So time to make it bigger.......

Pilot holes around the diameter of a 2" PVC plumbing cap...
image.php


This drill rasp is what I used to file it down so the 2" cap will fit thru......
image.php


Almost there...
image.php


Touch up a bit....
image.php


Headlight bolt in. The bulb clears good....
image.php


I'm gluing the 2" cap in place with black silicone.
It's cold here so the silicone is drying slow and of course I'm not going to post any pics of that until I've dressed it up some and the cap is secure.

Oh I did pull off the little metal blinder/shield thing from the bulb and it still shins a pretty flat beam.
Hard to tell if it's better to have it off or not. Will see when it's dark.

This clearance problem has turned out to be a very unexpected hassle but by the looks of the increased brightness and the nice beam I think it will be worth it.
I saw other HID bulbs that aren't as long but I think they would still hit the fairing after seeing how close the headlight is to the inside of the fairing there. I 'spect any HID would need the hole made.
 
Dan the MAN :clapping: :clapping: :clapping:

You write concisely AND you post clear pictures!

Thanks again for leading the way. I now, obviously, will have to follow your lead.....
 
Ok....got the 2" cap all siliconed in with the help of Mr heat gun to speed curing time.

I know, not very pretty, I don't care. It serves my purpose of giving the bulb enough room and so the headlight aim can be changed, it's water tight and secure.

image.php


image.php


image.php


Done!
Going to a party tonight so I'll try it out afterward or tomorrow night and report back.

image.php
 

Latest posts

Top