


After failed attempts to rebuild my GL1100 rear master cylinder to stop the leaking of brake fluid, I decided to upgrade. Using ideas gleaned this forum as well as others, I decided to adapt one from a newer bike. Here's how I did it:
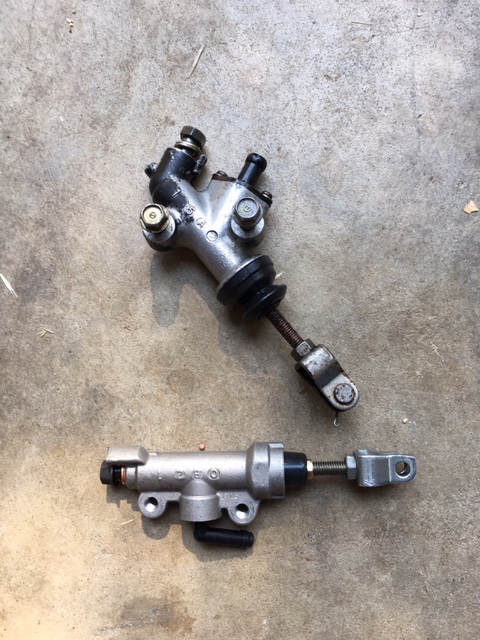
Here is a picture of the two master cylinders for comparison.
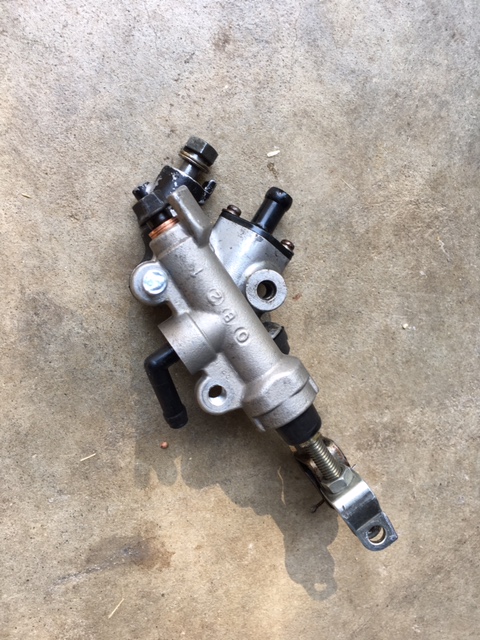
Here is the later cylinder placed on top of the older one. The rear mounting hole will be the common reference point.
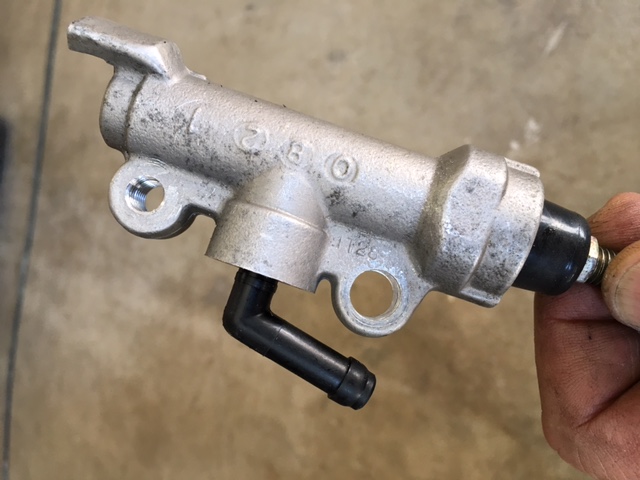
Initially, I threaded both mounting holes on the newer cylinder to 8 x 1.25 to match the original mounting bolts. Subsequent mounting efforts revealed that the bolt head on the front interfered with the frame. So I drilled it out to use a clevis pin with a thinner head. Later pics will show it.
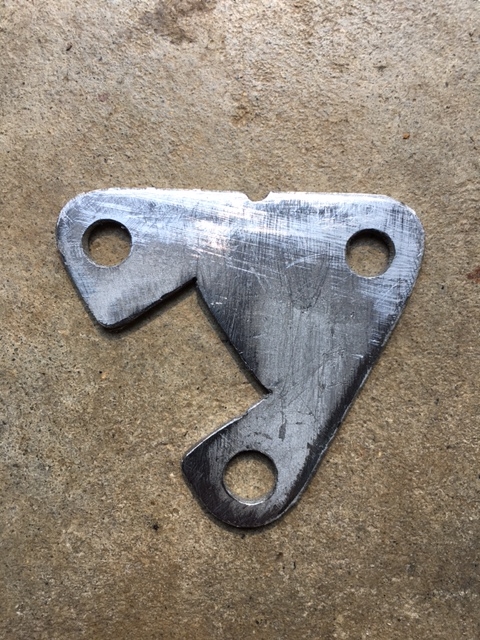
This is the mounting plate I made to match the cylinder with the frame mounting point. The notch is to make room for a wider spot on the cylinder. The plate is made of 1\8 inch flat metal. I'm posting this from a faster connection at work and the measurement for the spacing of the holes is at home. I'll add them to the post later.

This shows the mounting plate attached to the cylinder. Notice the thinner head of the clevis pin on the lower hole.
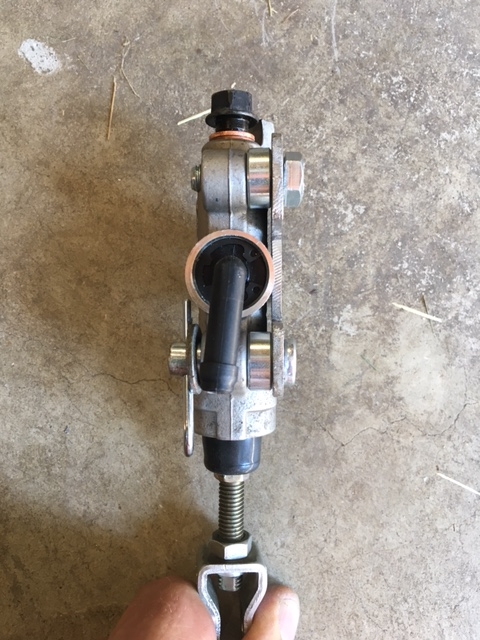
This is a side view of the assembly. The spacers between the mounting plate and the cylinder are 1\4 inch thick.
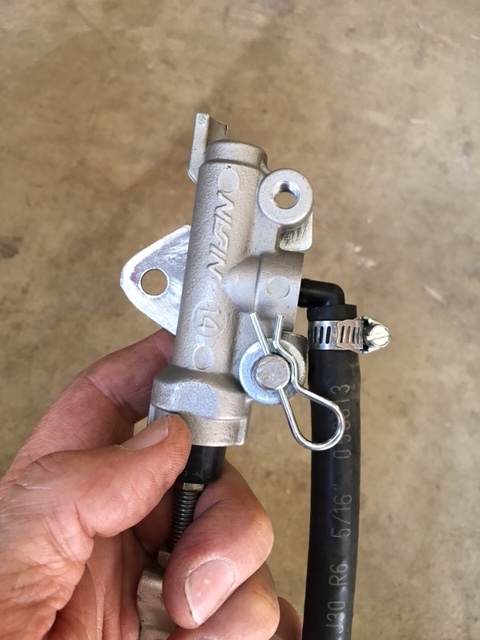
Now is also a good time to attach the hose from the reservoir as there is not much room to do it after it is mounted.
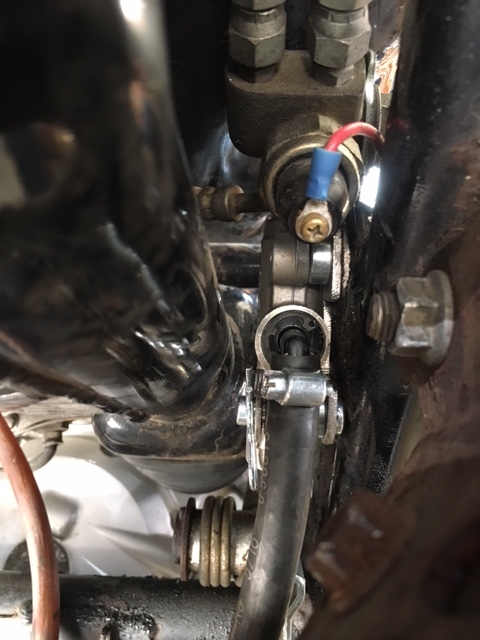
As you prepare to mount the assembly, start by attaching the brake line. I had to make no adjustments to the line as it was still exactly where it needed to be. But the angle of the banjo end made it difficult to twist into place when the cylinder was already bolted in. So I angled the cylinder to match the line and installed the banjo bolt while the cylinder was still free.
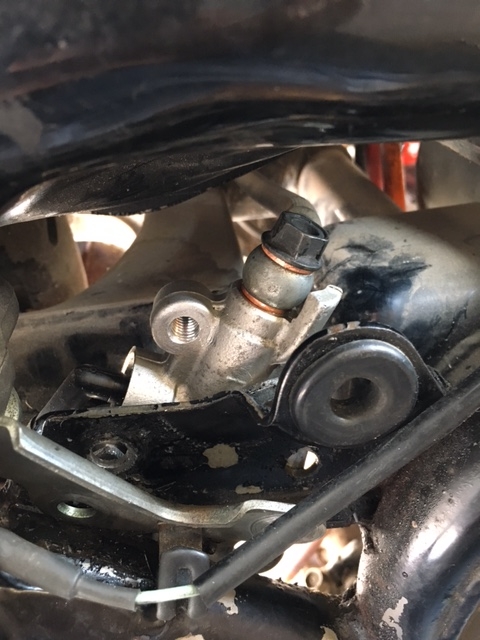
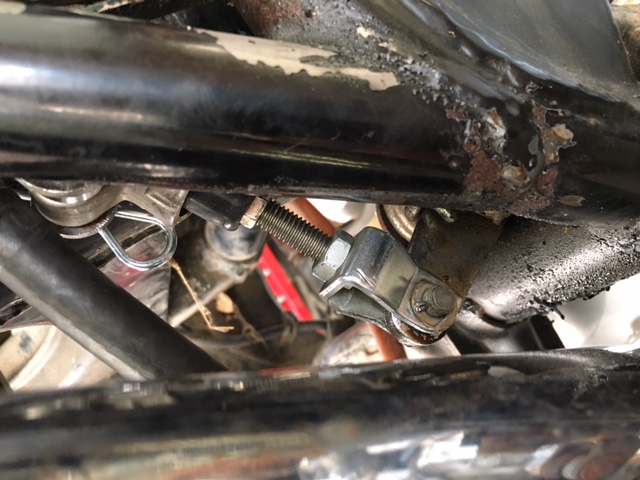
Install the rear bolt through the frame mount, through the mounting plate, and into the threaded hole in the cylinder.
Tilt the cylinder and install the front bolt through the frame mount and mounting plate and secure with a nut.
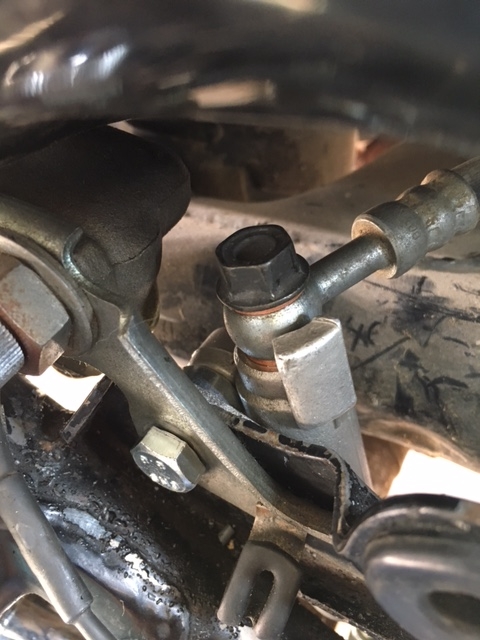
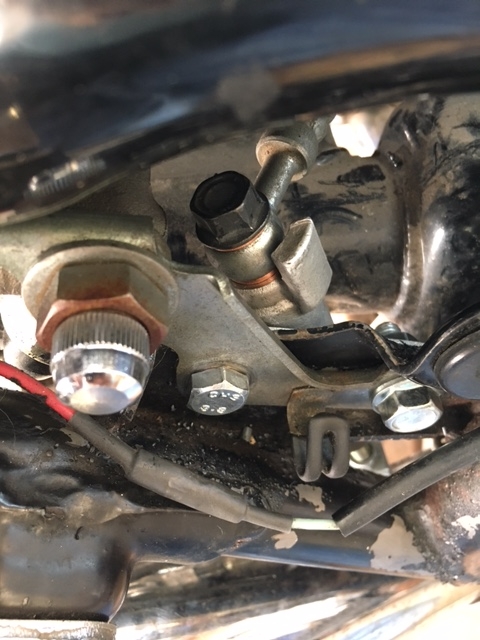
Here is a picture of the assembly taken from underneath after installation.
The clevis on the cylinder aligned perfectly with the brake pedal attaching point. There was a tab on the clevis end of the Valkyrie\GL1500 unit that was in the way and needed to be removed. I didn't even have to adjust the length of the attaching rod. I went for a test ride and everything seems to be working fine. And no more annoying leaks!
Mike
Here is a picture of the two master cylinders for comparison.
Here is the later cylinder placed on top of the older one. The rear mounting hole will be the common reference point.
Initially, I threaded both mounting holes on the newer cylinder to 8 x 1.25 to match the original mounting bolts. Subsequent mounting efforts revealed that the bolt head on the front interfered with the frame. So I drilled it out to use a clevis pin with a thinner head. Later pics will show it.
This is the mounting plate I made to match the cylinder with the frame mounting point. The notch is to make room for a wider spot on the cylinder. The plate is made of 1\8 inch flat metal. I'm posting this from a faster connection at work and the measurement for the spacing of the holes is at home. I'll add them to the post later.
This shows the mounting plate attached to the cylinder. Notice the thinner head of the clevis pin on the lower hole.
This is a side view of the assembly. The spacers between the mounting plate and the cylinder are 1\4 inch thick.
Now is also a good time to attach the hose from the reservoir as there is not much room to do it after it is mounted.
As you prepare to mount the assembly, start by attaching the brake line. I had to make no adjustments to the line as it was still exactly where it needed to be. But the angle of the banjo end made it difficult to twist into place when the cylinder was already bolted in. So I angled the cylinder to match the line and installed the banjo bolt while the cylinder was still free.
Install the rear bolt through the frame mount, through the mounting plate, and into the threaded hole in the cylinder.
Tilt the cylinder and install the front bolt through the frame mount and mounting plate and secure with a nut.
Here is a picture of the assembly taken from underneath after installation.
The clevis on the cylinder aligned perfectly with the brake pedal attaching point. There was a tab on the clevis end of the Valkyrie\GL1500 unit that was in the way and needed to be removed. I didn't even have to adjust the length of the attaching rod. I went for a test ride and everything seems to be working fine. And no more annoying leaks!
Mike