


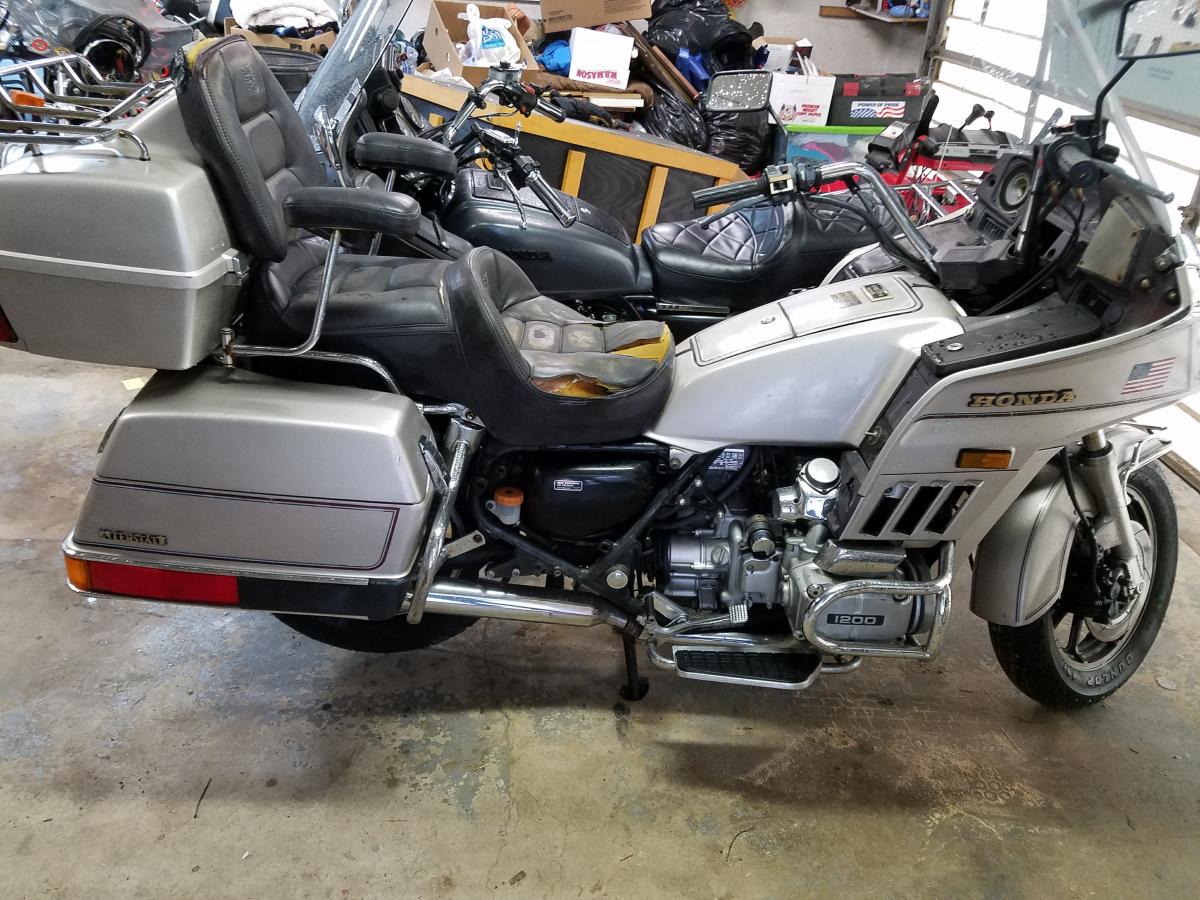
Here it is...
My plan is to simply take the motor out of it and use it in the 84 then part this thing out.
It isn't bad, but it isn't great. The plastic looks like it is 30 years old and has spent some time outside in the weather, so it has a weathered look. There are a few cracked faring covers, and the right side inner lower cover is broken and held together with zip-ties. Through the years switches and cigarette lighters have been added, so there are more holes than what are needed. The exhaust system is an aftermarket (Jardine) system and it is rusted more than a boat anchor. The rear tire is flat because the valve stem is broken. The stator plug is original and so is the dog bone fuse.
As best as I can tell, the only things that are missing are the right side cover, headlight adjustment knob (appears to have been broken off), mirrors that mount on the fairing (at some point, mirrors were mounted on the handlebars), a stereo bezel, and speaker grills.
The story I got from the shop where I take my bikes to for the state inspection goes like this…
The original owner gave the bike to his brother who is a Harley rider. It had sat for a few years but he was slowly putting the bike back in running order when he got to the rear brakes. He could not get the linked brake system bled. He gave up on the brakes and took the bike to his buddy, the shop owner, that is also a Harley rider. The only thing needed was the linked brake system bled. The shop owner didn’t get to it for quite a while and the owner finally said “forget about it” and he sold the bike to the shop owner. A few weeks ago, I took my 81 in for an inspection and the owner of the shop asked me if I wanted another GoldWing. We started talking and when he told me $500.00 I couldn’t get the money out of my bank account quick enough.
I started it up and the carb started to leak fuel, so a float is stuck, but I know it runs. I didn’t get a chance to check the condition of the stator because of the fuel leak but this turd isn’t that bad. My plan WAS to simply take the motor out of it and use it in the 84 then part this thing out. After looking this thing over and considering everything that I have going on with all three of my bikes, my plans have changed… The days are numbered for the 81.
The first thing I noticed when I started riding the 81 after being on the 84 for a long period of time is the difference in the frame size. My 6’3” body fits on a 1200 frame a lot better than it fits on an 1100 frame.
I am going to go over this 87 and get it roadworthy. What am I going to do to the 87? (mostly written so I have something to go back to and not rely on my memory)
• Remove all the aftermarket electrical components and check the stator condition
• Change all the fluids
• Replace all the tubes/hoses
• Get all the brakes working
• Get rid of the secondary air system from the carb
• Repair/replace all the broken plastic pieces
• Replace the Jardine exhaust with a stock exhaust system
• Replace the dog bone fuse
• Find a pair of OEM mirrors
• Replace the Aspencade windshield trim piece with an Interstate piece
• Wire the trailer wiring harness for a 4 plug system rather than a 5 plug system
• Work on all the rusted chrome
• Recover the seats
• Darkside it!
When I am finished, then the motor that is in the 81 1200 (which is an 84 motor) will come out and go into the 84 Standard. What will happen to the 81?
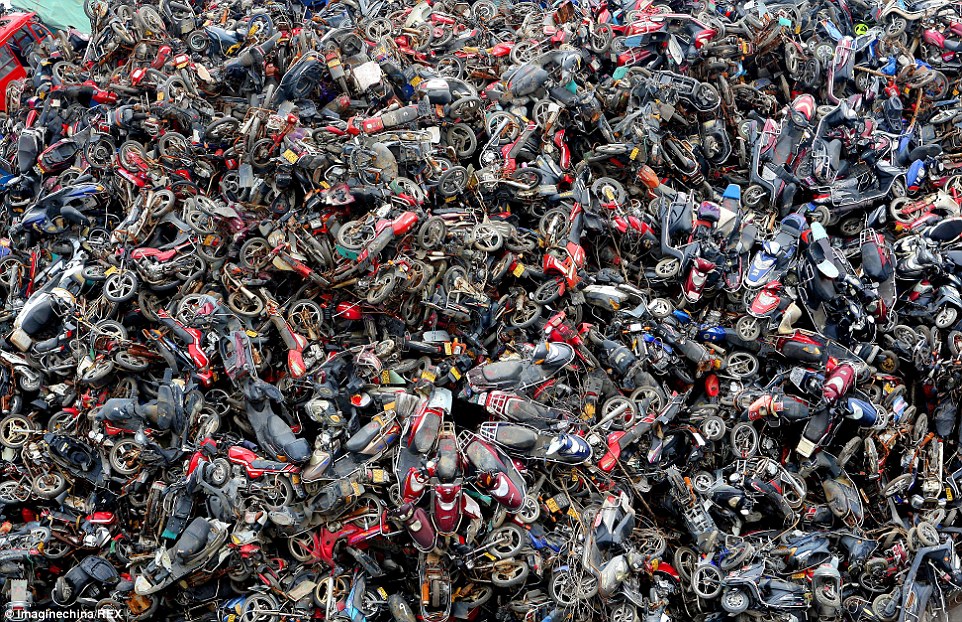
Get rid of it one piece at a time before it winds up here.
My plan is to simply take the motor out of it and use it in the 84 then part this thing out.
It isn't bad, but it isn't great. The plastic looks like it is 30 years old and has spent some time outside in the weather, so it has a weathered look. There are a few cracked faring covers, and the right side inner lower cover is broken and held together with zip-ties. Through the years switches and cigarette lighters have been added, so there are more holes than what are needed. The exhaust system is an aftermarket (Jardine) system and it is rusted more than a boat anchor. The rear tire is flat because the valve stem is broken. The stator plug is original and so is the dog bone fuse.
As best as I can tell, the only things that are missing are the right side cover, headlight adjustment knob (appears to have been broken off), mirrors that mount on the fairing (at some point, mirrors were mounted on the handlebars), a stereo bezel, and speaker grills.
The story I got from the shop where I take my bikes to for the state inspection goes like this…
The original owner gave the bike to his brother who is a Harley rider. It had sat for a few years but he was slowly putting the bike back in running order when he got to the rear brakes. He could not get the linked brake system bled. He gave up on the brakes and took the bike to his buddy, the shop owner, that is also a Harley rider. The only thing needed was the linked brake system bled. The shop owner didn’t get to it for quite a while and the owner finally said “forget about it” and he sold the bike to the shop owner. A few weeks ago, I took my 81 in for an inspection and the owner of the shop asked me if I wanted another GoldWing. We started talking and when he told me $500.00 I couldn’t get the money out of my bank account quick enough.
I started it up and the carb started to leak fuel, so a float is stuck, but I know it runs. I didn’t get a chance to check the condition of the stator because of the fuel leak but this turd isn’t that bad. My plan WAS to simply take the motor out of it and use it in the 84 then part this thing out. After looking this thing over and considering everything that I have going on with all three of my bikes, my plans have changed… The days are numbered for the 81.
The first thing I noticed when I started riding the 81 after being on the 84 for a long period of time is the difference in the frame size. My 6’3” body fits on a 1200 frame a lot better than it fits on an 1100 frame.
I am going to go over this 87 and get it roadworthy. What am I going to do to the 87? (mostly written so I have something to go back to and not rely on my memory)
• Remove all the aftermarket electrical components and check the stator condition
• Change all the fluids
• Replace all the tubes/hoses
• Get all the brakes working
• Get rid of the secondary air system from the carb
• Repair/replace all the broken plastic pieces
• Replace the Jardine exhaust with a stock exhaust system
• Replace the dog bone fuse
• Find a pair of OEM mirrors
• Replace the Aspencade windshield trim piece with an Interstate piece
• Wire the trailer wiring harness for a 4 plug system rather than a 5 plug system
• Work on all the rusted chrome
• Recover the seats
• Darkside it!
When I am finished, then the motor that is in the 81 1200 (which is an 84 motor) will come out and go into the 84 Standard. What will happen to the 81?
Get rid of it one piece at a time before it winds up here.
 opcorn: