Twin Weber 40s on a GL1200?

Classic Goldwings

Help Support Classic Goldwings:

This site may earn a commission from merchant affiliate links, including eBay, Amazon, and others.
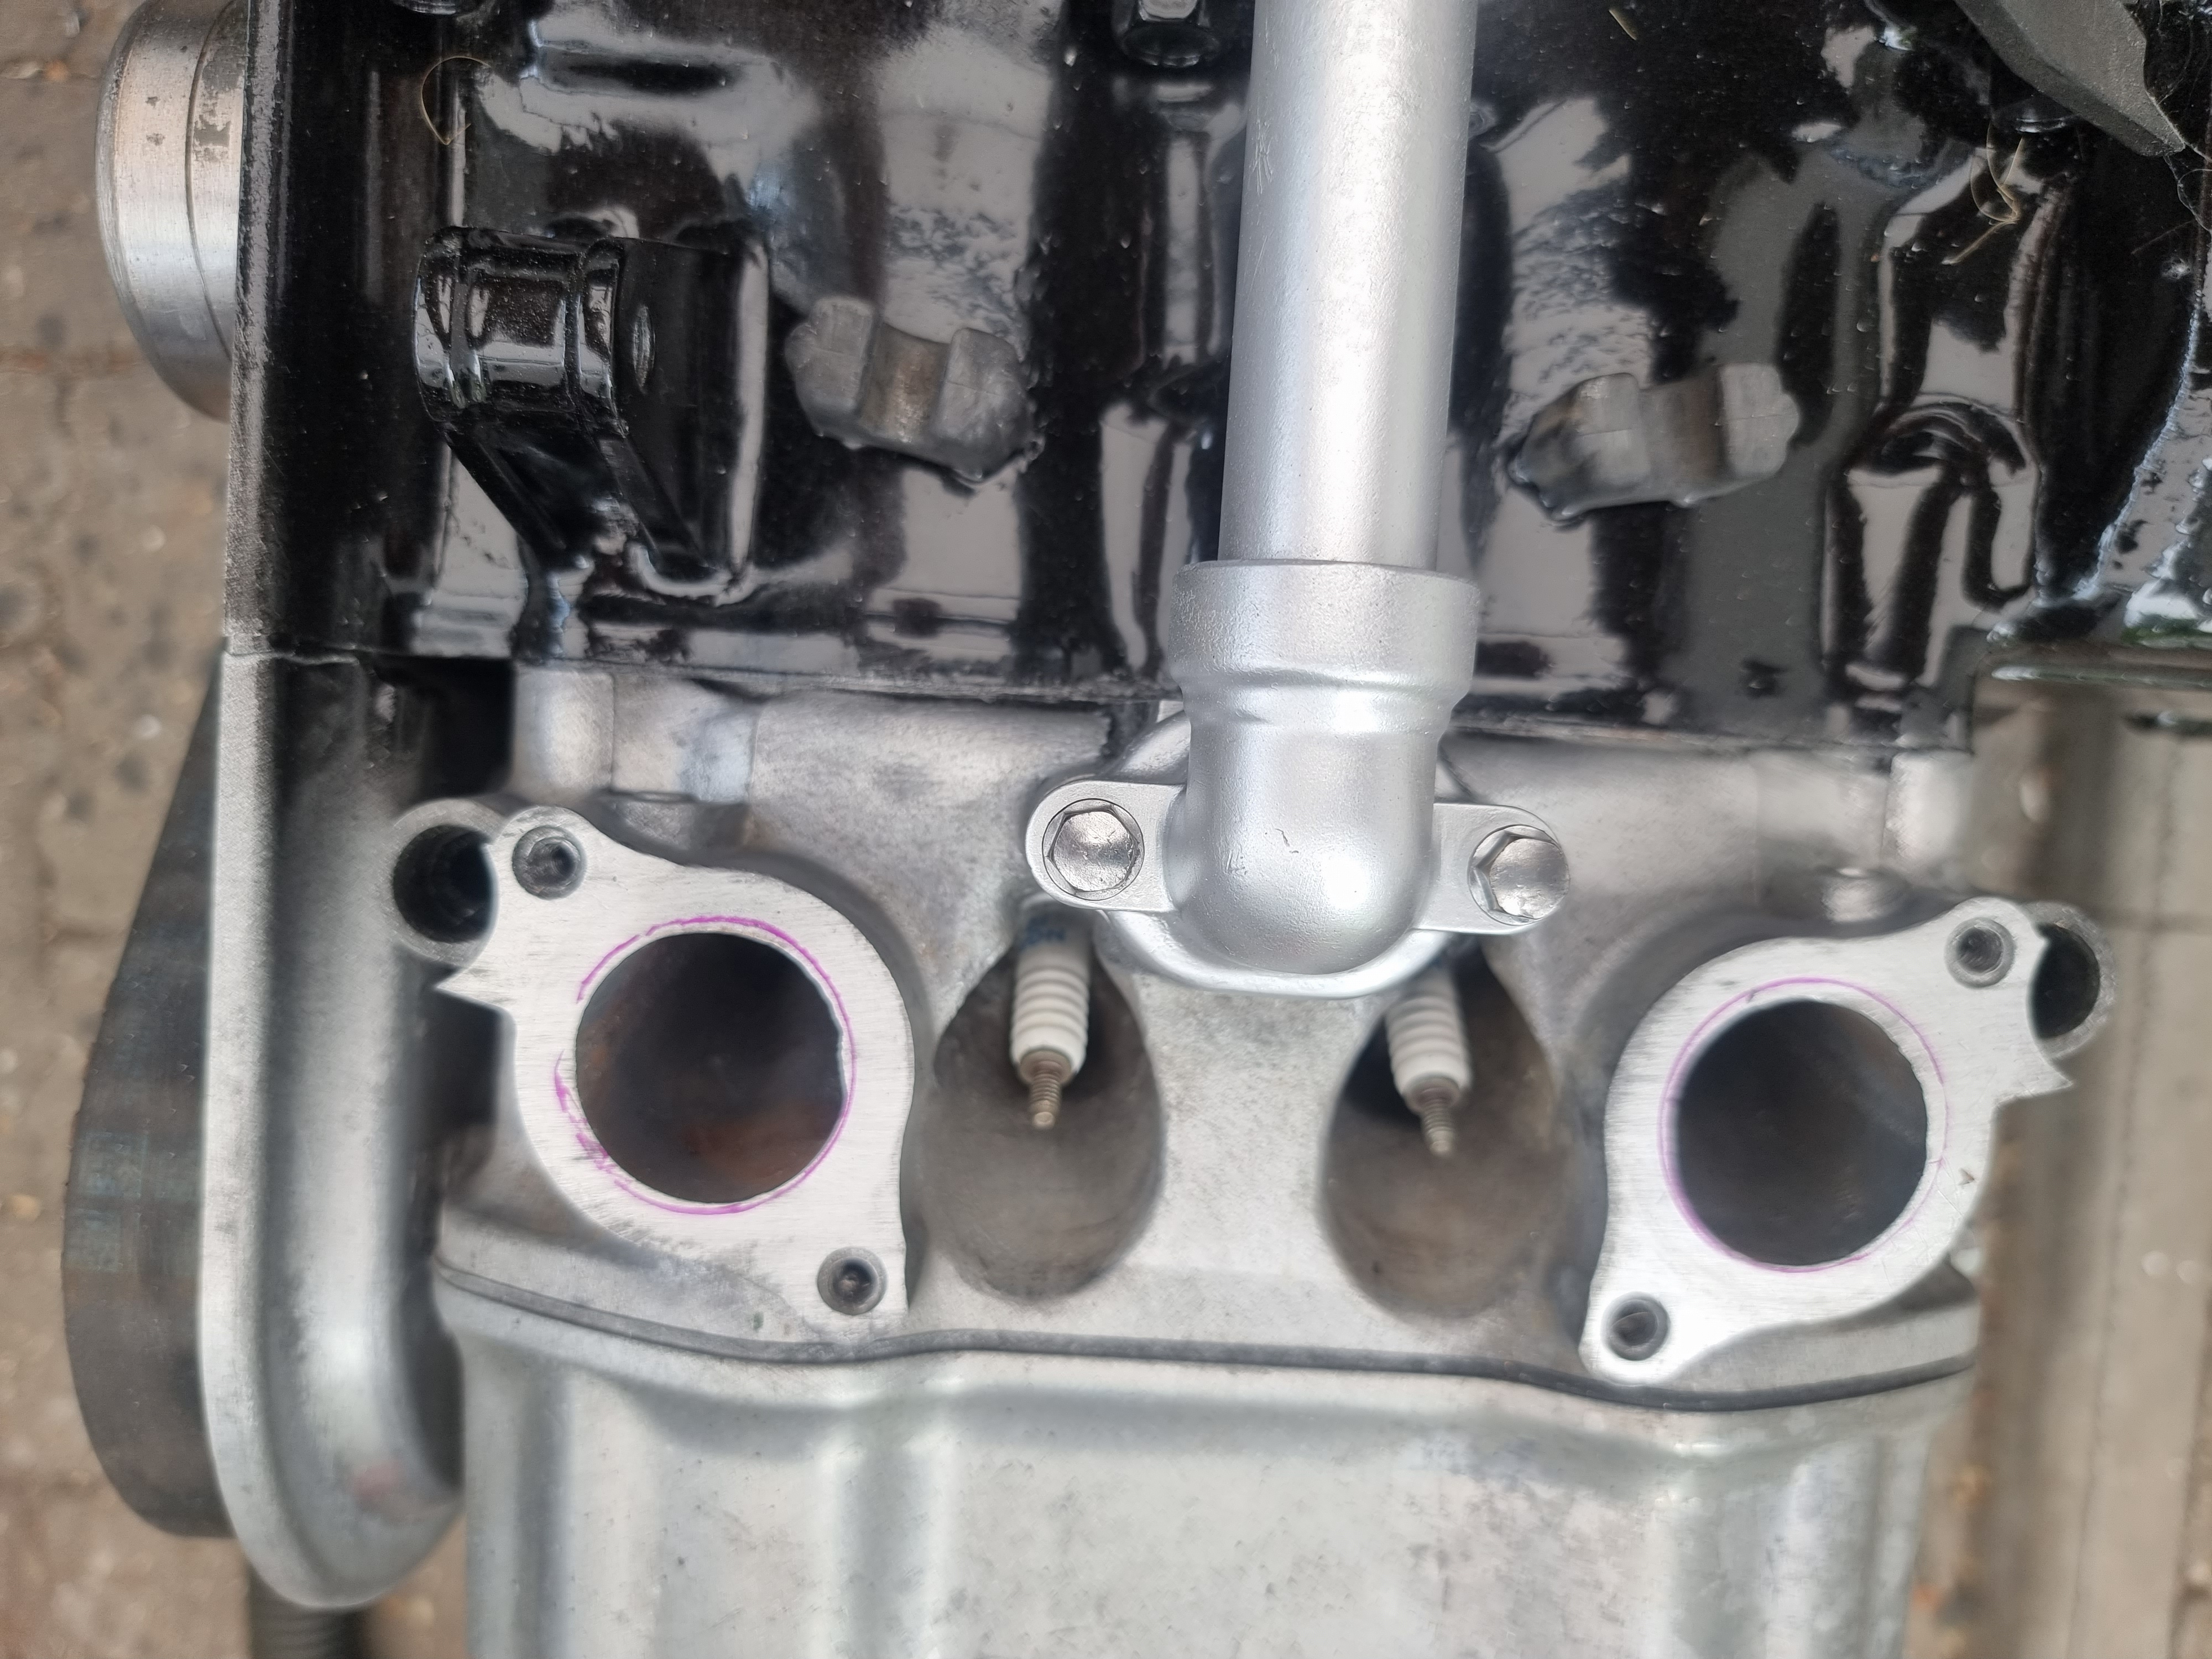
Morning ...here's the scoop on heads ..the 1000 heads are the only ones that accept the points plate without modding ...my bike has 1100 heads on it but they are the same 1000 heads in all ways except it's not machined right for using points ...the actual cam carrier on the 1100 heads has better oiling capacity than the 1000 heads does ...not a real big deal...but I used the 1100 heads as I had so many of them ...you do know that you will have notch the pistons of the 1200 motor a bit so valves don't hit the pistons ...it sounds like a big deal ...but I did it with grinder by hand ...but I am also very good with tools
.at the time people were suggesting I was crazy man lol...doing what I did and the extreme parts mixing at the time was considered impossible ...by the so call gurus of oldwings even randakk ...he was my biggest discounter ...well it's well established now it can be done but ...I can think of only one other bike that had the success I did mostly ..but he had many problems to try ing to get stock carbs to work on this type setup ...witch is virtually impossible to do ...I have no clue if all my threads are on the forum now..but if they are there's plenty of pics and blab about parts mixing successes and failures ...as Dave said it would good reads for you if they are still on the forum ...here at classic we took parts mixing and alternative carb setups seriously ....not much on the dual Weber setups but there was couple ...what you trying to do is very involved but not impossible as someone like me did it ..I have no papers of any kind just smart hands ...accept when it comes to cyber world lol ..if you read enough of my misspellED BS EVENTUALLY MOST SAID THEY could understand it many posta were edited by our leader Dan and moderator slabgoust ...
 
Just spent a very interesting hour or so reading through your beloved Hooch's build and I think you and I have a very similar approach to challenges. Looks like I will be doing some caveman mods to the pistons with my Dremel ( what's the worst that could happen! :D
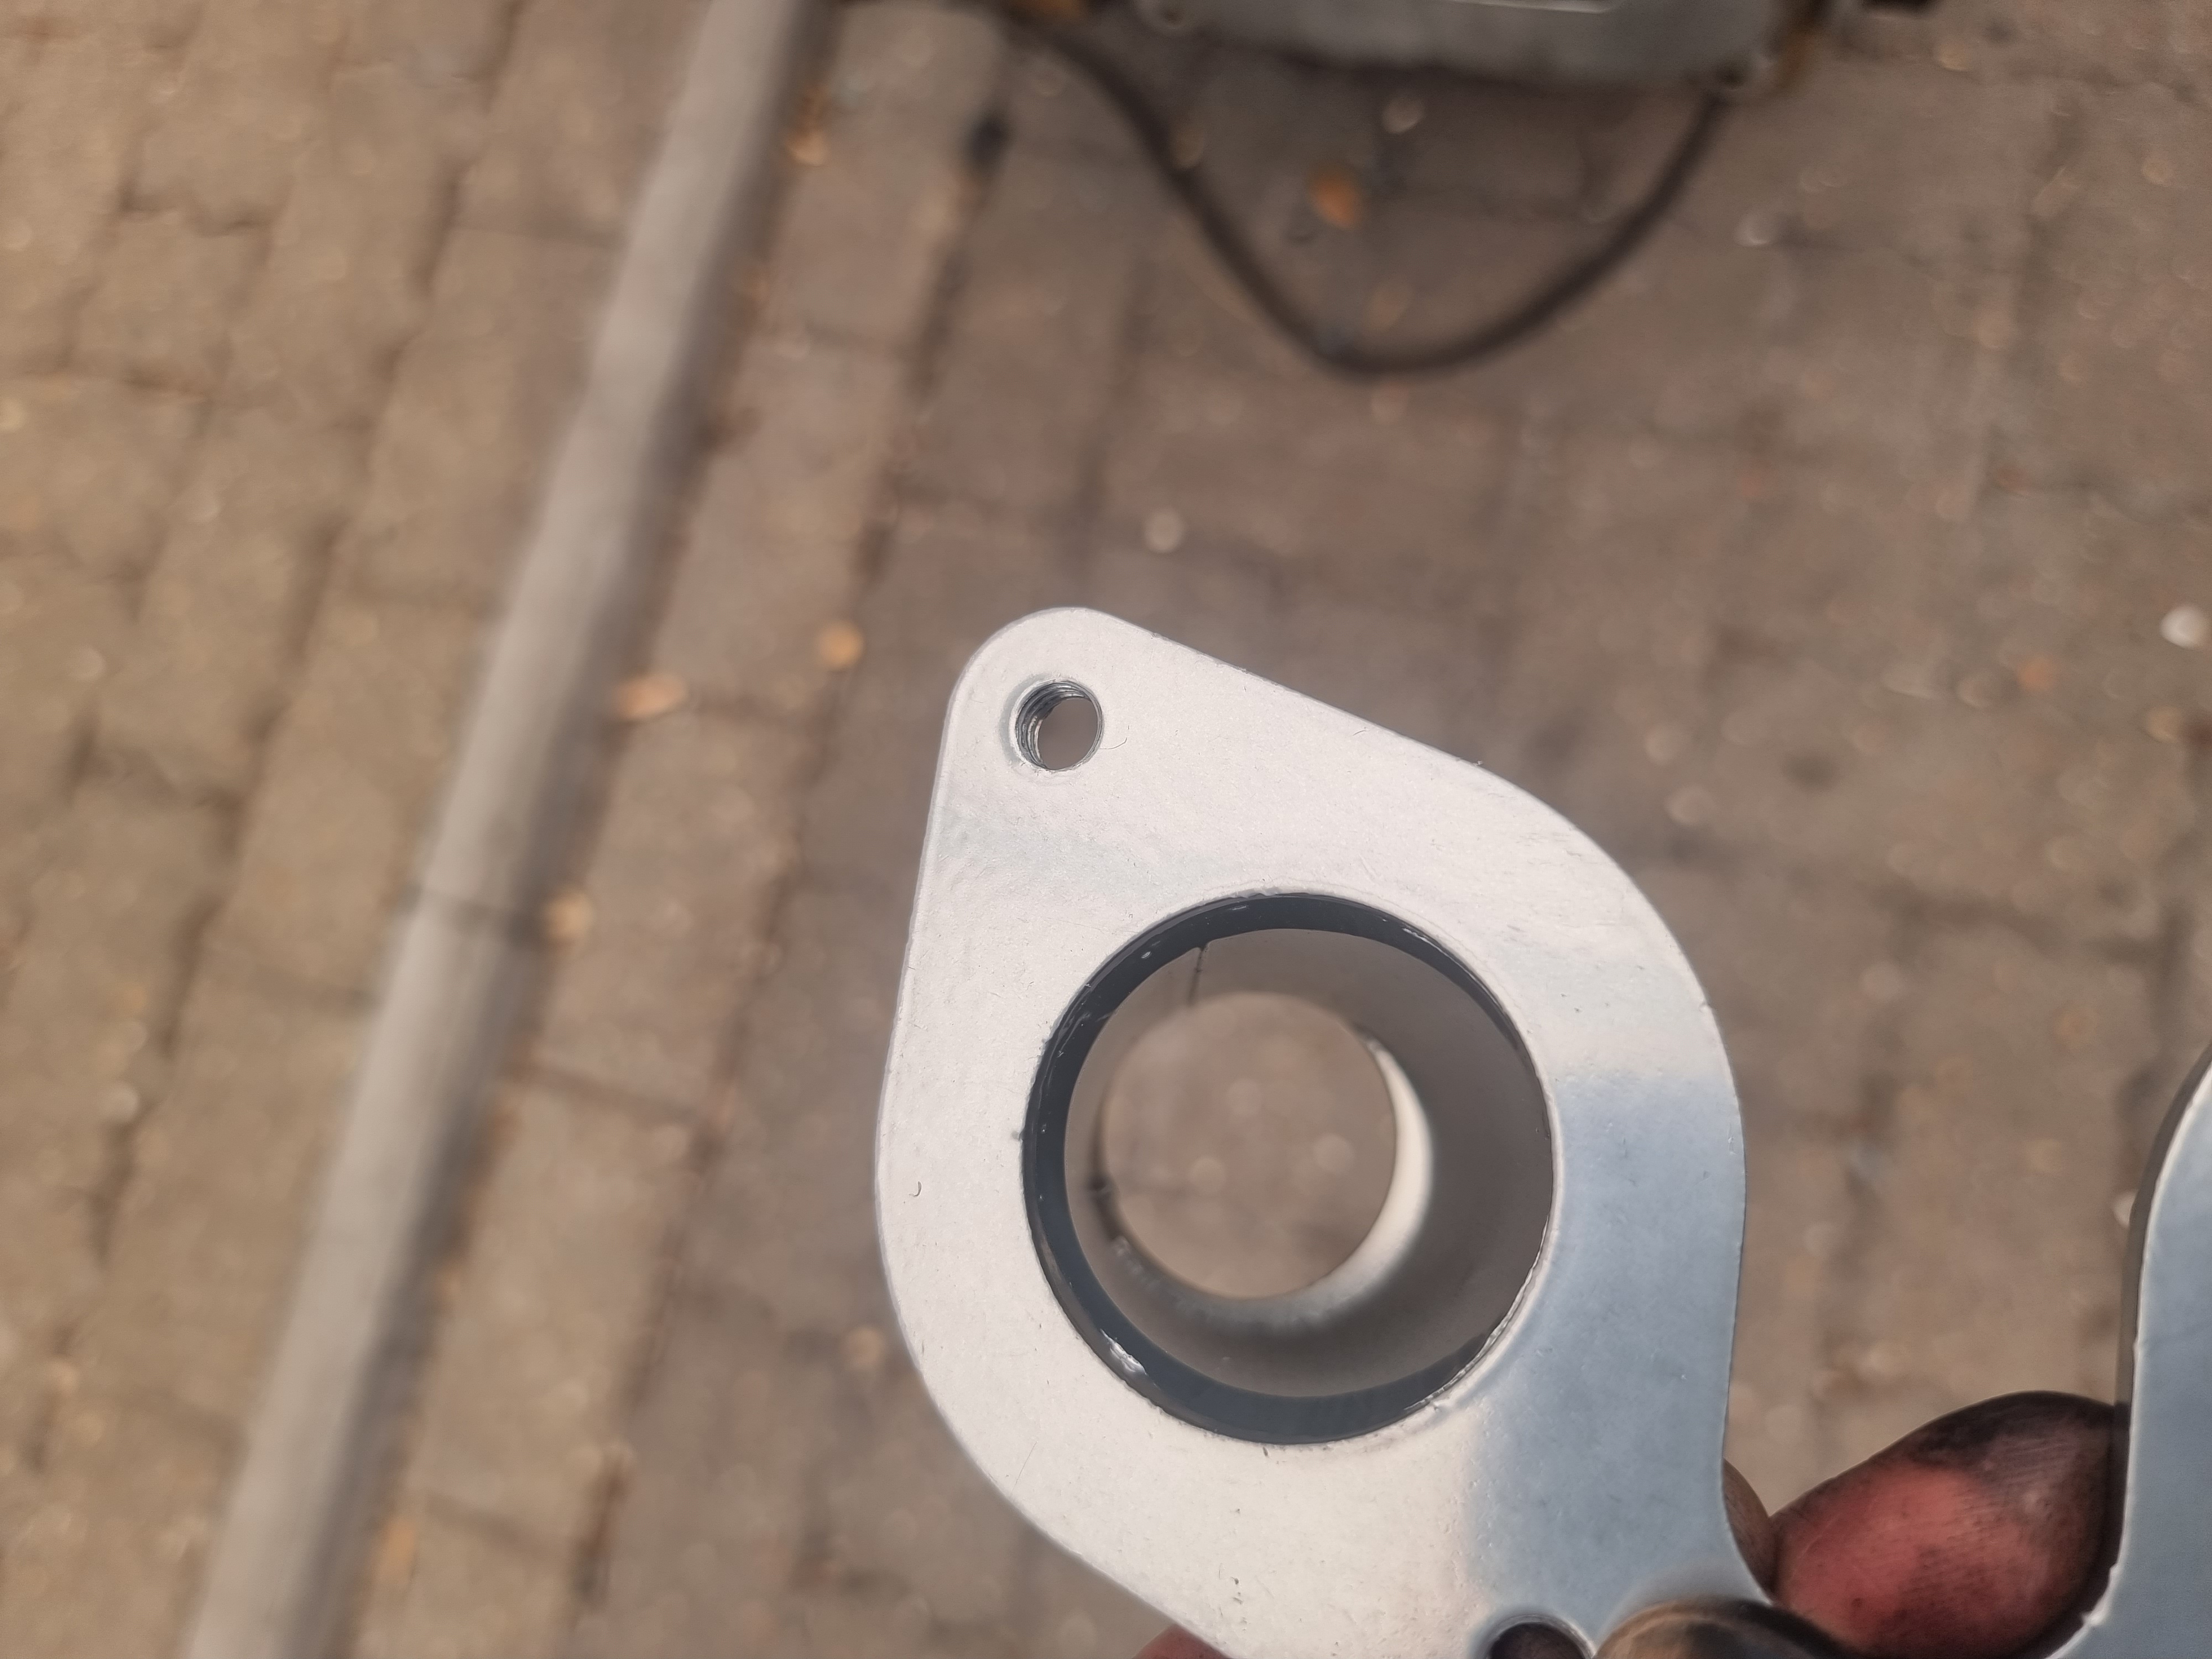
) but apart from that it looks like there shouldn't be too many things that can't be sorted out with a hammer or angle grinder.:LOL:

Interesting that you mentioned the gearing - I had a similar issue on my last build, a '96 Triumph Trophy 1200. After losing all of the unnecessary weight like the fairing, stock exhausts and other stuff, the acceleration was very brisk but it really felt like it needed an 'extra gear'. Luckily that was sorted with a simple sprocket change but the Wing of course is not so easy. I am running the standard 1200 box and diff so I might have to change something if I want it to feel comfortable on motorway runs. That's yet another thing to add to my list ..... damn this forum!:oops::ROFLMAO::sick:
 
Your gearing is ok ..my bike started out with 1000 gearing at the rear wheel ...it's now strait 1200 ...and with power I have the clutch is maxed out ...there just no place to go on my bike ...you should be fine with gearing ...at one time I couldn't shift fast enough with the 1000 rear end gearing ...I've logged lots of road trips on 1200 rear gear smooth and no vibration I think Rpm is about 4000 at 80 mph ..my memory is the biggest liar about me though lol
 
My manifolds have arrived! Hooray ........ sort of :(

First impression? These are Badly made with a capital B. I was aware that there was going to be some transitioning to do when mating up to my heads (still not decided which model to go for) but these things are mismatched to themselves!! The plates that are welded onto the 'tubes' seem to be just randomly plonked on top and welded - you can see what I mean in the pictures. They even used the wrong sized O rings!
Am I wrong to expect better quality for my £400 ??
 

Attachments

  • 20220719_120847.jpg
    20220719_120847.jpg
    3.4 MB · Views: 7
  • 20220719_120855.jpg
    20220719_120855.jpg
    3 MB · Views: 7
  • 20220719_120909.jpg
    20220719_120909.jpg
    3.3 MB · Views: 5
  • 20220719_121005.jpg
    20220719_121005.jpg
    2.7 MB · Views: 7
  • 20220719_121024.jpg
    20220719_121024.jpg
    831.9 KB · Views: 5
  • 20220719_121038.jpg
    20220719_121038.jpg
    850.7 KB · Views: 4
The head misalignment was something I was aware of because these kits are designed for the GL1000/1100 which have larger inlet ports. I am either going to fit GL1000 heads or I might even try tapering the GL1200 inlets to mate with the manifolds.
Reading through Randakk's extensive instructions (which just ooze with 'supreme being'), they say that " In the interest of creating a bit of turbulence to aid even fuel mixtures, these intakes have not been overly finished or polished" That's quite an understatement in my book - these are very inconsistent when comparing ports and I seriously doubt that 'even fuel mixtures' are remotely achievable without some serious repair work, in fact I doubt that any kind of match is possible or practical. The ports are all out of whack - one manifold is totally different to the other.

Here is a very crude example to demonstrate ( I just bolted them up to the heads and marked around the inside of the inlet ports with a sharpie) but it shows how they are offset differently.
One manifold even has gaps in the welds - did they run out of TIG wire or something?

'even fuel mixtures' ?? Pah!
 

Attachments

  • 20220719_161554.jpg
    20220719_161554.jpg
    3.8 MB · Views: 5
  • 20220719_162248.jpg
    20220719_162248.jpg
    3.4 MB · Views: 5
  • 20220719_163103.jpg
    20220719_163103.jpg
    2.8 MB · Views: 0
Last edited:
If your going to use the 1200 heads and ignition set up ..on first try I would not try to port the heads or the obvious crummy randakks casting ...reason being thete are other things that might not work good together with this setup ...no sense in riuing the heads value and porting everything till it proves itself worth doing ..if you got to work as is ..it's really nothing to backup port to fit things ...as it may prove this setup just won't work at all ...just don't jump to far till you know something in my opinion
 
My feelings exactly Joe - if I were to ruin a perfectly good pair of heads trying to match them to Randakk's terrible manifolds it would be an even bigger waste of my time and money. I will just try them as they are and if they work at all (which is a bit unlikely as far as I can see at the moment) I might then decide to take it further and experiment with the 1200 heads. Worst case scenario is that I re-fit the 1200 carbs and sell the Webers.

Funny thing is, when I showed Randakk's the photos they just said 'We haven't had any fitment or fuel mixture issues reported with these new Gen-3 manifolds' ........... somehow I doubt that :unsure:
 
Last edited:
I've had many problems with randakks over the years ...randakks has had many problems over the years with his products ...I have proved him wrong many times on his guru know it attitude ...I don't think he actually involved anymore as he sold his business to people in Tampa I think ...to me he is a joke and knows nothing close to what he thinks he does ...I think you have a good plan ...try and see if you can make it work ...bolt it all on devise some kind of make shift linkage between the 2 sides to test with ...seeing how you have no runners to speak of be prepare to add pipe or hose to act as makeshift velocity stacks ...
 
Good luck. I too have had my fill from randakk's site and their help. I wont do business there any more.
 
Some good news and bad news. Randakks have agreed that I can return their scrap metal for a full refund! Bad news is that I have to pay for the postage (UK to US) and probably lose the £83 of VAT that I had to pay on top of their $407.35 bill. In the UK, if a product is deemed faulty the supplier is obliged to pay for all return costs - Randakks refuse to acknowledge that their kit is faulty so I have to throw more money at them to return it! They even 'reserve the right' to deduct a 15% re-stocking charge!
I am tempted to return them as a matter of principle and fight it out with the courts but I will probably keep them and spread the word of Randakk's awful product and customer service. Apparently I can write a review on their website - I wonder how long it would stay there :unsure:

EDIT - It appears that my review option on their website has mysteriously disappeared - what a surprise :rolleyes:
 
Last edited:
Typical randakks response clearly the scum actions that randakks always displayed are still in force ..he always operated in the most shitty way possible ...I would bet randakks would never acept fault of anykind as these type of people never do ...they just attack all people that have problems with them ...I don't think in all the years I listen to people complaints I ever heard of a refund they ever got
 
Meanwhile I have been getting busy. Just got the frame back from the powder coaters - nice and shiny now.

And so the reassembly can finally start
 

Attachments

  • 20220722_145541.jpg
    20220722_145541.jpg
    1.1 MB · Views: 0
  • 20220722_180218.jpg
    20220722_180218.jpg
    4.3 MB · Views: 0
Starting to look more like a bike again - forks, wheels, brakes etc now installed and much of the bodywork sorted. The front mudguard is the original Aspencade one cut down and reshaped. The back fender is a Harley item. I spent a lot of time fiddling with the seat. Its amazing how much time goes into making the seat pan, let alone all the foam shaping, but I think I've got it roughly how I want it now and can take it to my local upholsterer for some nice leather next week. It will soon be time to tackle the wiring - I am going with the Motogadget system which simplifies everything so well - no fuses or relays to worry about and it is so compact too.

Putting the Wing next to the Rocket, they now look genetically connected somehow but I never thought a GoldWing could look small - when I put the bikes alongside each other the Wing looks tiny! Awwwww how sweet :LOL:
 

Attachments

  • 20220726_210436.jpg
    20220726_210436.jpg
    3.1 MB · Views: 0
  • 20220730_090511.jpg
    20220730_090511.jpg
    3.4 MB · Views: 0
  • 20220729_075408.jpg
    20220729_075408.jpg
    3.5 MB · Views: 0
A bit more progress but I confess that I have slowed down due to the heatwave we are experiencing here in the UK - plus I am building a studio in the garden for my better half.
I have now fitted a new custom aluminium radiator, new shorter shocks (ex Harley) to lower things slightly. I also fitted some shorty megaphone silencers and painted the whole lot black. Oh yes, and I painted the tank & side panels and applied some tribal flames to contrast with the black and blend in with the wheels ;)

Anyway, I am using the Motogadget Blue - if you are not familiar with this fantastic little gadget, it simplifies all of your wiring, removing all fuses and relays so you end up with a very minimal loom. I am still in the early stages of the wiring but here is a couple of pictures to give you a rough idea. Also, a provisional version of the wiring diagram (which might change as I go)
 

Attachments

  • 20220815_105310.jpg
    20220815_105310.jpg
    1.5 MB · Views: 0
  • Motogadget Wiring 2.jpg
    Motogadget Wiring 2.jpg
    689 KB · Views: 0
  • 20220815_110707[1].jpg
    20220815_110707[1].jpg
    3.2 MB · Views: 0
A bit more progress but I confess that I have slowed down due to the heatwave we are experiencing here in the UK - plus I am building a studio in the garden for my better half.
I have now fitted a new custom aluminium radiator, new shorter shocks (ex Harley) to lower things slightly. I also fitted some shorty megaphone silencers and painted the whole lot black. Oh yes, and I painted the tank & side panels and applied some tribal flames to contrast with the black and blend in with the wheels ;)

Anyway, I am using the Motogadget Blue - if you are not familiar with this fantastic little gadget, it simplifies all of your wiring, removing all fuses and relays so you end up with a very minimal loom. I am still in the early stages of the wiring but here is a couple of pictures to give you a rough idea. Also, a provisional version of the wiring diagram (which might change as I go)
That's a nice little unit. The proximity circuits are interesting!

A 30 amp fuse supplying the starter will blow right away though.
 
The diagram might be a bit misleading - the 30A fuse is integral to the solenoid (from a CB450 I think) The starter is unfused and connected directly to the solenoid.
I forgot to mention that it has a built in alarm and key-less ignition too. :cool:
 
Last edited:

Latest posts

Top