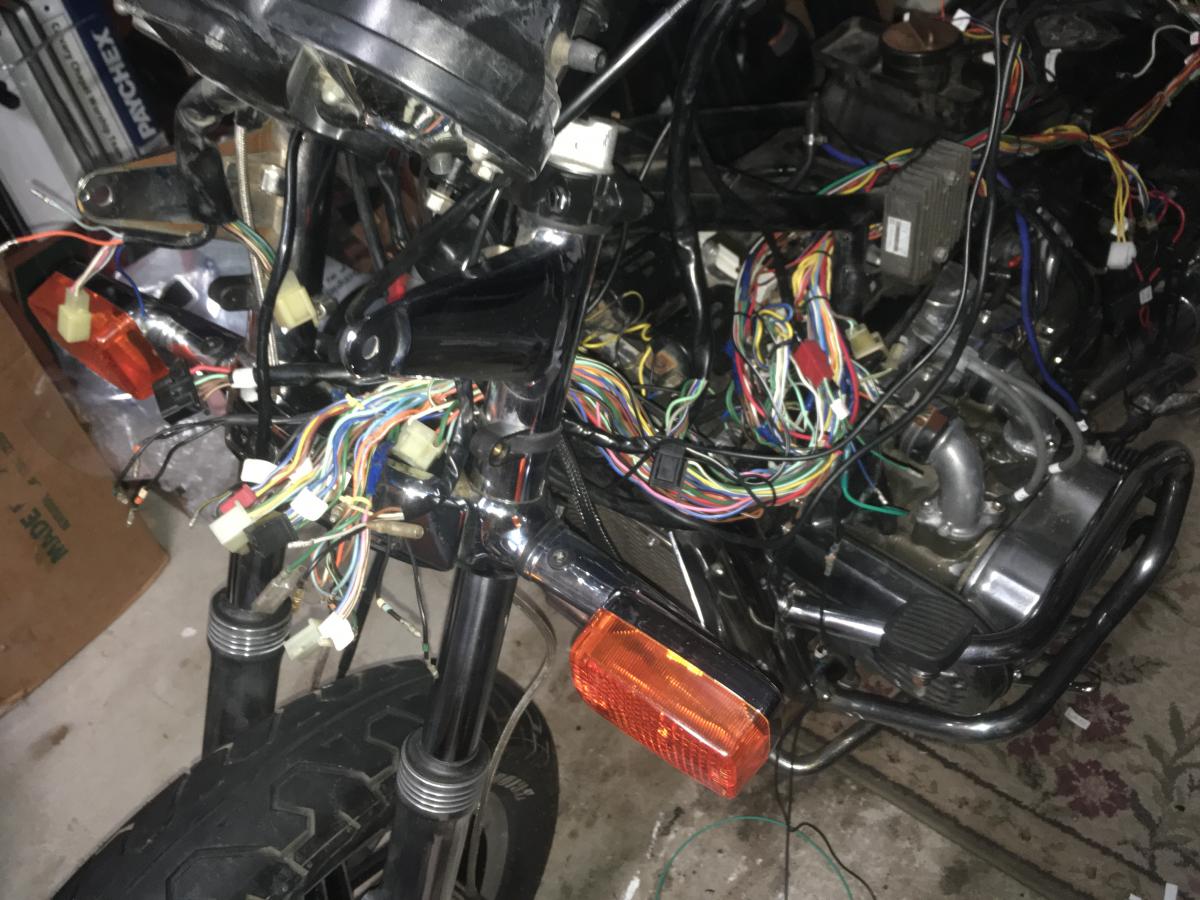
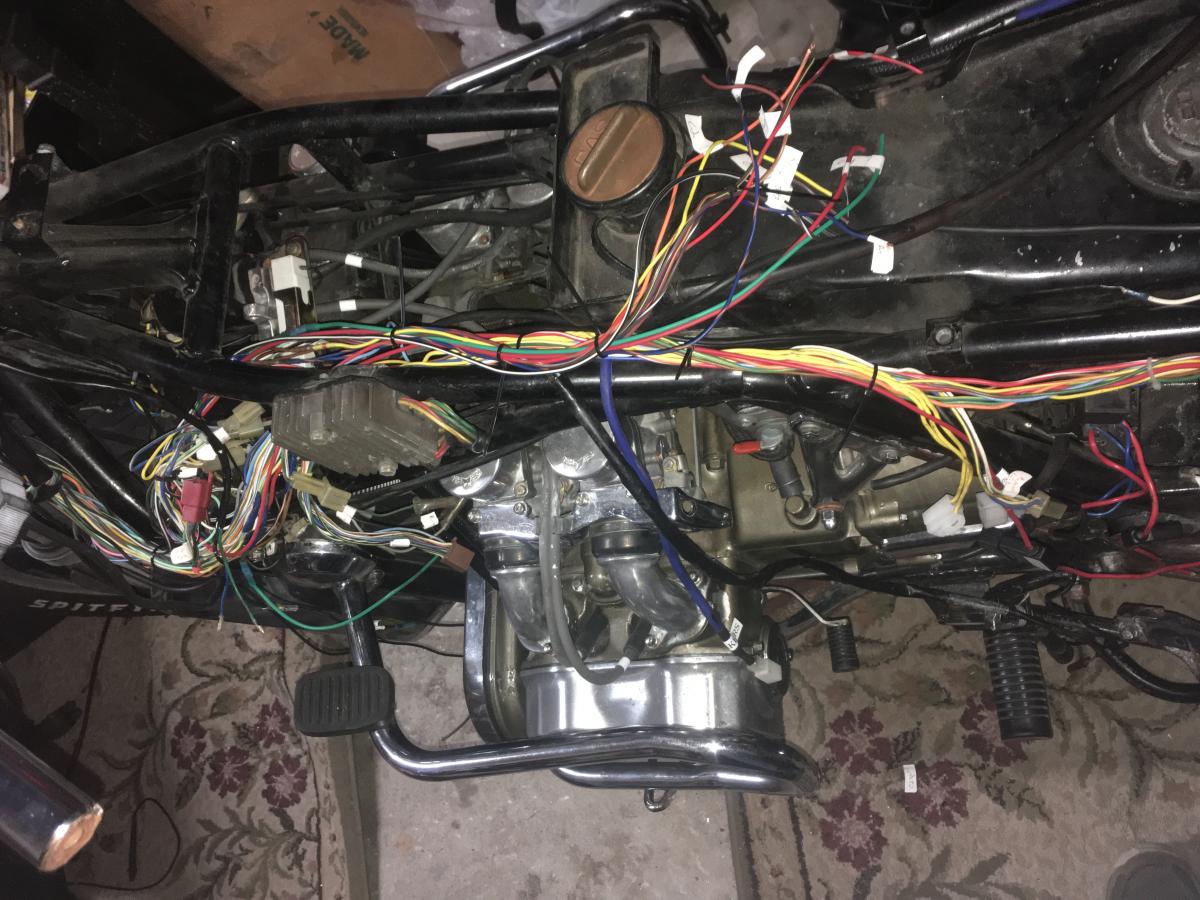
Adding wires to the harness is trickier than I first thought. Not only do you need to use the right gauge, connector and work from a schematic, but routing is also a big issue (where do you start and stop a new wire and how will it exit the harness). It is not only the "exit the harness" issue, but how much space and where does the connector reside? Not much room around the frame to add connectors as you lay the harness back in place. This called for a dry run and mark up to add the balance of the wires:
All of these top wires are new and extend the original "fuse box to harness wires" to be able to reach the new fuse/relay panel.
The new wires are allowing the following changes:
*direct connection to ignition coils without sharing load on the same wire as the rest of the 12 volt system per Honda
*new wire to connect fan to fuse panel (1100 fans are not connected to any fuse other than the main 30 amp fuse)
*new wire to connect the new oil pressure switch to a relay to only turn the headlight on when the engine is running
*new wires for the radio installation
*new wire for a combination 12 volt socket and 5 volt USB charger
*new power wire (and 20 amp fuse) to add a second power source from battery to split the harness load
*new wire for trailer power connection


