Another GL1000 Carb Button Repair

Classic Goldwings

Help Support Classic Goldwings:

This site may earn a commission from merchant affiliate links, including eBay, Amazon, and others.

kettle738

Member
Joined
Mar 26, 2014
Messages
8
Reaction score
0
Location
Kent, UK
Hi all, the carb buttons on my recently acquired GL1000 all had seriously ugly JB Weld repairs applied :shock:

I assumed that underneath this layer the buttons would be holed, badly cracked or otherwise damaged, but I really didn't want to leave this ghastly eyesore in full view. I thought I might do a lot more damage trying to pick the stuff off as it's usually pretty good at adhering to most things, so to make the process as gentle as possible I shamelessly nicked an idea from another site for mounting the caps in a lathe :thanks: and set to. The original intention was to remove the old caps and turn up new ones from machinable plastic stock.

Surprise number one, the JB Weld turned very easily and let go without damaging the cap underneath....surprise number two, only one of them had any cracks and they weren't too bad.....

I spent ages thinking how to repair or reinforce the cracked cap without creating another Frankenstein effect.....after considering everything from lacquers to fishing rod varnish I found this stuff.

https://www.ebay.co.uk/itm/Polyurethane- ... 3f2904eda4

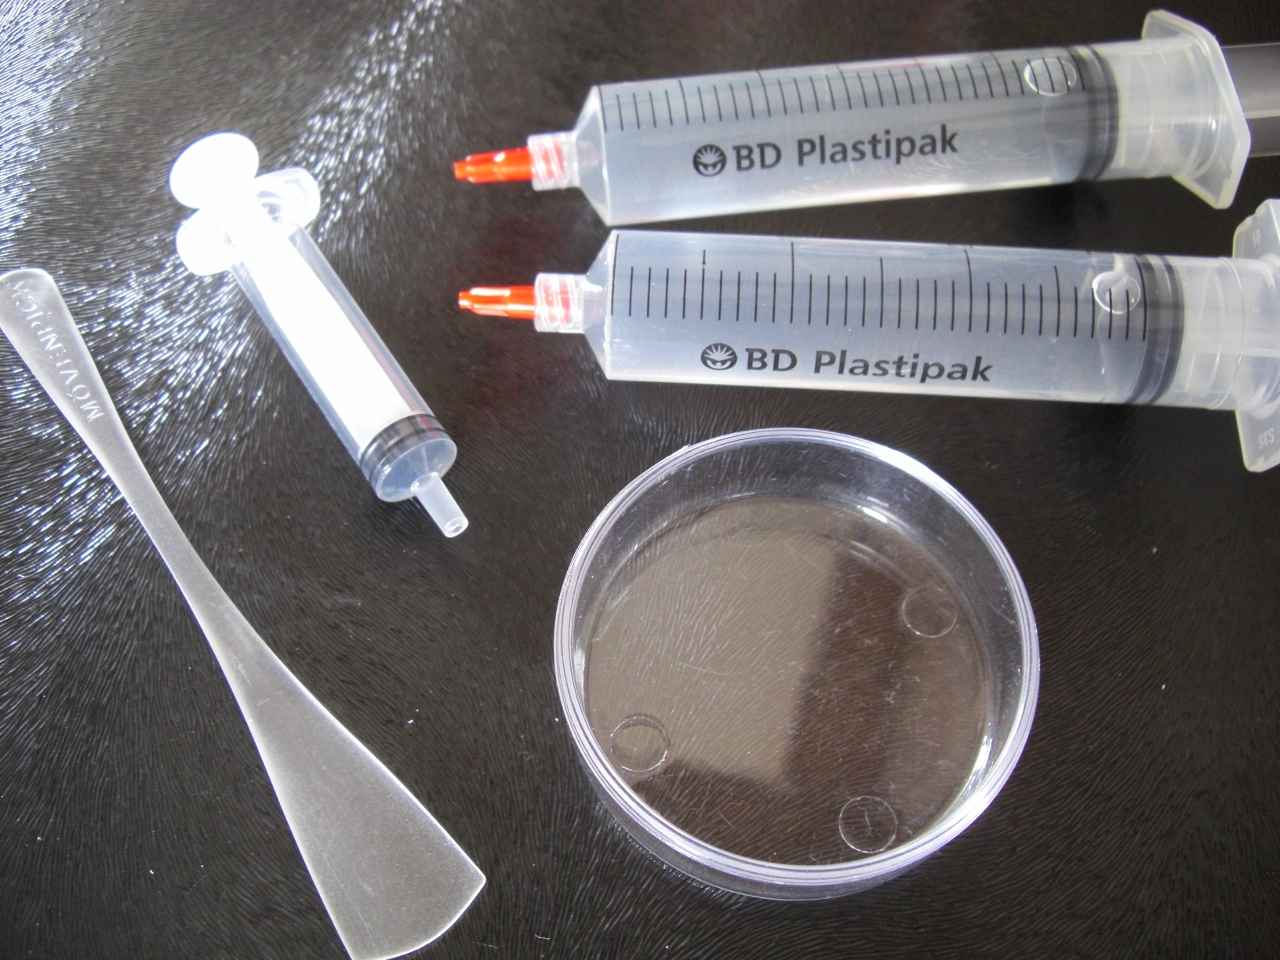
This is used as doming compound for key rings and suchlike, mix it up, it has sufficient viscosity to retain a decent layer and it dries crystal clear.....and the guy selling it tells me it will stick well to most plastics......and.....it's CHEAP too! :yahoo:

The pics show the cracked button before and after.......I have no idea as yet how successful it will be as a repair, but it looks a whole lot better than the JB Weld did.....and I had nothing to lose.

If it all peels off next week.......I will let you know. :beg:
GL1000 Carb Caps 007 (1280x960).jpg


GL1000 Carb Caps 021 (1280x960).jpg


GL1000 Carb Caps 028 (1280x960).jpg


GL1000 Carb Cap Repair 003 (1280x960).jpg


GL1000 Carb Cap Repair 005 (1280x960).jpg


GL1000 Carb Cap Repair 008 (1280x960).jpg


mick................kettle738
 
I hope they hold up for you. Mine were not cracked like that. They were completely busted out. I made a fixture like that and held them in the lathe. I machined out the old button and made new ones from black delron. You can look at how i did it in the gl1000 section. The link is still up below this one. I hope ur fix holds out as well as mine is. I have a a few hundred miles on the fix. Let me know if you want specifics and i can tell you how to do it if ur fix doesnt hold up. Nice work and good luck!

Here is the link to what i did.

viewtopic.php?f=22&t=8002
 
Hi bronko37

As it happens, at the outset I planned to copy your method exactly, the method of holding the cap in the lathe is yours, I just happened to be lucky because my buttons turned out to be better than expected so my much simpler task was to repair rather than replace and hopefully this polyurethane 'shield' should work, but time will tell. The hardest part was finding a suitable coating.

If it fails, I will be back to use your method.

There is another guy with a similar approach to the same problem here,

https://www.hondatwins.net/forums/56-fue ... -tops.html

There are some useful photos that explain the construction of the buttons, but I would be nervous holding the caps by that method, turn the chuck key the wrong way (it's being held by 'reverse' pressure) just once and your cap could be history, so I prefer the mounting block and four jaw chuck method.

I posted because people like yourself were kind enough to show how it's done, without which I would probably not have touched them, if this polyurethane coat works then it may be useful for those caps with minor cracks like mine had.

This stuff has cured for 24 hours now and it is proper hard and shiny, just like the finish on a keyring, so I have high hopes for it.

Just a side question....what are the buttons for ??? Do they have a function??

As far as I can see it probably boils down to manufacturing convenience, probably cheaper or simpler for Honda at the time to seal the cap this way......later on it became a solid one piece alloy cap.......unless someone knows different?

Mick...........kettle738.
 
[url=https://forum.classicgoldwings.com/viewtopic.php?p=119914#p119914:31eo222j said:
mcgovern61 » Mon Jun 02, 2014 9:24 pm[/url]":31eo222j]
Just a side question....what are the buttons for ??? Do they have a function??

The cap covers a small vaccum area under neath. There is a small counter bore in the cap to allow the vaccum port that raises the CV piston to work. The cap is made of plastic to prevent wear to the CV piston. The CV piston actually strikes the cap when it is lifted. It will apply enough force to bust the buttons if they are old and brittle. I replaced a button with aluminum but did not like that idea in the long haul. Then I switched to the black delron so I know the CV is hitting a soft material.
 
I hope it works out for you kettle. I had replaced my caps 2 times with "good" caps only to have them bust too, lol. The replacements were all off of the same carb rack so I assume they had all been sitting in the sun quite a bit and were all brittle. I have made my repair on about 12 caps and they are all holding great. If it does boil down to you needing or wanting a replacement I can give you the dimensions and the steps. It is really quite simple. The hard part was smashing and ruining a couple of caps to figure out how to do it, lol.
 

Attachments

  • Carb Button Repair 007.jpg
    Carb Button Repair 007.jpg
    35.6 KB · Views: 218
Hey Kettle, I just read through the link of the other guys fix. He didnt do too bad of a job for not being an experienced machinist. As far as holding in the new buttons I made, I cut the buttons to .0015" - .0020" press fit to the freshly machined bore. I then heated the top of the cap with a small soldering torch, the pot metal expands very quick. I had one of my students warm the cap while I applied Krazy glue to the new button. I then tap it into place and let it cool. Then its ready for final machining.

He did not need to cut the relief on the under side as there is a boss and a gasket that goes under neath which gives clearance for the vaccum port. The counter bore size is 9/16" and is .125" thick. I got these sizes by reverse engineering a busted button. The boss on top of the button is about 1/16" from the carb cap top. Now that I have all of my fixtures and tooling I can wack out a set of 4 in a couple hours easy.
 

Latest posts

Top