The building of Big Red

Classic Goldwings

Help Support Classic Goldwings:

This site may earn a commission from merchant affiliate links, including eBay, Amazon, and others.

OldGold

Active member
Joined
Feb 3, 2011
Messages
37
Reaction score
0
Location
Toronto
So here goes nothing, I hope this turns out like I had planned .
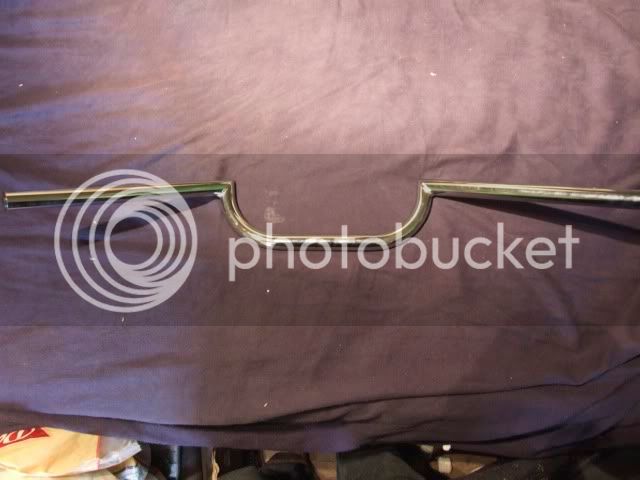
The idea is to have something sporty looking and I love the look of the old cafe racers
so that is what I am going to build.

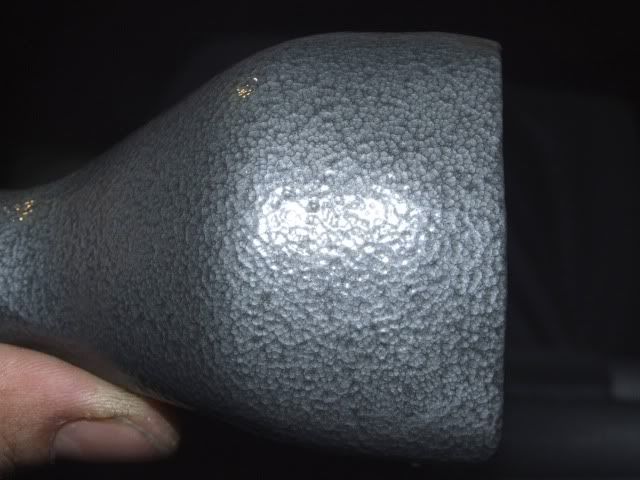
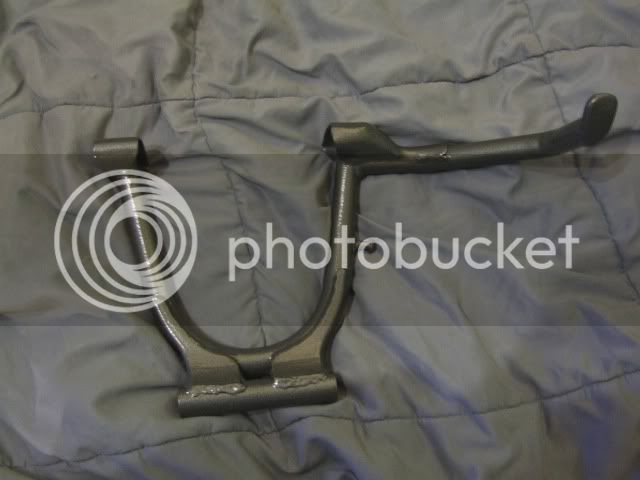
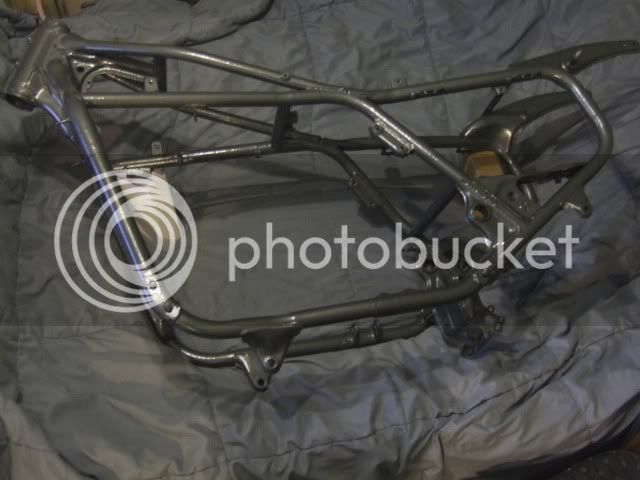
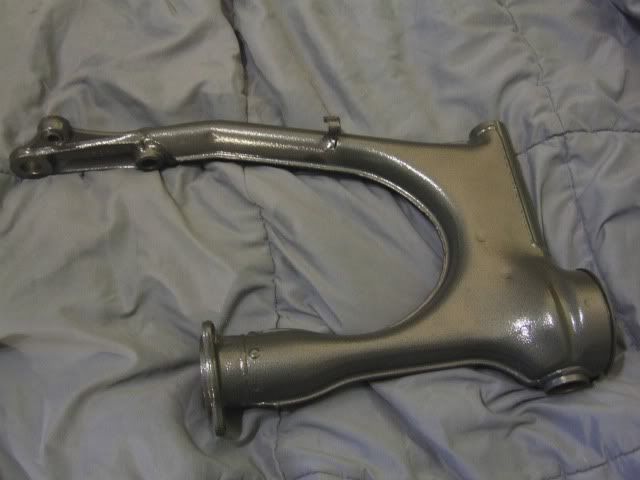
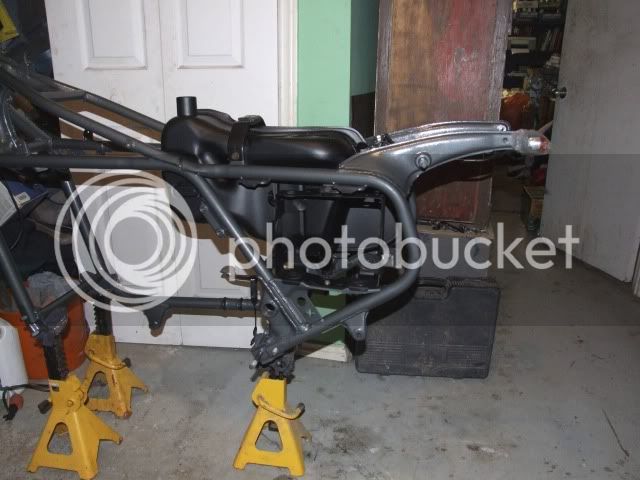
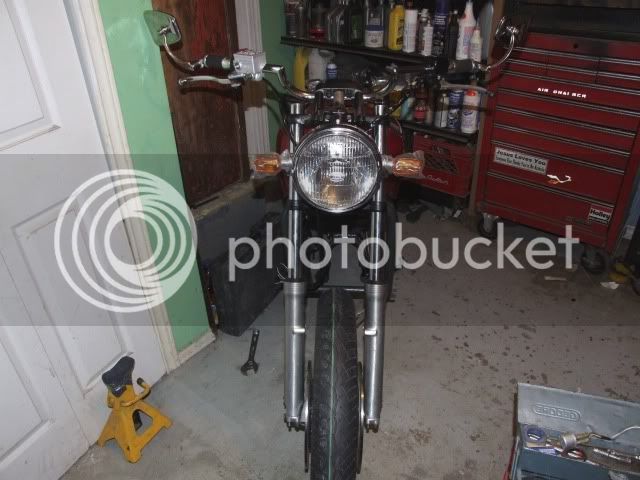
This is what I started with
DSCF3500.jpg

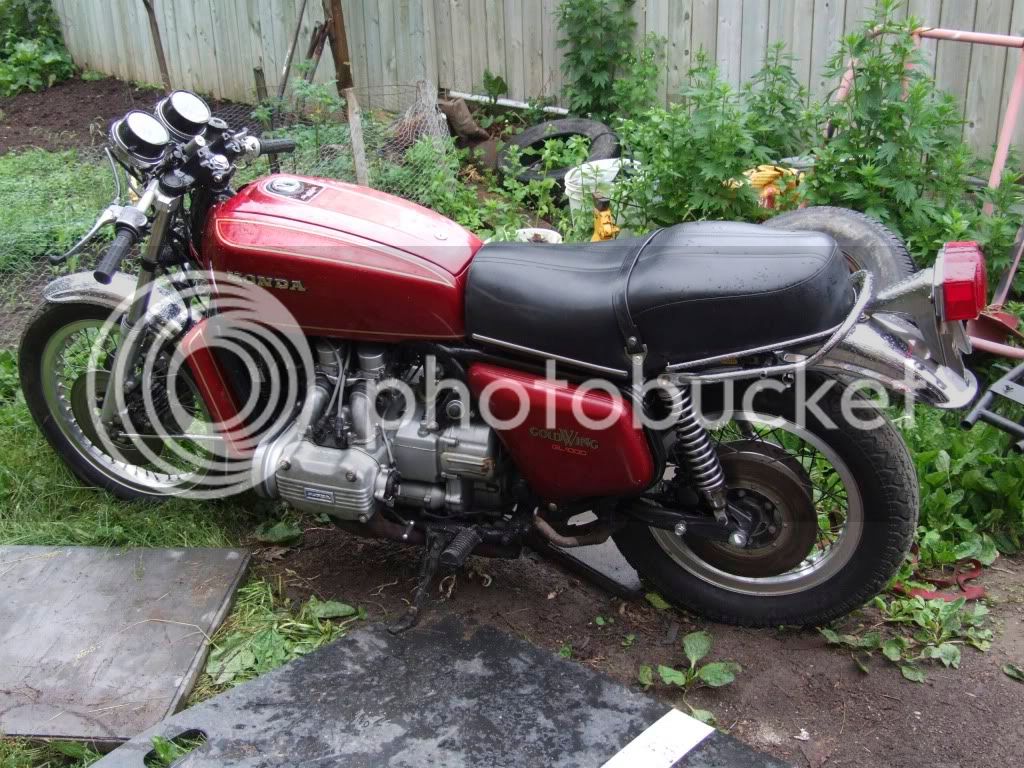
A 1975 Gl1000 starts but runs real rough wont idle the wiring had been hacked up and only the headlight and tail light were left working. No rust on the bike though thats good.
DSCF3716.jpg

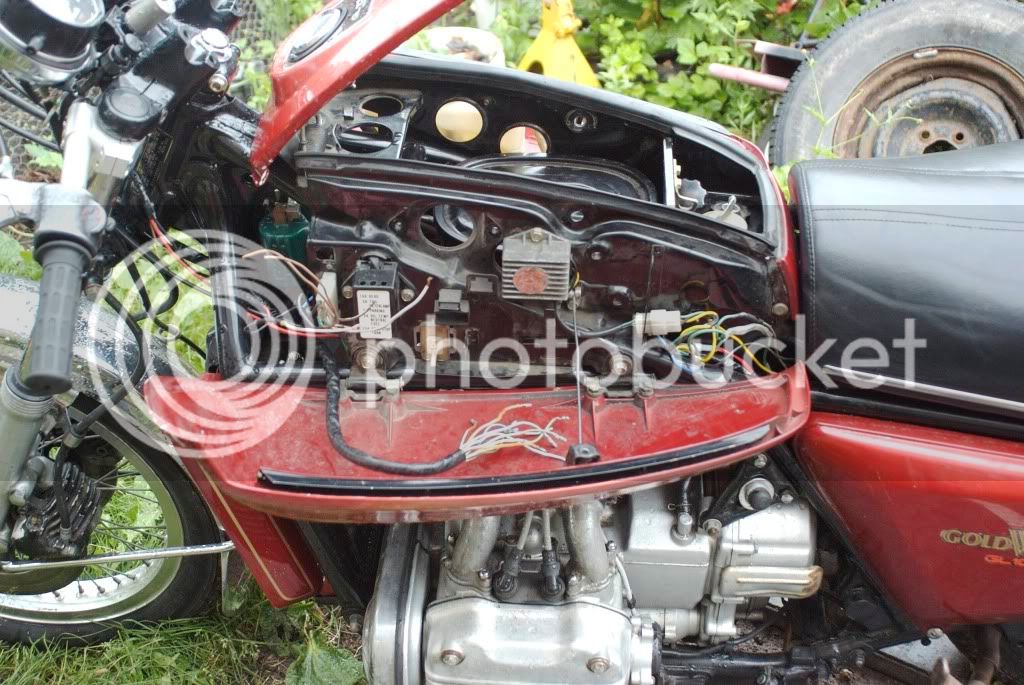
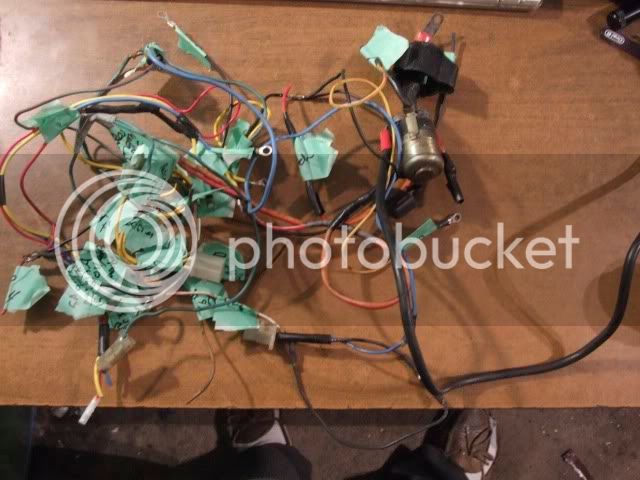
This is what's left of the wiring. PO's suck what goes through some peoples minds?
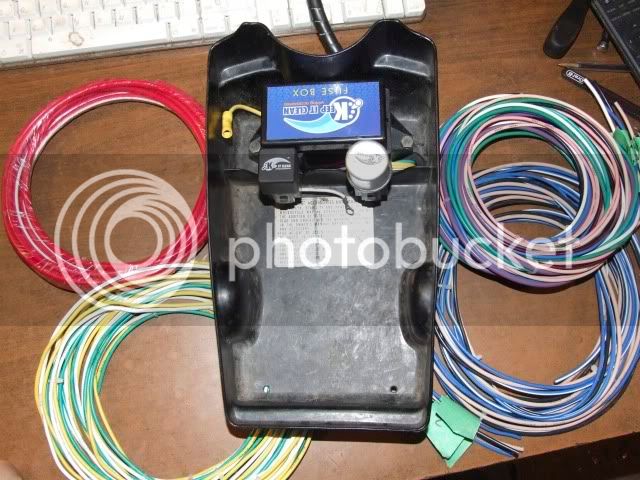
This is my solution to this problem. All wires are marked every 4 inches as to what they are.

DSCF3832.jpg

While trolling through various sites I found these
DSCF3888.jpg

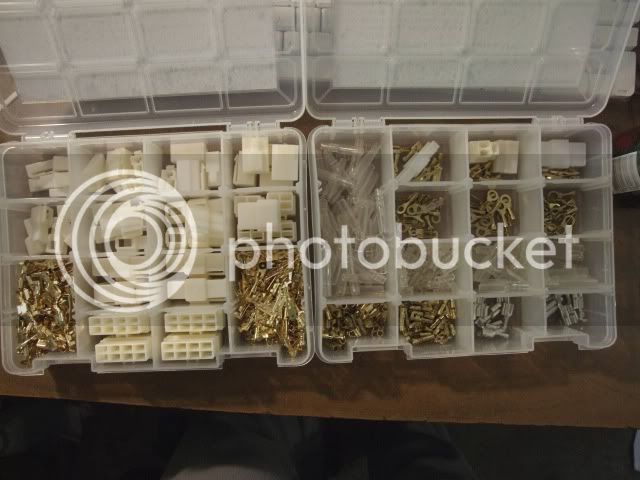
Vintage Connections factory connectors will definitely make things go easier

Good thing to because this is all that is left of the entire wiring :shock: :shock: harness
DSCF3837.jpg


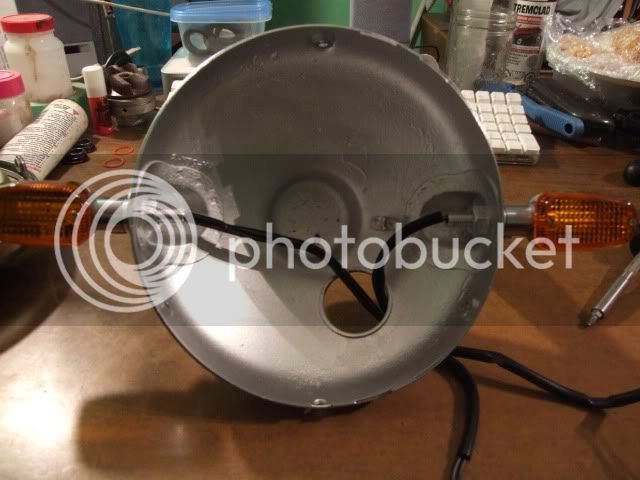
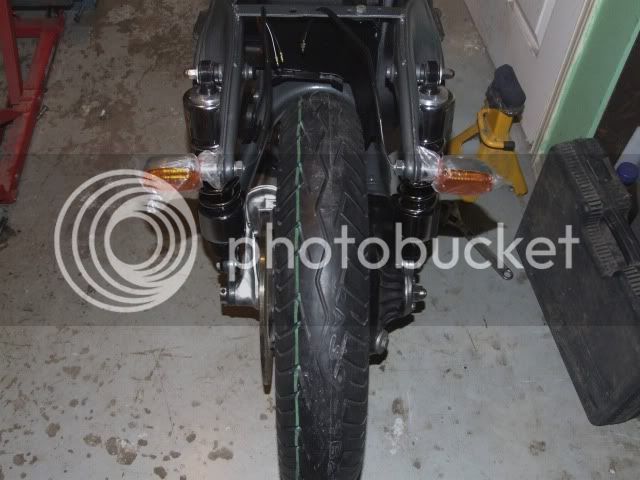
The headlight ears were missing as were the turn signals so I chose these
DSCF3834.jpg

DSCF3833.jpg

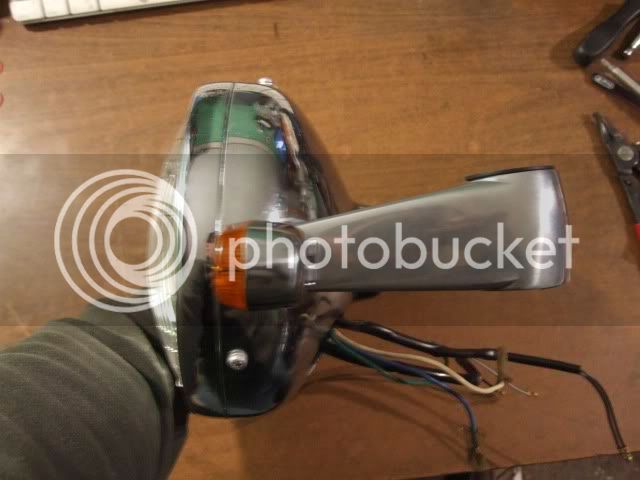
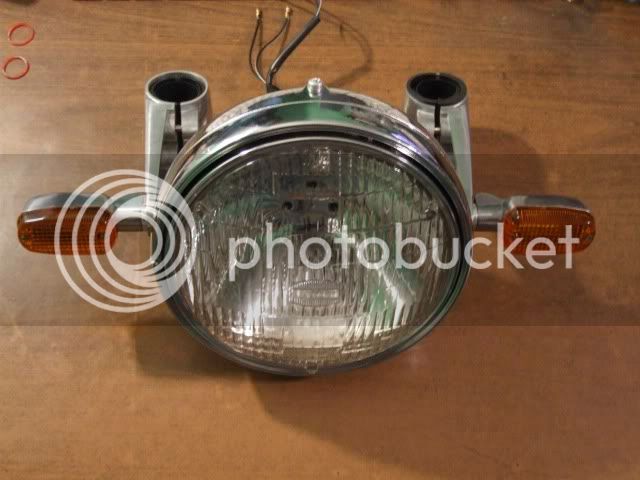
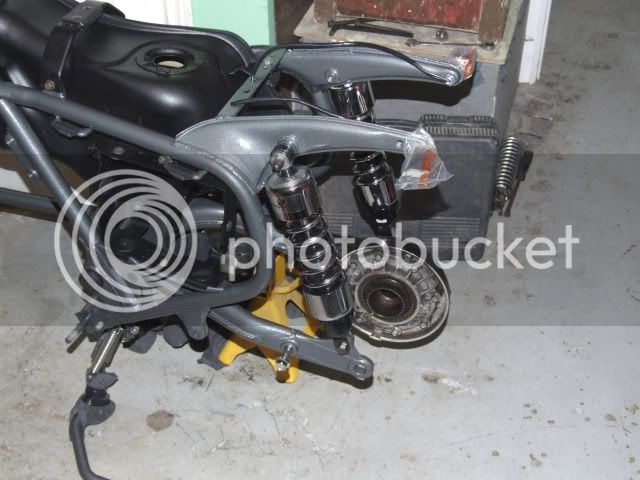
Much cleaner and tighter look in my opinion. I got the same blinkers for the back
mounted them on the frame where the grab rail once was.
I am also swapping over to LED's all round except for the headlight.
The flasher pulses instead of flashing (think knight rider) all bulbs came from
Super Bright LED's.
That's all for now, save some for next time
:salute:
 
Whatta project!! The bike looks kewl, for sure. I don't envy you having to re-wire the whole thing tho. Take lottsa pics for us! :good:
 
Thanks Aapple, yeah a bunch of things have been deleted or are missing and with the new harness I can't even use the old wiring diagram, have to make my own.
That is what has me nervous, I've wired up a couple of stereo's before but this is way more than have ever done before. I will be asking a lot of questions for sure.
waaaay more pics to come!
 
looks to me you got the wiring handled ...nice work .....as for the running rough and wont idle or idle good is all in the carbs most likely .....your doing such a good job on the wiring when that was done i would go right to the rough motor thing .....check for good timing and spark and if thats good go right to the carbs and remove and slowly go at them ....theres some good info here and elsewhere to learn the unknowns .....the 75 1000 has the biggest carbs of any oldwings including the 1200s ...the 75 has the most aggressive cams that came on wings too ....doing a carb job is not as scary as its seems to be made out to be ....a good runnig 75 1000 are the angryest wings honda ever made .....nice bike oldgold .....if it has points ..... the after market dyna ignition is a huge upgrade and you can go back and forth nothing gets trashed ......lots of potencial in your bike .....cant wait to see the end result..... :eek:k: :mrgreen:
 
after looking at pictures again i can see that it has the dyna ignition already.....i guess the ignition cap is missing on the bike or is it just off when the pic was taken :mrgreen:
 
JoeDrum Thanks, I really appreciate your encouragement. :blush: :thanks:

In the past I have been left on the side of the road to many times
due to cutting corners, so now I make sure I go over and above what needs
to be done to ensure drama free cruising. Besides that this ones a keeper.

It does have almost new dyna coils and ignition. Money I won't have to spend :good:
I found the ignition cap in a bag of stuff that came with the bike.

Next on the list, I took the heads off to remove the carbon from the ports and to lap
the valves + new head gaskets make me feel better to.
:salute:
 
Slabghost, It came with the bike. However not on it.
I am assuming it is a factory GoldWing part.

The headlight ears were 30$ from caferace.com and turn signals were 16$ a pair reproduction BMW style made by EMGO also from caferace.com.

Lucky for me the thread pitch and diameter of the signal shaft are the same as the
bolts that held on the headlight. So I ran the wires through it like this

DSCF3836.jpg


I am not yet sure how much heat that headlight puts off yet but will probably end up covering those wires in silver heat shield left over from some ignition wires from
another project
:salute:
 
Let the games begin boys!!! :clapping: :clapping:

Today I got the call from my buddy who did the powder coating,
saying it is finished, out of the oven cooling down, come by after work :good: :good:

So here are the results. I had the battery box and gas tank done in rough texture
semi gloss black
DSCF3901.jpg

DSCF3902.jpg

DSCF3903.jpg


and the frame swing arm and center stand in gun metal grey hammer tone
(had to get rid of side stand to fit new head pipes )
DSCF3906.jpg

DSCF3900.jpg

DSCF3908.jpg


It all came out really nice. It took a month of waiting to get to this point soooo
excited!!! Now to put it all back together to route and figure this wire harness out
:builder: :builder: :builder: :whip: :whip:

I wanted to see how it would all turn out I may now send my calipers, triple clamps ....
out next :beer: :salute:
 
Thanks boys,
Yeah it's real nice.
The guy who did it gave me a deal and a mitt full of cards to hand out to anyone who asks about it.

He basically retired from all of his industrial construction stuff to devote himself to powdercoating and custom work and I am all for that because he is soooo meticulous (anal) about everything he does and it is awfully hard to find people like that these days.


That being said I have been busy setting things up because I couldn't stand to look at a naked frame on stands sooo... :builder: :builder: :builder:

I installed new swingarm bearings (old ones were stiff and crunchy)
have installed said swing arm, put the brake pedal and rear master (rebuilt) back on
installed gas tank and battery box and center stand .
I also put on the rear wheel to get it off jack stands so it is more stable

I have lost the charger for my camera and when I find it will post pics of progress :sensored:
 
Thanks Slabgohst, I hope it does.

So here's what I've been up to so far...

I got out the trusty lapping compound etc and had at her it went very smoothly
and best of all no wacky valve guides :good: :good:
DSCF3925.jpg

DSCF3923.jpg


I still have some de burring on the oil return side and a whole lot of cleaning before final valve install (this is just for show)
DSCF3927.jpg


And now for the frame. I will have to completely reassemble the bike to mock up the
wiring so here we go. Tank first
DSCF3911.jpg

Then rear master and swing arm as well as new non crunchy swing arm bearings
with new progressive shocks I got for my birthday
DSCF3912.jpg

These are the rear turn signals and fresh rubber (Bridgestone Battlax BT45's)
DSCF3914.jpg

Then I rebuilt the forks, tubes were damaged so new forking by frank tubes were in order
DSCF3862.jpg

:shock: :cheeky: :rant:
DSCF3788.jpg

along with matching front progressive springs fresh seals...
DSCF3857-1.jpg

MMMmm... fresh forks. I have not yet decided but will probably use scotch brite to give the fork bottoms a nicer appearance
DSCF3860.jpg

and installed the renewed front end on the bike
DSCF3919.jpg

I bought clubman style bars for it but they touched the tank sides so I flipped them upside down and they look pretty cool and the plus side is I get a little more comfortable upright seating position.
DSCF3793.jpg


]Someone had messed up the gauges and removed all the dash lights and I was not so
keen on the factory ones so I found a CB 360 dash and am much happier.
The key no longer fits in the ignition so I will move the ignition on the frame Harley style
DSCF3920.jpg


Here is a quick side view of what it looked like yesterday
DSCF3916.jpg

:heat: :lazy: :laptop: for the next installment I shall finish the heads install them
do the alternator stator and a new clutch, a new water pump and put the motor back in the frame.
I now need a nap. Until next time my fellow wingers :salute:
 

Latest posts

Top