Flathead 6 - Replace Head Gasket

Classic Goldwings

Help Support Classic Goldwings:

This site may earn a commission from merchant affiliate links, including eBay, Amazon, and others.

mcgovern61

Well-known member
Staff member
Moderator
Supporting Member
Joined
Dec 3, 2009
Messages
10,979
Reaction score
237
Location
Kingsport, Tennessee
My Bike Models
Former '82 GL1100 "The Slug"
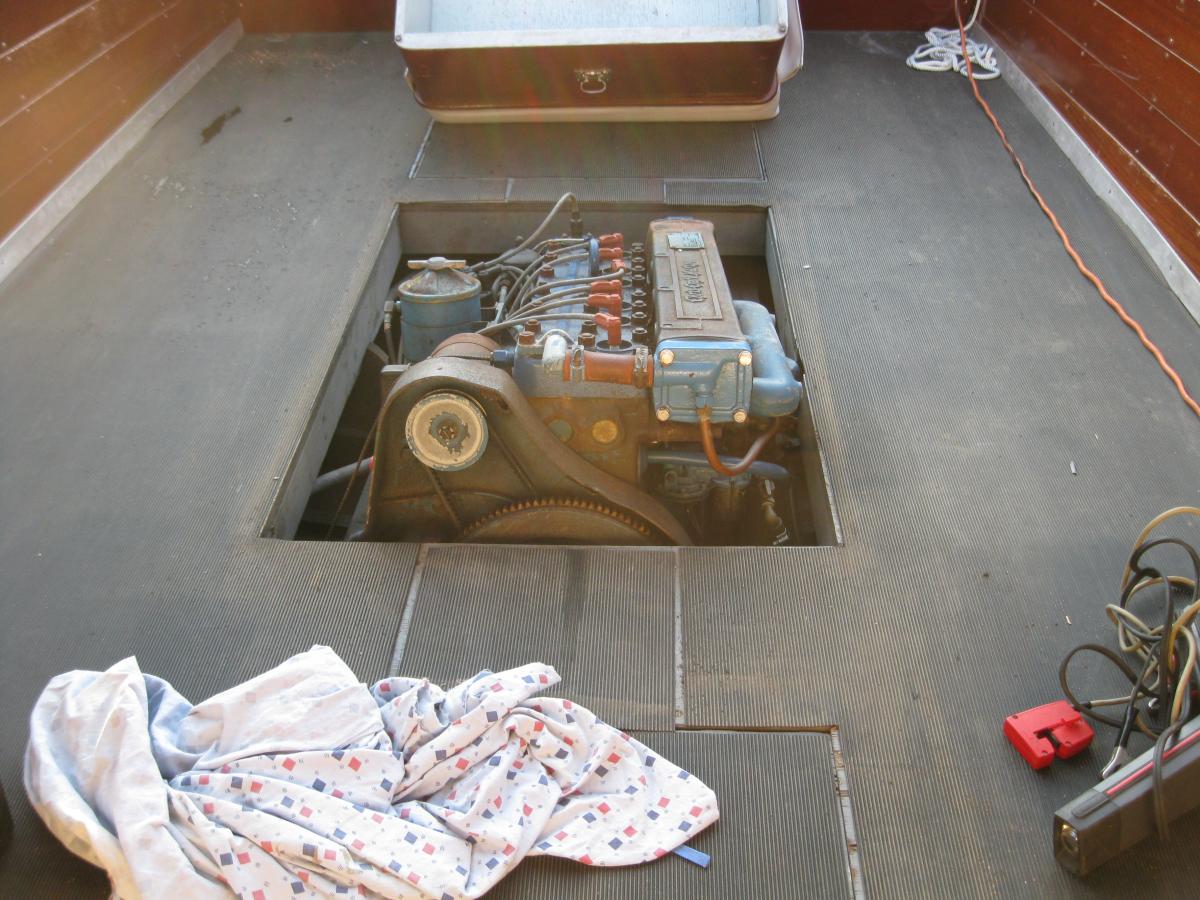
Some of you engine guys might appreciate this work. I have been slowly taking my 1956 KL engine apart for restoration and rebuilding work as needed. It is an original inline 6 cylinder, flathead Chris Craft KL engine. (Manufactured by Hercules Industrial Engines). I had an issue with water leaking from the head gasket on the right side of the engine. :shock:

Of course, my first instinct based on my Goldwing experience is "blown head gasket"! However, it turns out that the flathead engines have to be checked and re-torqued each season (who knew?). I got almost a full turn out of each of the 24 head bolts/nuts.

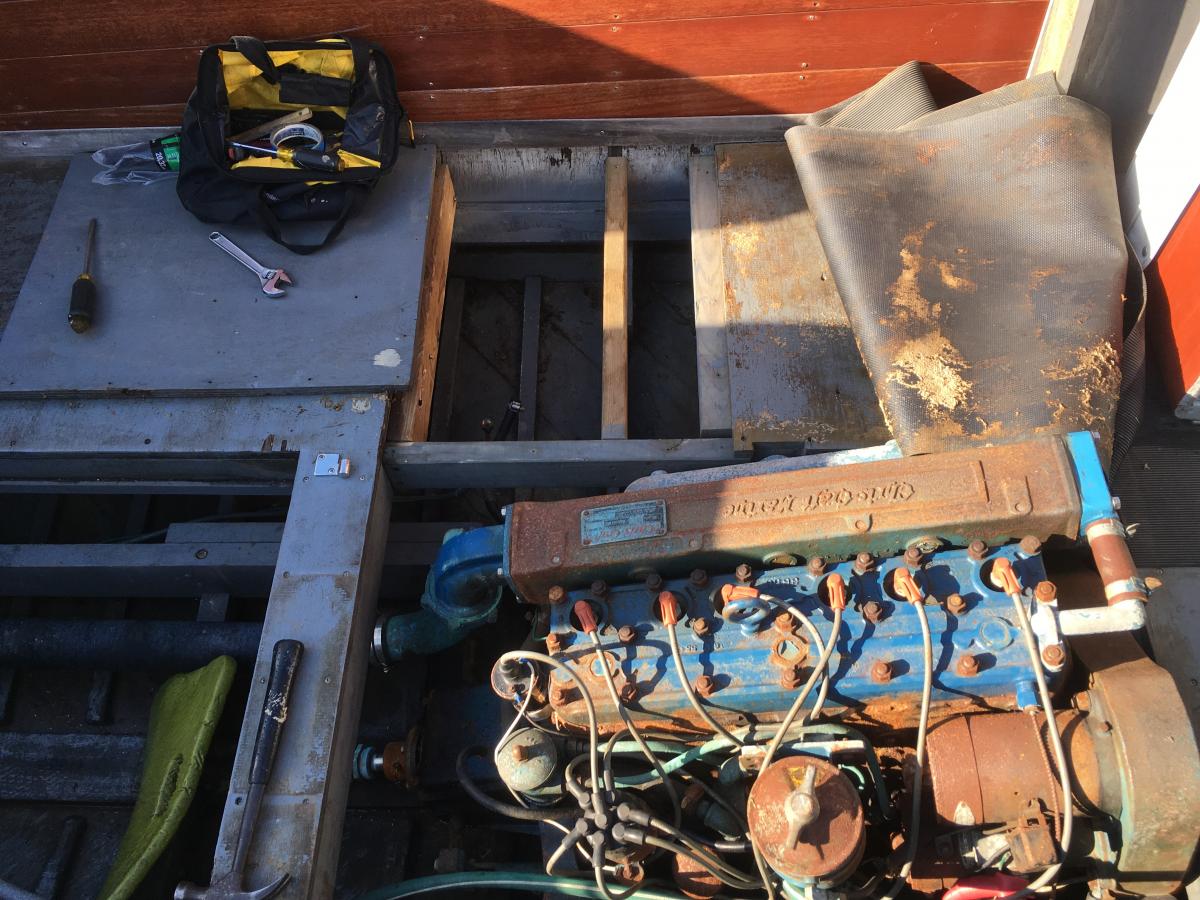
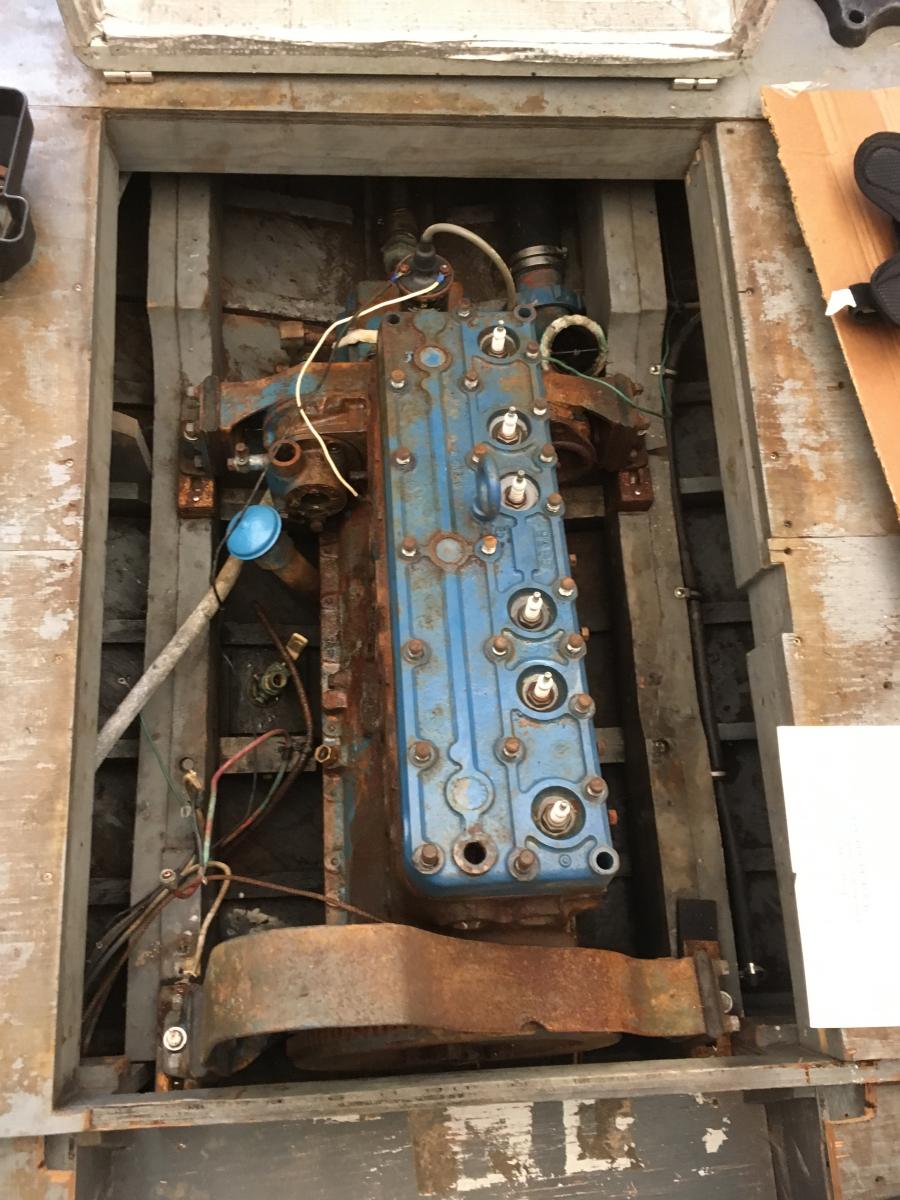
To be on the safe side, I decided to pull the head and determine for sure the gasket is not blown or that I have a crack anywhere. In the process, I have also been cleaning all of the parts as well as the block for painting.
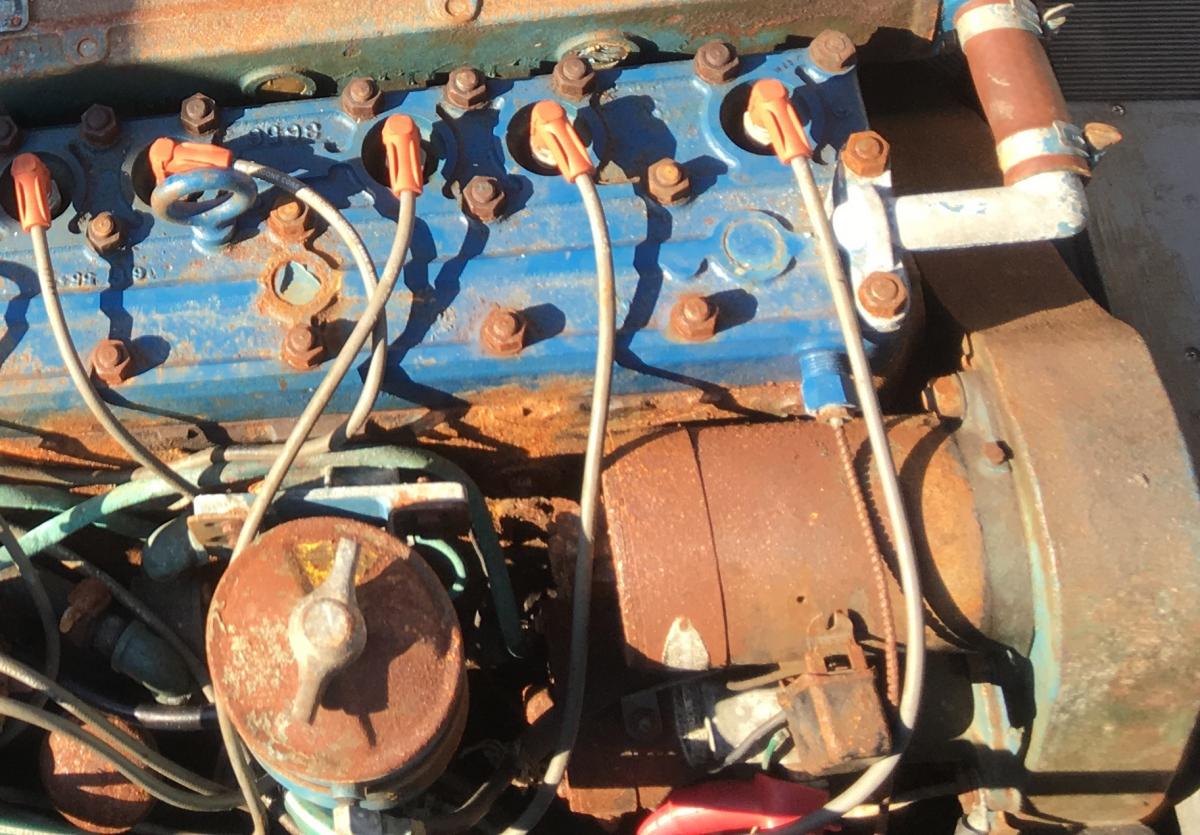
image.php


image.php


image.php


image.php
 
How to lift off that head? A little caveman tech (learned from Joedrum):

image.php


Classic copper head gasket:

image.php


You can see where the gasket sealed and where it leaked ever so little:

image.php


It is much more obvious that the head leaked oil and water more at the #1 and #2 cylinder:

image.php


image.php


So far, no cracks detected. I brought the head home so that I can clean it and check for square.
 
This is how you know it is a boat engine..........

I was using a wire wheel to clean off the rust after I degreased the engine. At the back of the engine on the right side, there was a long plug sticking out of what should be a block drain. It was looking rough, so I hit it with the wire wheel. It started shredding right away! :shock:

Pulled it out and, guess what, it is a WOODEN PLUG! Man, imagine if that popped out while underway! :Awe:

image.php


image.php
 
Prepping the block and gear for paint:

image.php


image.php


After degreasing, wire wheel, chipping hammer and vacuum, the next issue is to convert the rust. I use a product that we used on commercial ships (but is also available at Amazon.com) called Corroseal. It is a water based product that converts the rust and creates a barrier coat and primer. Once dry, I can start painting. I have a period correct lacquer paint that is brushed on.

image.php


image.php
 
[url=https://classicgoldwings.com/forum/viewtopic.php?p=209324#p209324:33lowldy said:
julimike54 » Tue Apr 16, 2019 7:21 am[/url]":33lowldy]
Interesting.....I guess any plug in a storm? Looking good so far!
:smilie_happy: Yep. Have plug...will travel. I have no room to talk. Back in '97 we were descaling a bilge in an engineroom on a ferry boat (in the water) and punched a hole through it. Normal damage control is to always have wooden plugs available. I had one to stop the inflow of water, but changed it out with a boiler plug to be able to sail the vessel to a shipyard for haul out. It worked!
 
[url=https://classicgoldwings.com/forum/viewtopic.php?p=209325#p209325:e907df74 said:
joedrum » Tue Apr 16, 2019 7:35 am[/url]":e907df74]
Neat boat project Gerry ...great work so far ...looking like motor is in good shape ...
It is Joe! The motor is a real workhorse. Working on the boat engine all winter has been therapeutic with my back and neck issues. I cannot ride the Slug more than around the block without getting hurt, so at least I can do mechanical work on this engine.
 
Nice work as always Gerry! :good: You should know by now how important good “wood” is in a boat! :clapping:
 
image.php


Talking to an old-timer who is rebuilding my generator about the wooden plug in the drain and he said, "Well I'll be! Don't ya know what that is??" I said, a wooden plug, right? He said,"Nope. That there is an original winter storage freeze out plug." He said that back in the day (before using antifreeze to winterize boat engines), you would drain the engine of water. But there was always a chance of water getting left in there so they would use a wooden freeze out plug. Any ice that would develop would pop that plug out long before the block could freeze allowing any condensation to drain.

I asked, why not just leave the hole open to drain? He said that the inside of the iron block would be a different temp than the outside (in overnight storage) and the change in temps would cause condensation to form. Leaving a wooden plug in kept the inner iron cooler without letting warmer air in right away causing internal condensation which would cause the block to start rusting from the inside out.

Learned me something new today!
 
BTW, you guys have to see how I do this work. Bending over is out of the question due to my back issues. Almost all work being performed close up on the engine is done while laying on my side (safest way to not herniate more discs). I'll have to get my Wife to get a pic.
 
[url=https://www.classicgoldwings.com/forum/viewtopic.php?p=209404#p209404:1nail1te said:
mcgovern61 » Wed Apr 24, 2019 2:45 am[/url]":1nail1te]
BTW, you guys have to see how I do this work. Bending over is out of the question due to my back issues. Almost all work being performed close up on the engine is done while laying on my side (safest way to not herniate more discs). I'll have to get my Wife to get a pic.
:good: :popcorn:
 
[url=https://classicgoldwings.com/forum/viewtopic.php?p=209408#p209408:19yyvkvm said:
Ansimp » Tue Apr 23, 2019 3:47 pm[/url]":19yyvkvm]
[url=https://www.classicgoldwings.com/forum/viewtopic.php?p=209404#p209404:19yyvkvm said:
mcgovern61 » Wed Apr 24, 2019 2:45 am[/url]":19yyvkvm]
BTW, you guys have to see how I do this work. Bending over is out of the question due to my back issues. Almost all work being performed close up on the engine is done while laying on my side (safest way to not herniate more discs). I'll have to get my Wife to get a pic.
:good: :popcorn:

Another job that can be done laying down! :hihihi:
 
BTW, take notice in this first picture of how the engine is buried in the deck:

image.php


The deck was replaced by a previous owner (I know, PO's do stuff on boats just like on bikes that cause headaches for future owners!) The deck was raised to make it easy to cover in marine plywood and then a v-ribbed rubber deck. There is supposed to be a step down and open area in front of the engine plus the deck around the engine should be 3" lower. There should also be two bunks on either side of that space. Just an FYI, this is what the deck is supposed to look like:

image.php


image.php


image.php


I have spent much time this winter removing plywood, lowering and re-installing. I have not lowered the aft deck around the engine for this year, but I will rebuild the deck with the right planking in the near future ($$$$$).

image.php
 

Latest posts

Top