You might have remembered my previous post found
HERE, well I took the option of getting the units powdercoated.
11-12-12
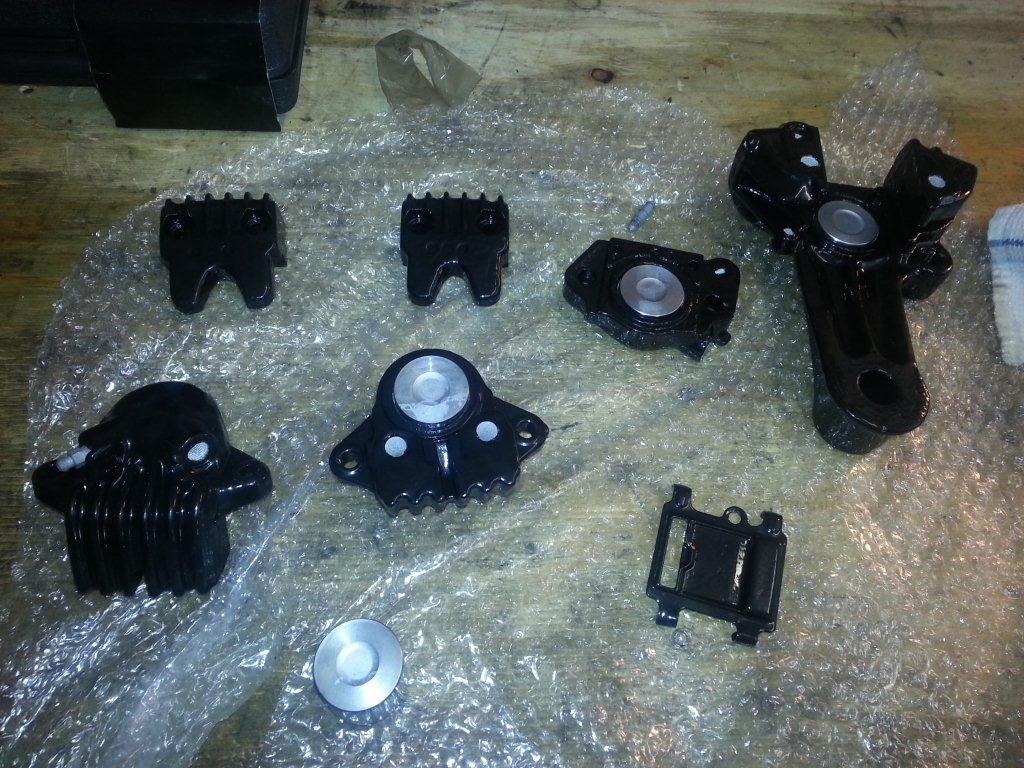
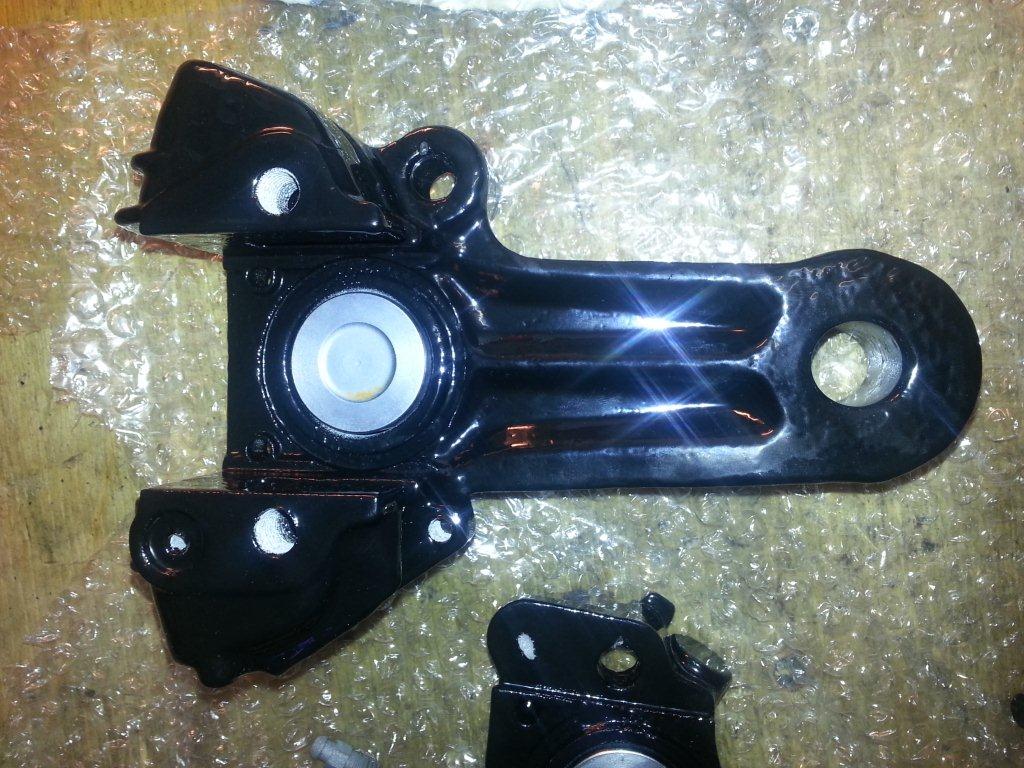
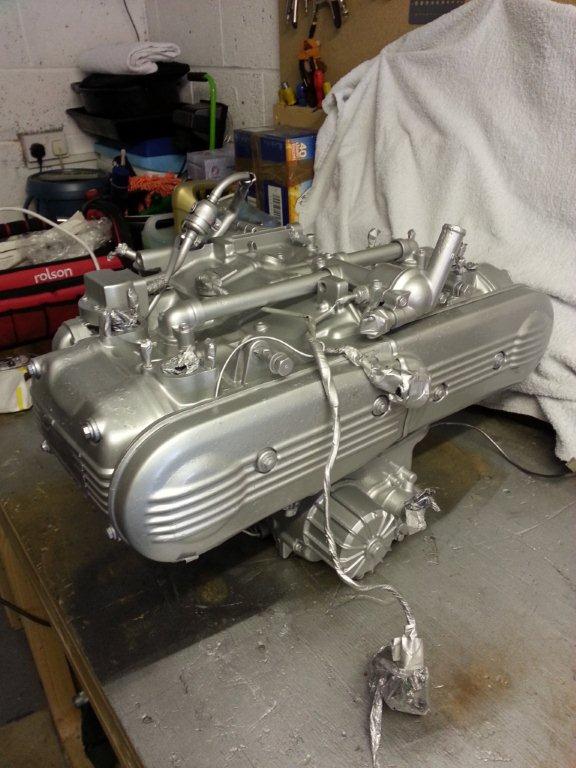
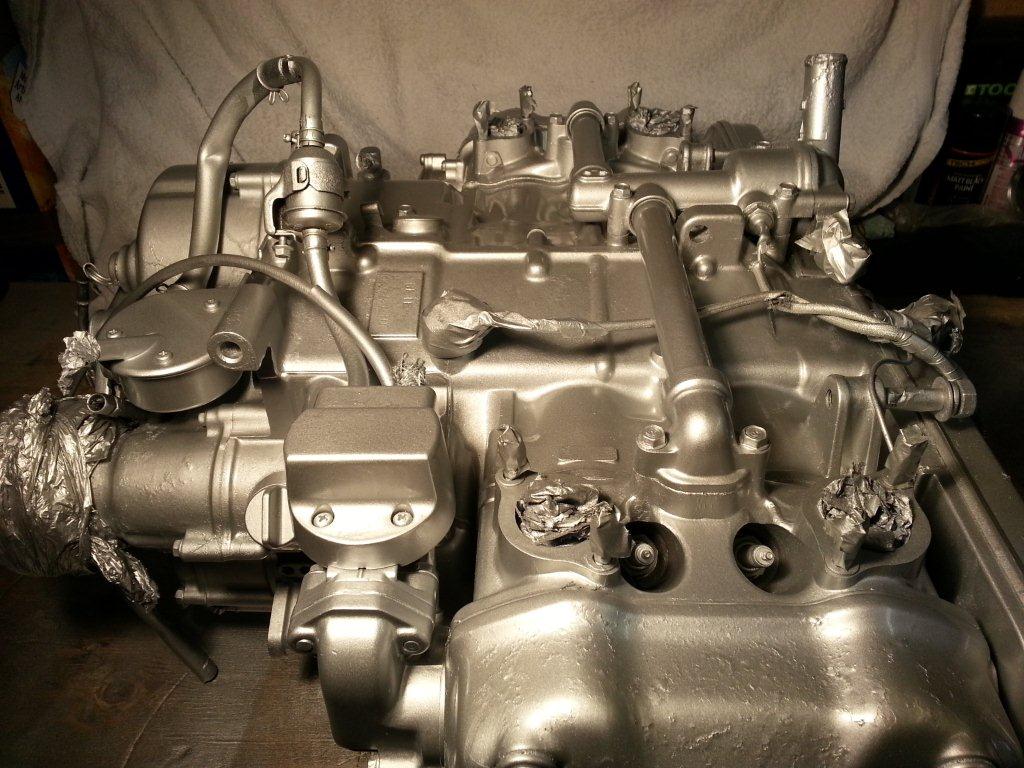
OK, got my calipers back from the powdercoaters...
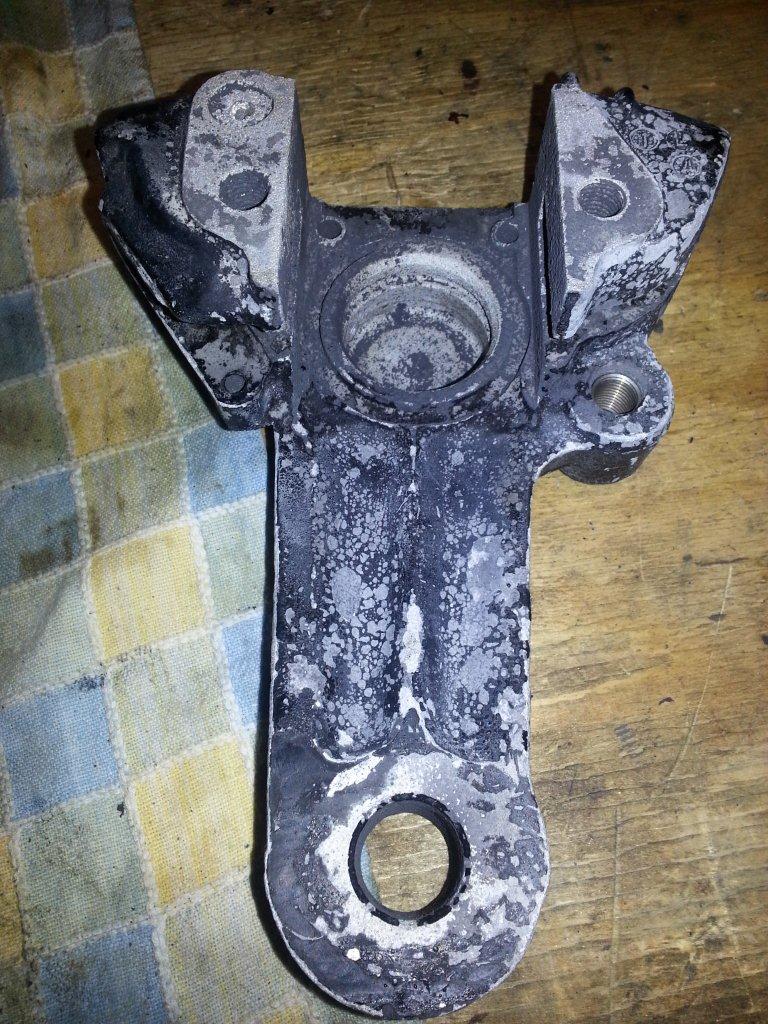
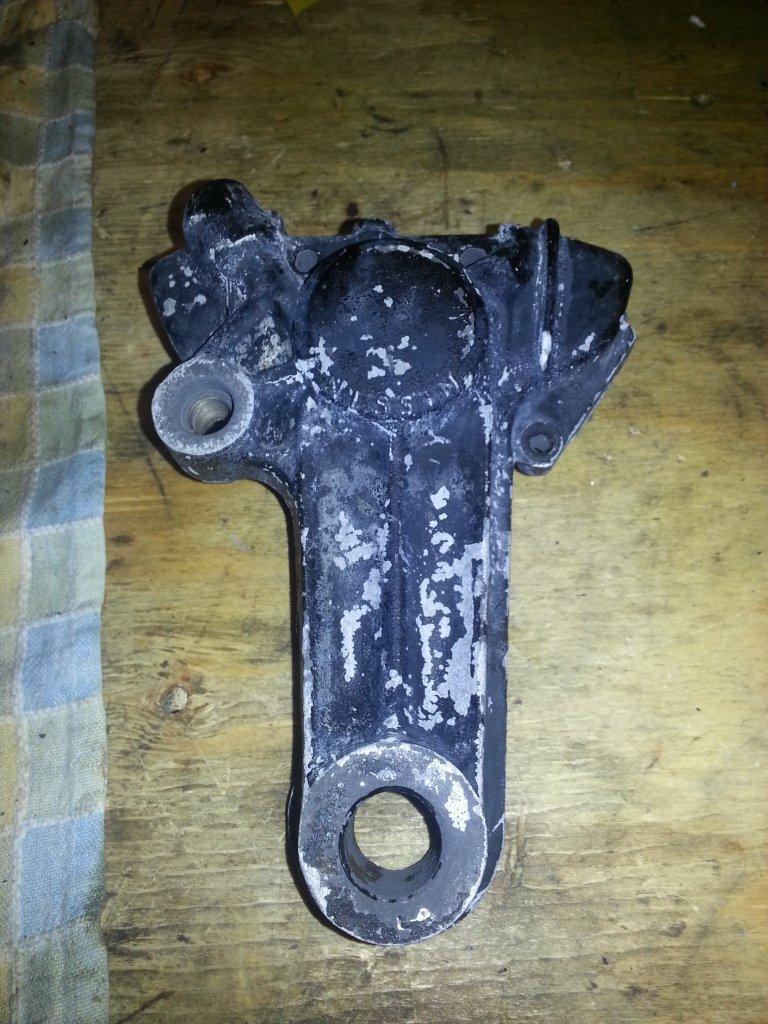
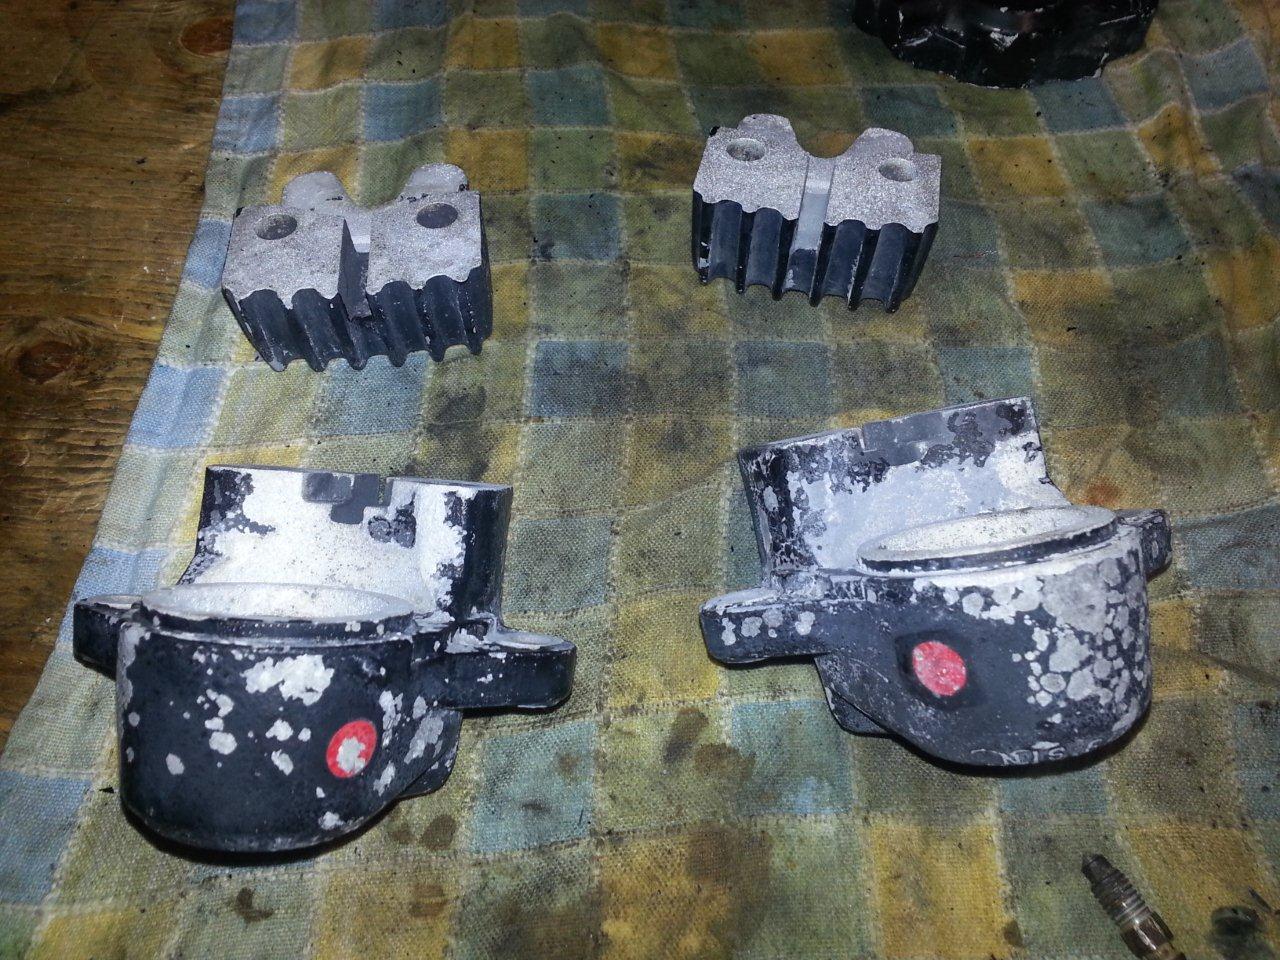
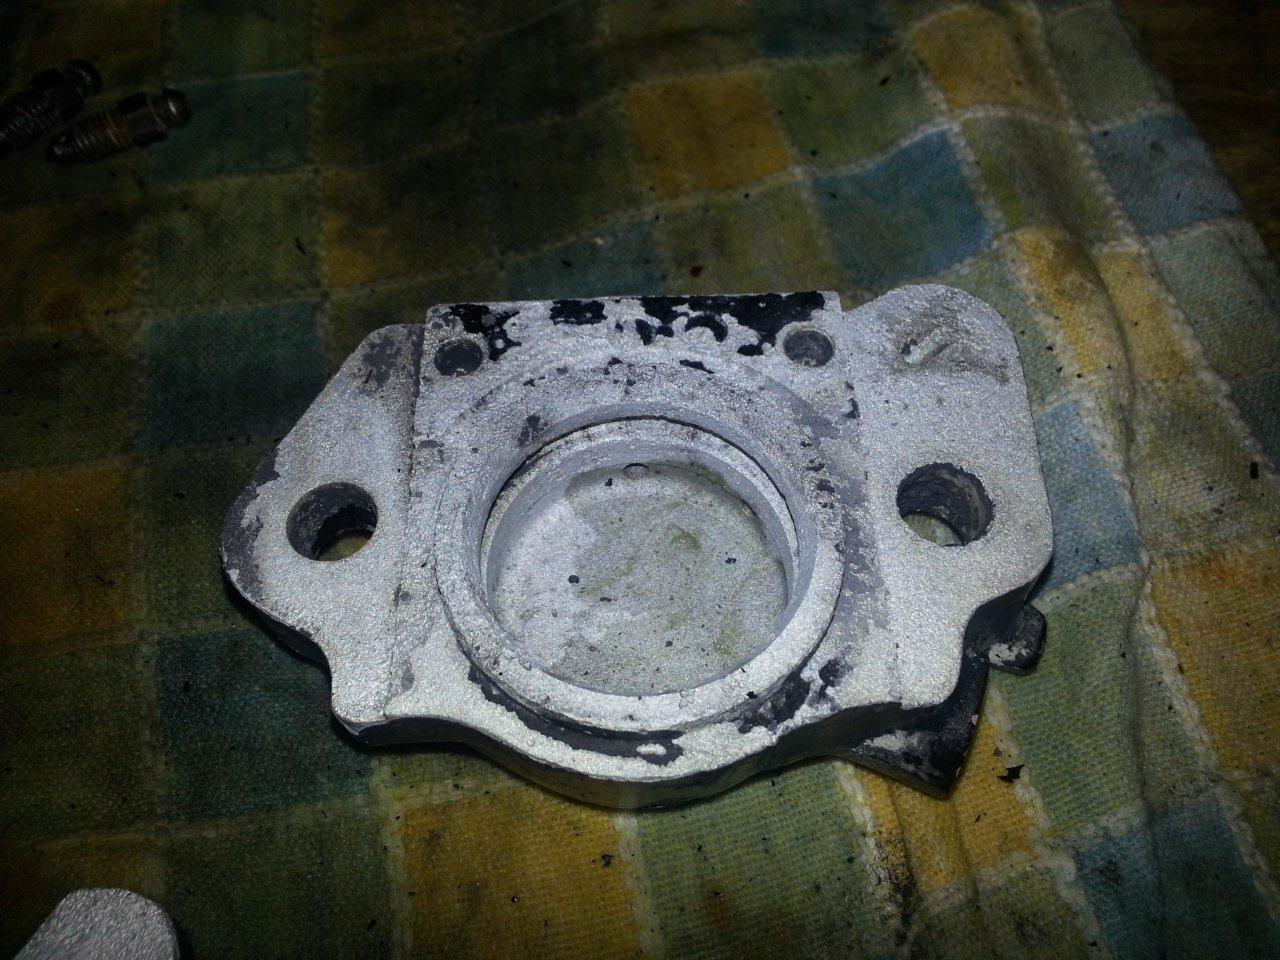
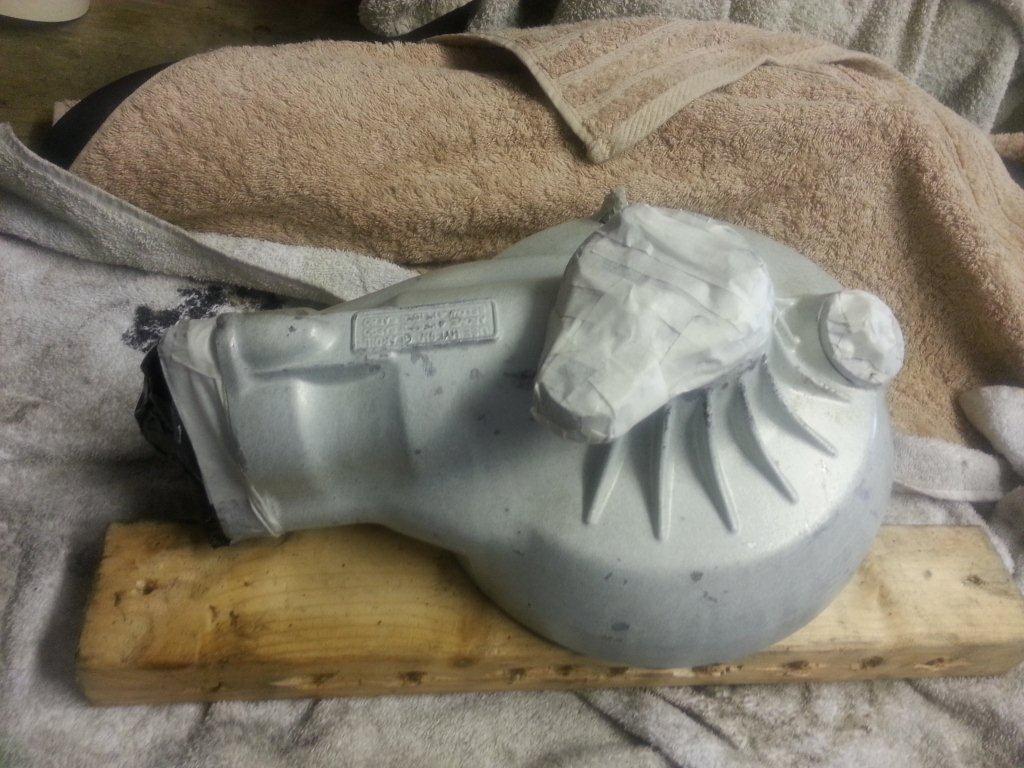
Heres a shot of the pre-powdered caliper...
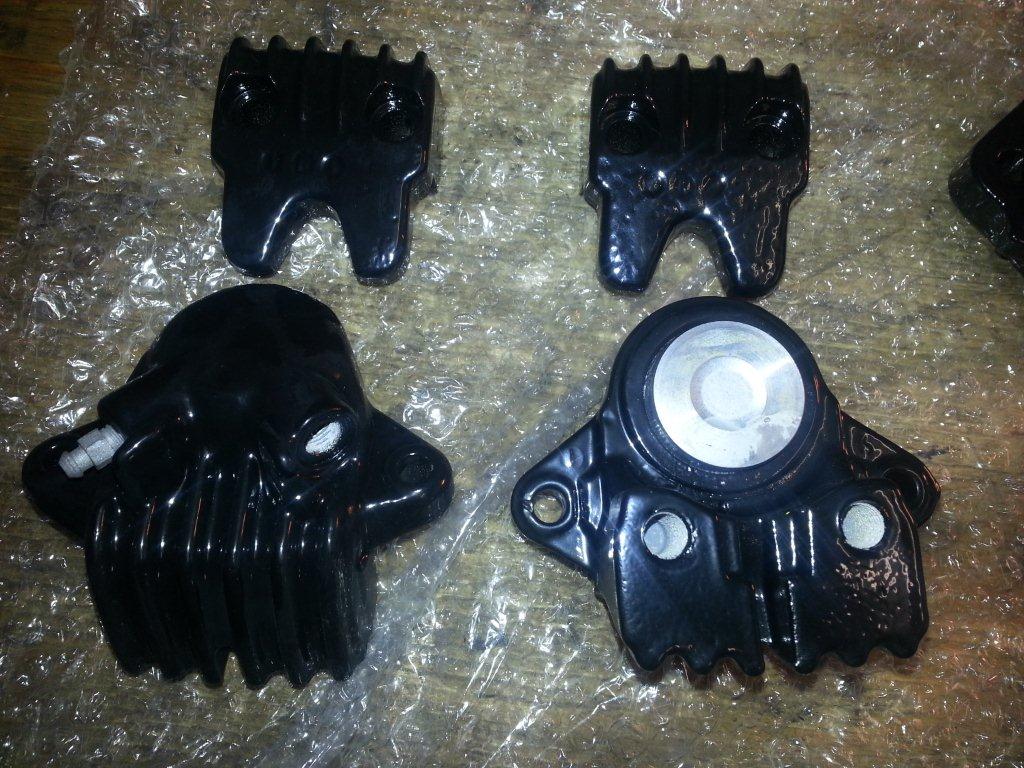
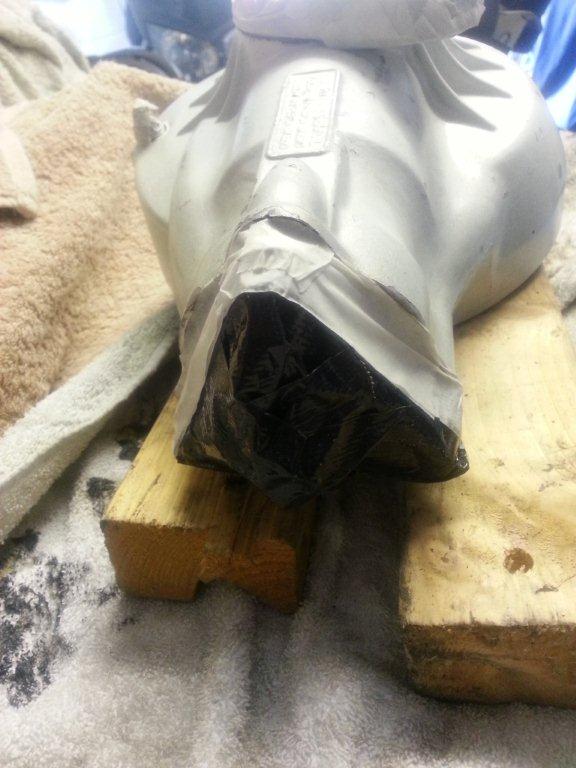
Needed to tap the threads out, and clean up the brake fluid channels.... Heres a good idea - lets try one of those calipers halves in the vice. Sure, its not a rock solid grip, but what could go wrong...
BOLLOX

Got my front caliper seals in the post today, but now one of the caliper halves need to be repowedered. Double double bollox
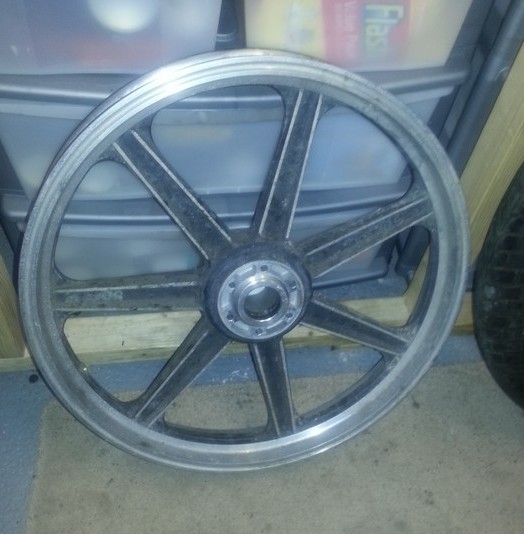
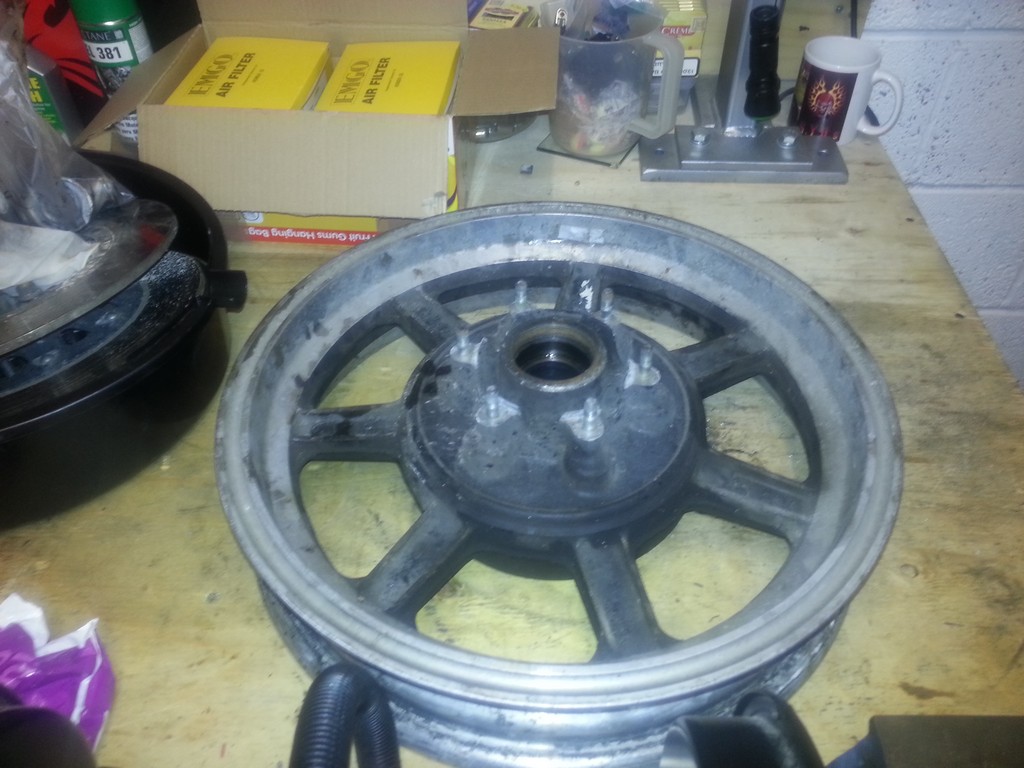
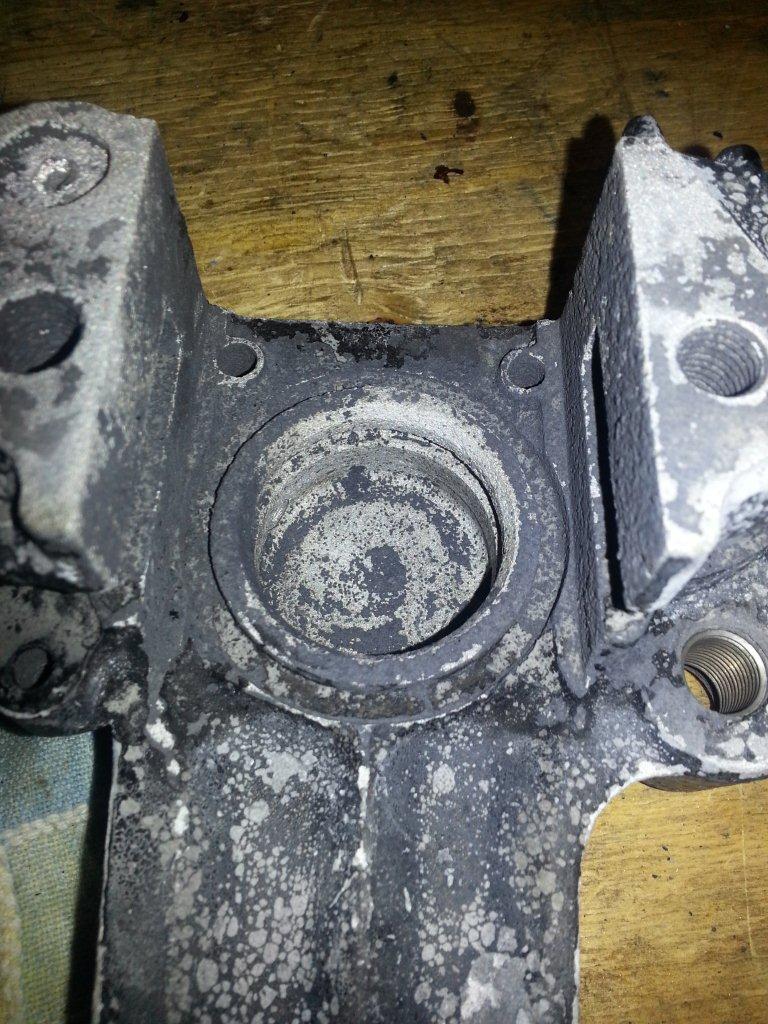
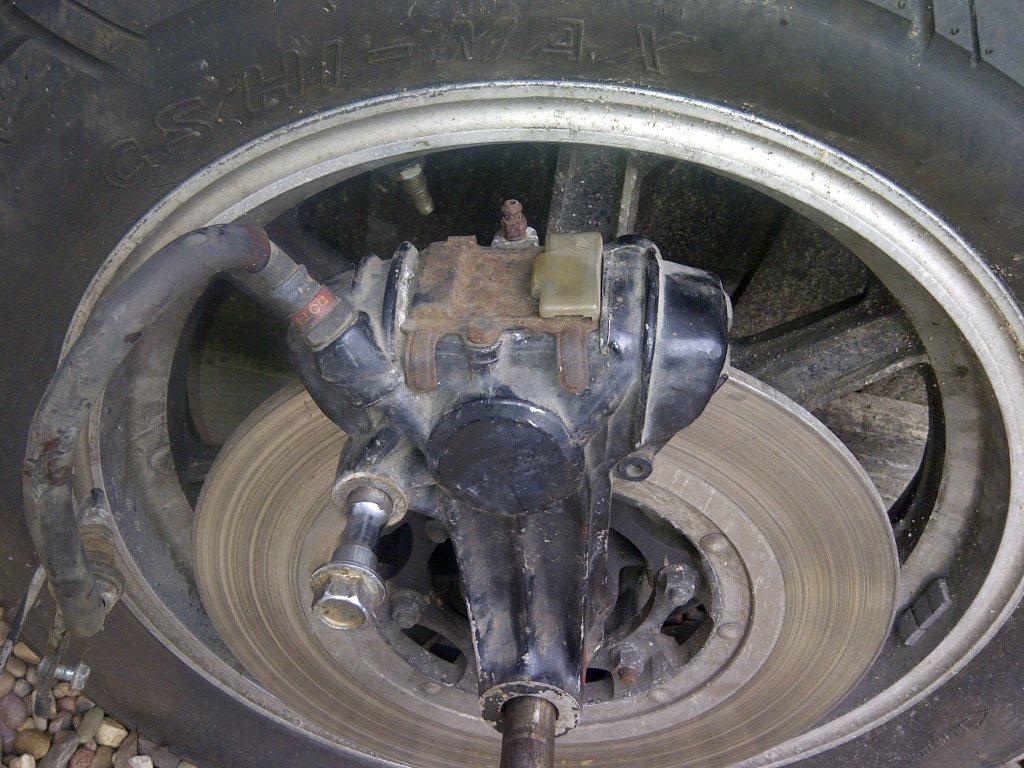
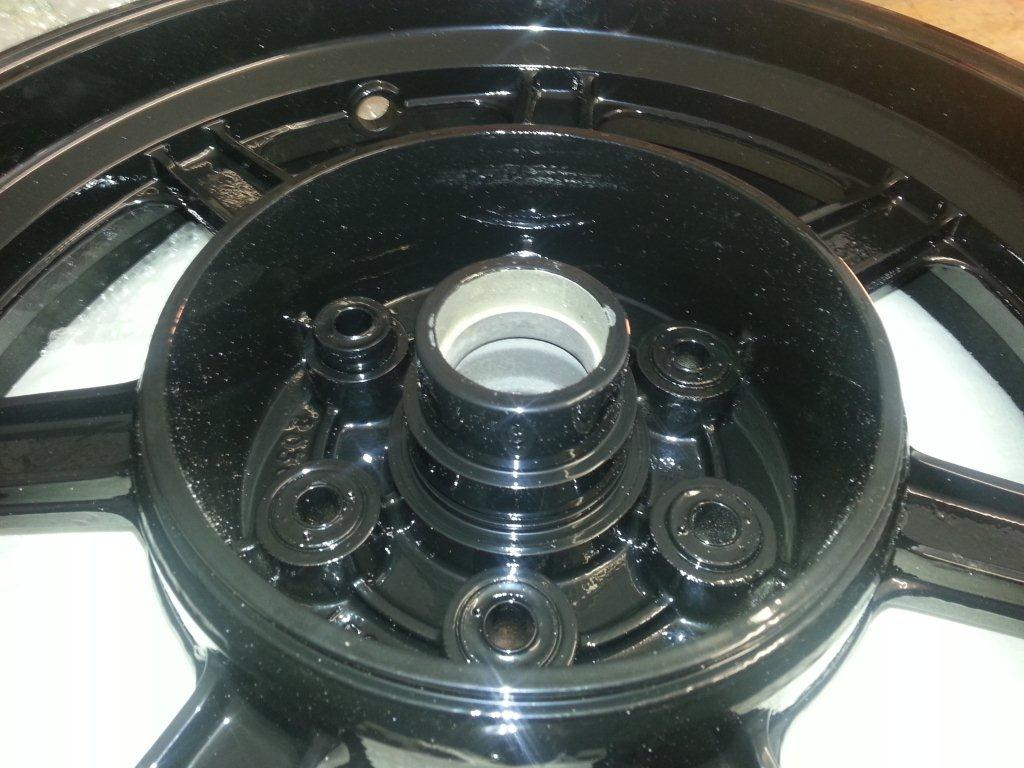
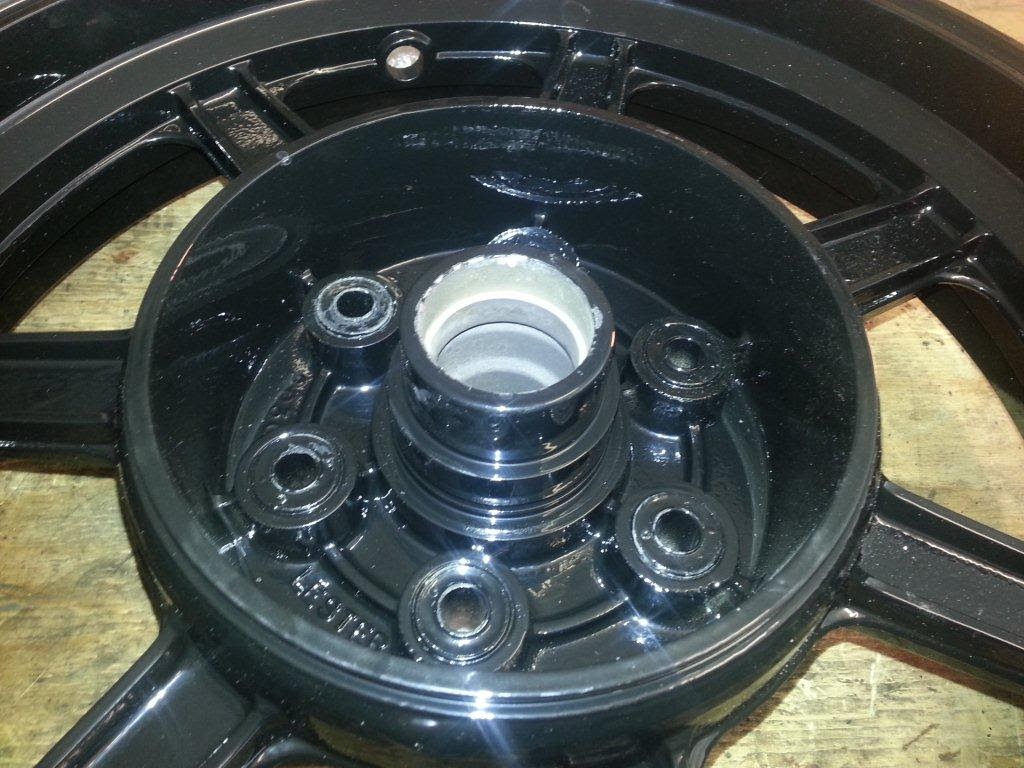
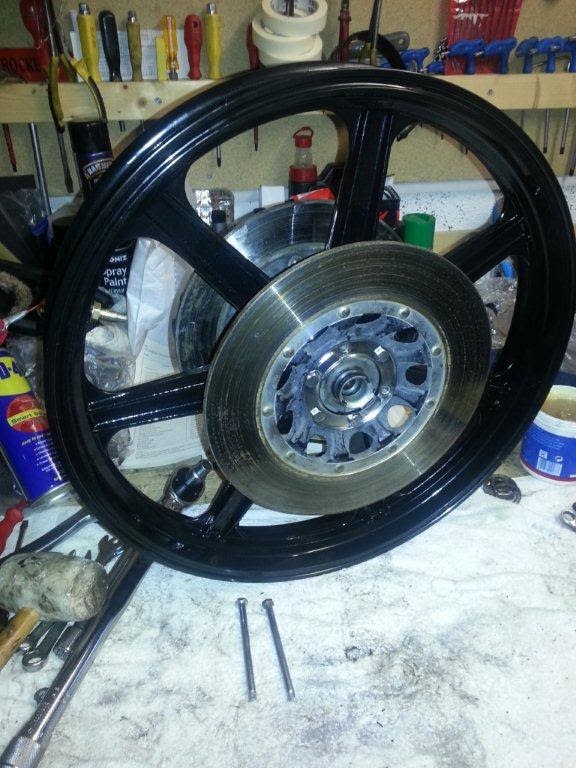
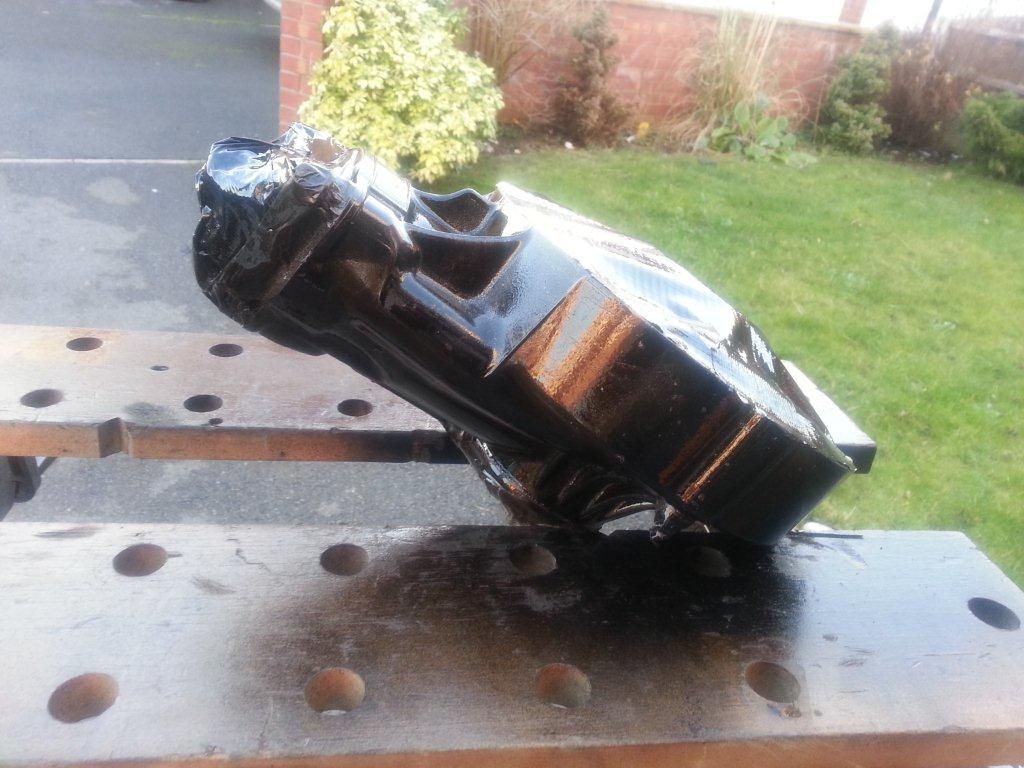
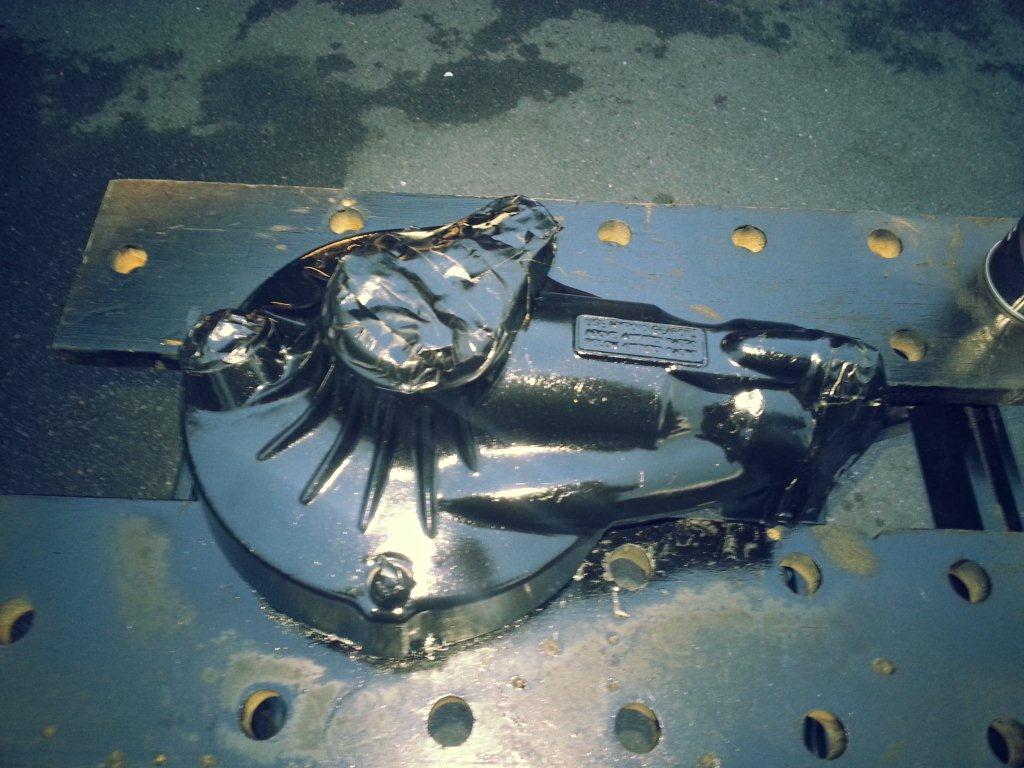
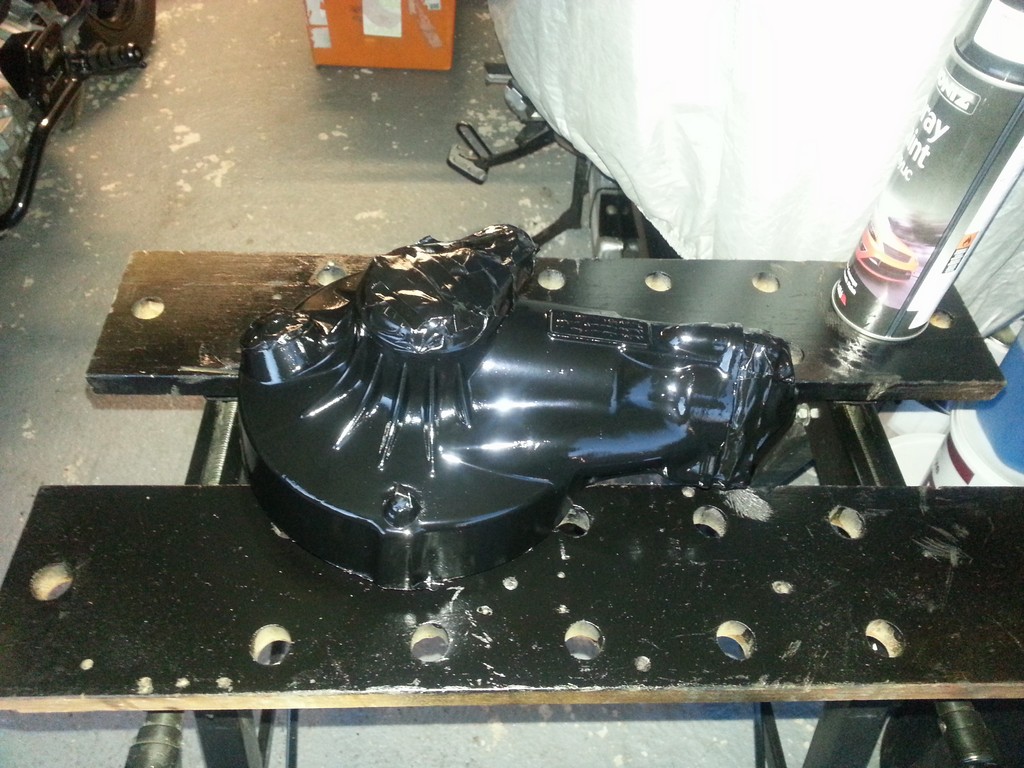
I also needed to reseat one of the cush drive mounts. In this picture you can see it protruding (this happened in the oven)..
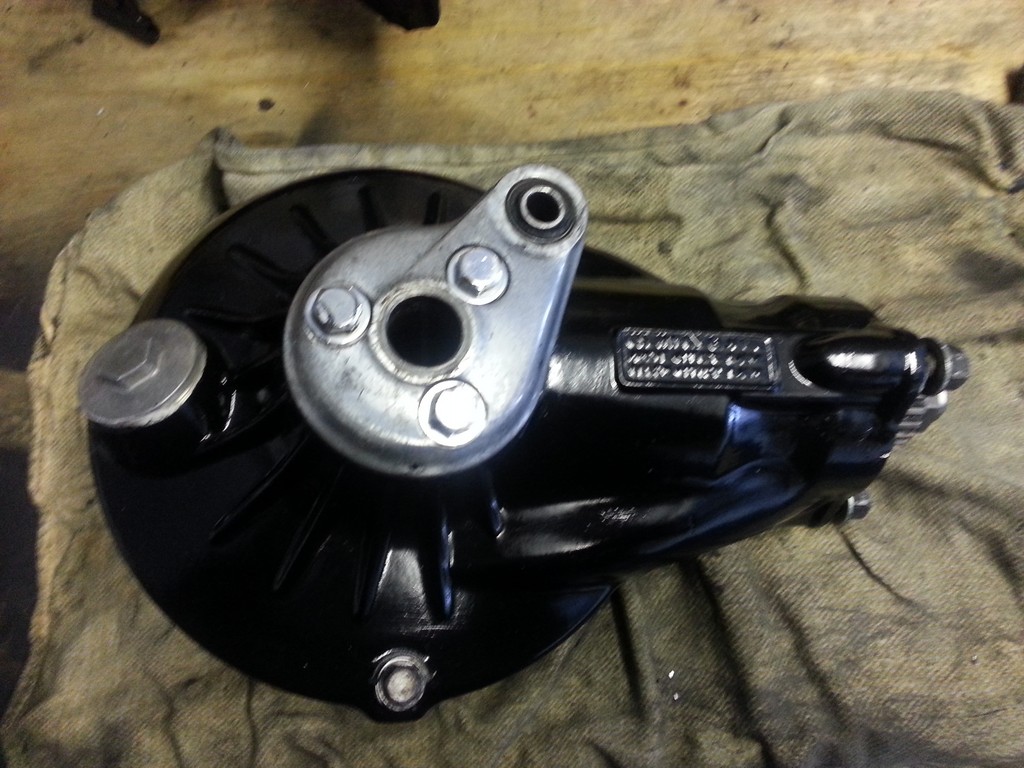
After explaining to the wheel the consequences of fucking me about after the caliper debacle, a few taps with a rubber mallet sorted it out....
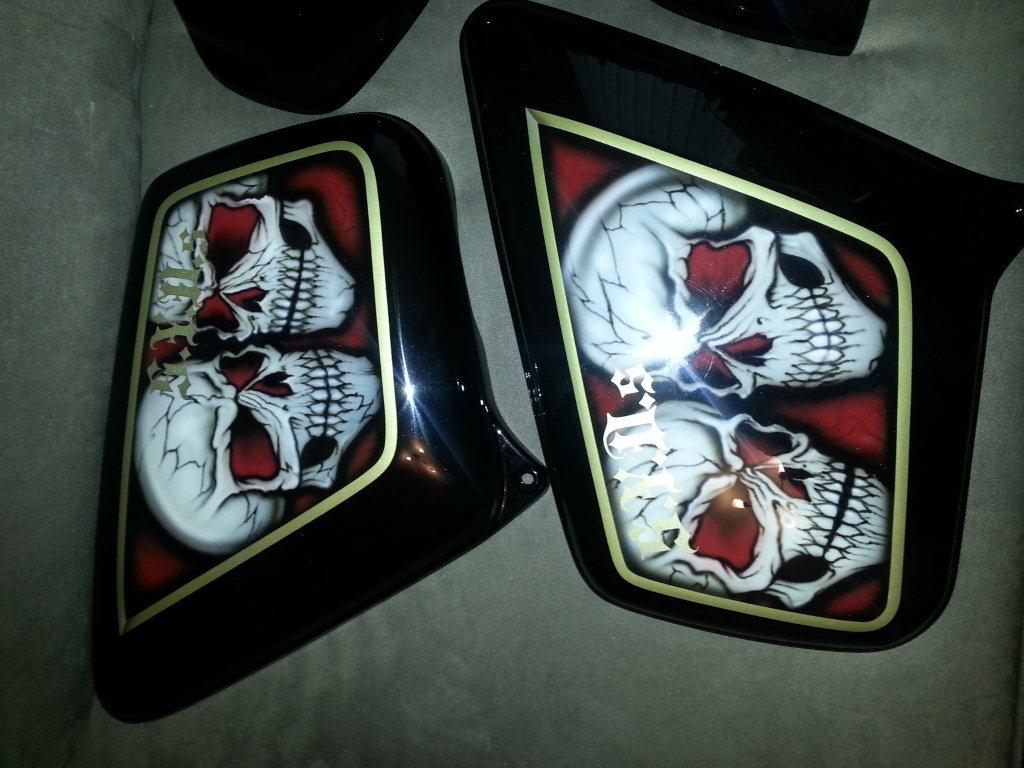
Im now waiting for 100 ball bearings and a tank sealant to clean up the inside of the fuel tank. I need to remove the fuel level float from the tank, but its not explained in the workshop manual (!) so will have to do some R&D. I also dismantled all the bodywork ready for the painters (hopefully tomorrow when Steve speaks to the painter and see if they can fit mine in for pre-Xmas)....
19-12-12
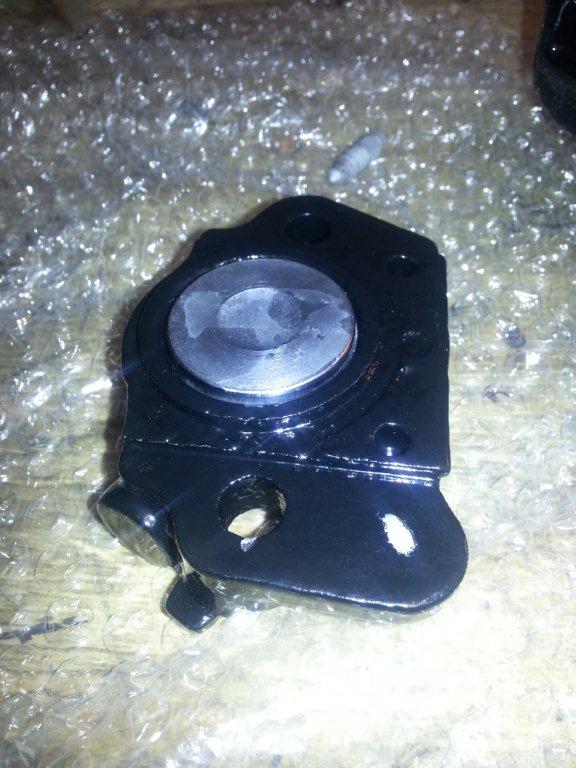
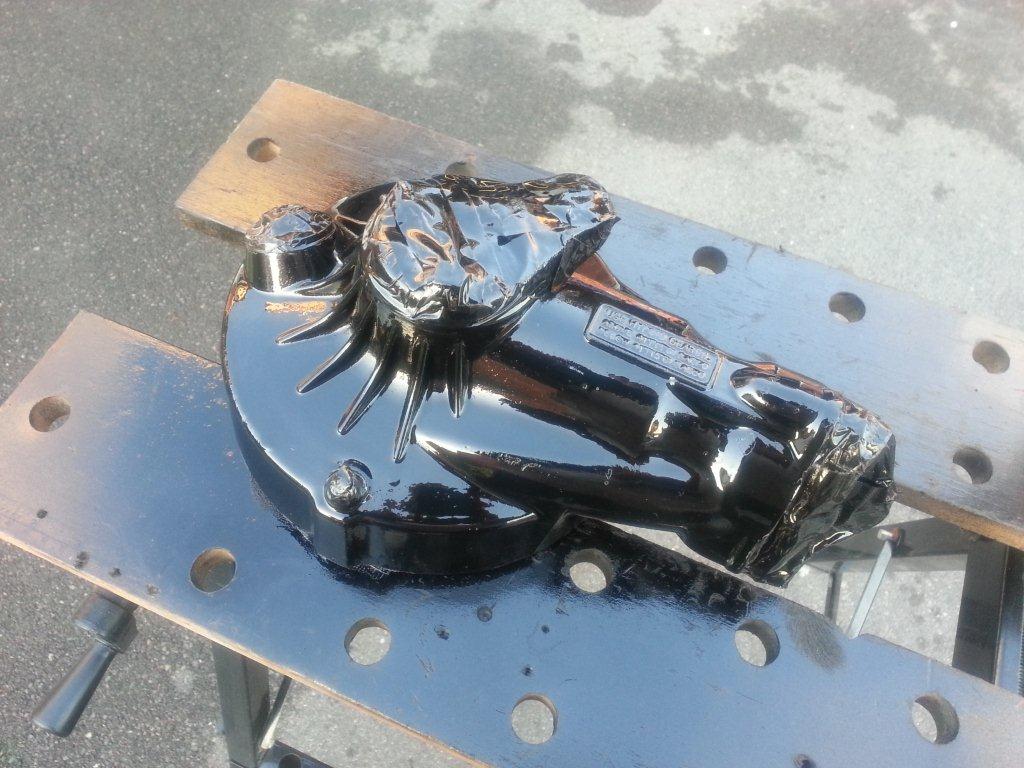
Picked up the repowdercoated callipers today - must remember not to balls it up again. The bleed nipple is loose in this calliper so it might be the wrong bleed nipple OR it may be in need of a helicoil (might have come out when being powdered). If they dont need helicoils, then the callipers can be reassmbled as i have all of the seals ready to go in.
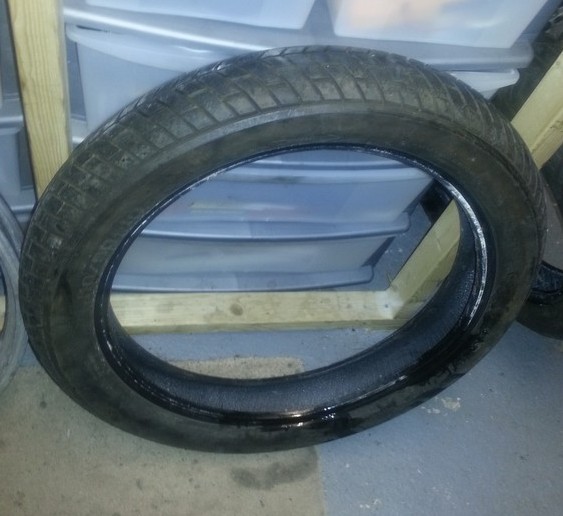
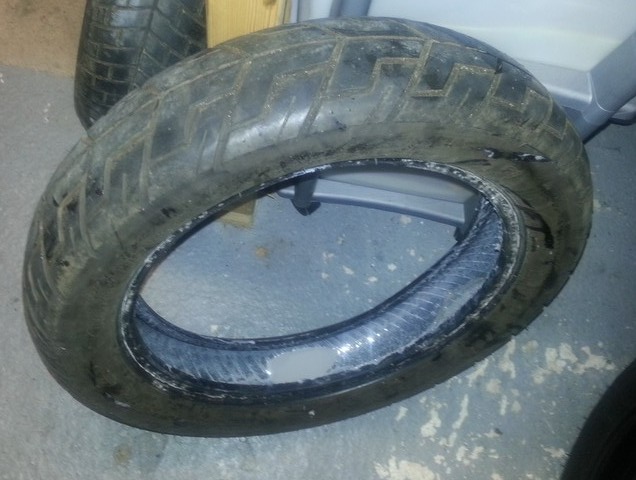
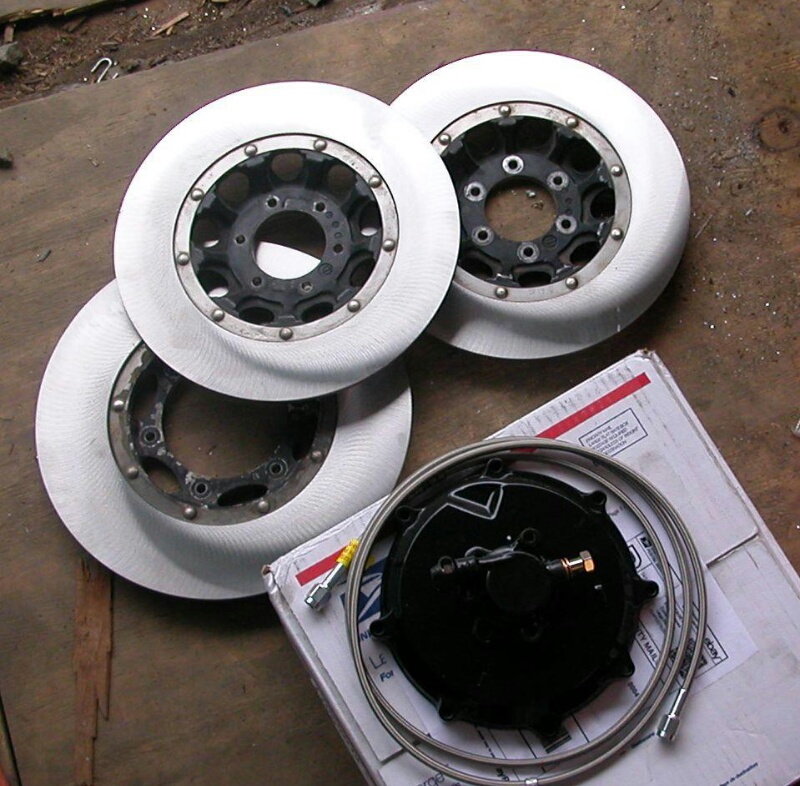
Tomorrow, its wheels time - new bears put in and the discs remounted, then off to Barnsley National Tyres so they can put a pair of new Continental tyres on the wheels and balance them up.
After that its the forks which need to be reassembled. New fork seals to be fitted, then the springs go in and stanchions bolted back in. The forks need to be setup - oil and air for these. Must remember to put the fork brace on as well.
Its then the turn of the fuel tank - need to get the float out and then clean the inner of the tank out with my special degreaser and a shed load of old nuts and bolts. Once thats done and its cleaned out and compressed air dried out, i need to seal the inside of the tank with the sealant i have purchased. The exterior then needs to be painted.
The fuel tank craddle then needs to be cleaned and painted (once all of the electrical connectors have been removed). I might be able to get the diff keyed and painted as well (or at least one coat).
That ought to be enough for one day
20-12-12
OK - day didnt start very well with me having a load of an emergency work to resolve before I could turn my attention to the bike. Once I did, and after Steve arrived, I wasted more time by not being able to locate the wheel bearings in my cramped garage (just too much .... well ... everything!). With the bearing located after what seemed hours, we started.
It took fooking ages!
Having to air compress left over sand out from the wheels, we had to fit the cush drive using a rubber lump hammer, then fit the bearings once we worked out which of the other sh*t (spacers, rings, seals, clips, etc.) were required - then located them in the garage - then locate the right tools to get them installed. It went on and on and on.
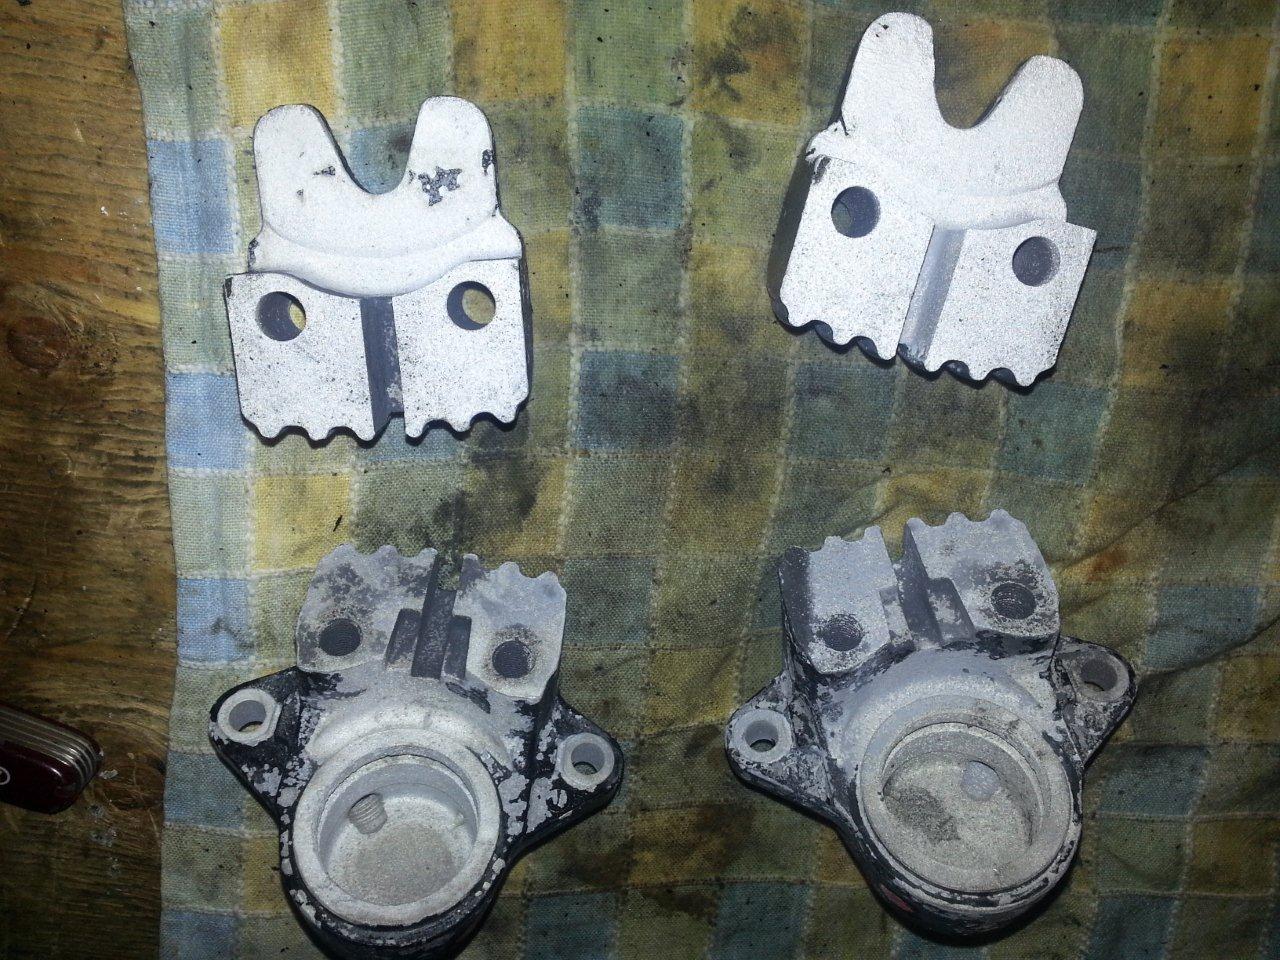
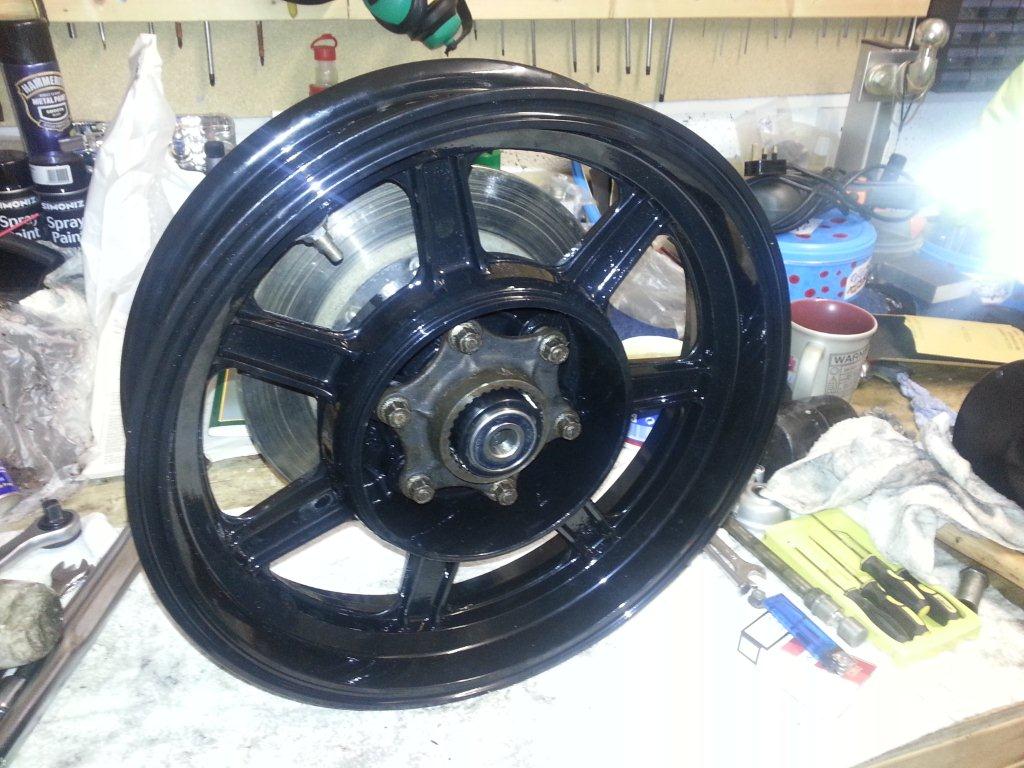
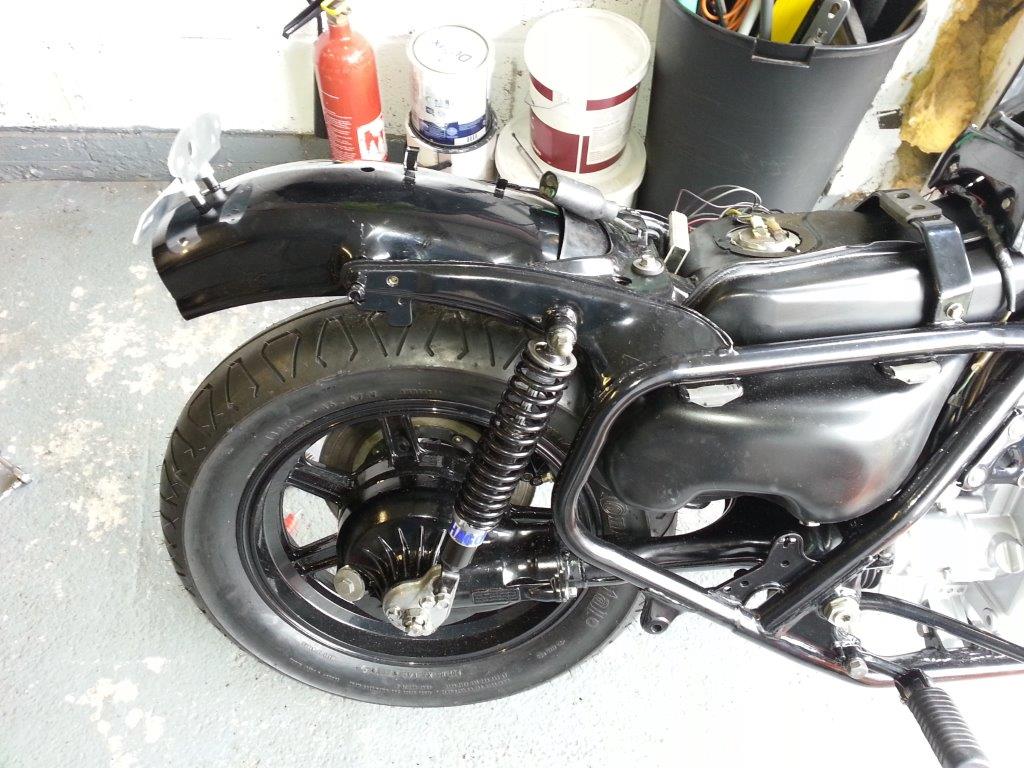
Rear done:
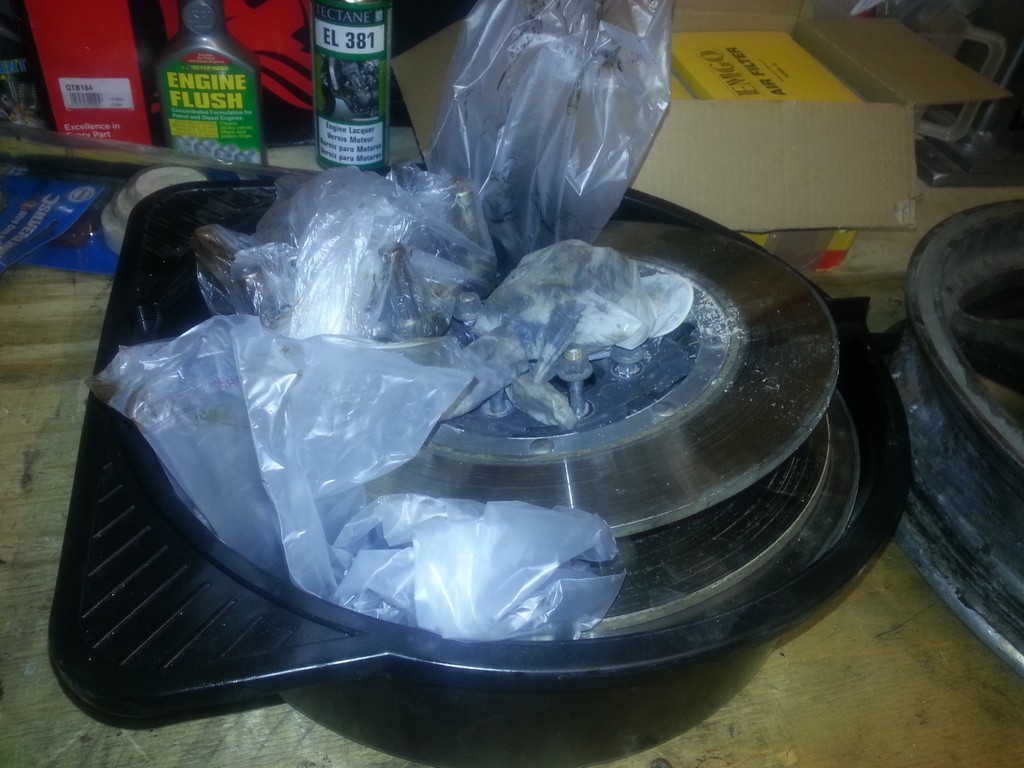
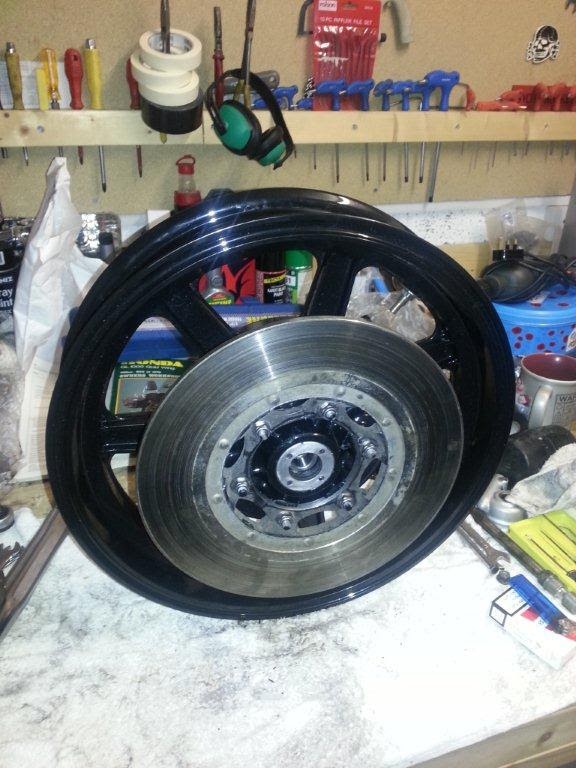
Then we turned our attention to the front. Slightly more easier than the rear, which of course we let our guard down and in rushed the "brilliant" ideas (which in english means ways to fuck things up). Out comes the air ratchet gun in order to tighten up the discs bolts. Steve does 5 out of the 6 and leaves me 1 to do. Bingo - I sheer off the bolt. We loosen the others off and then use the old manual torque wrench on the remaining, but of course one isnt having it and promptly sheers itself off as well. Bastards. Out with the phone, on to ebay, find a complete set of replacements for £15 delivered - bought and paid for before steve could finish his smoke.
Front (including the two offending bastards):
We then assembled the forks. Both fork legs had a lot of left over sandblasting material in them, so after washing them out with petrol we managed to get the seals in (what a ball ache and it took yonks) and get everything else in like retaining clips and cir clips. The problem is that the workshop manuals (and I have 3 different ones - Clymer, Haynes and Honda) arent very good at all, and it requires a lot of headscratches and working it out before we did the work. Like the fork oil seals - we arent 100% certain we have fitted them the right way, and the instructions were non existent.
Didnt get anything else done. So tomorrow its tyres time so off up to Barnsley for a brace of Continentals to go on the wheels, and then off to Sheffield with Steve to see the painter.
Thanks for your help Steve - enjoy your Metzler Xmas present
24-12-12
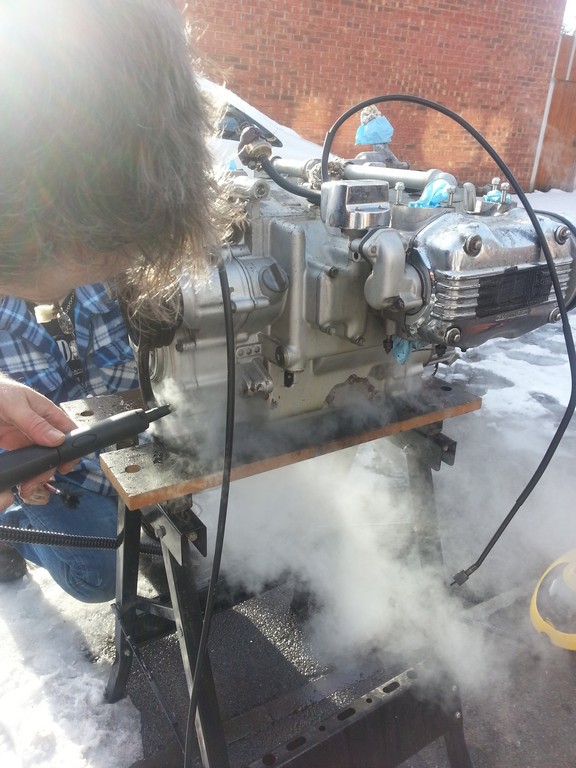
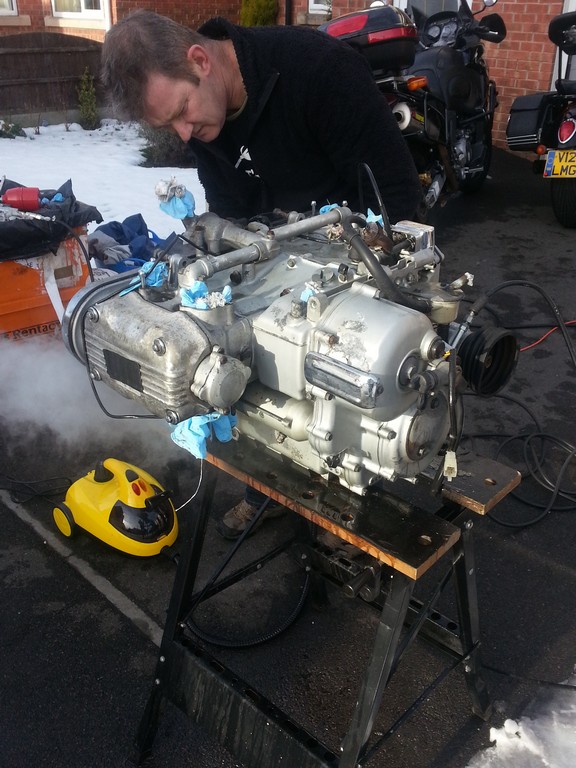
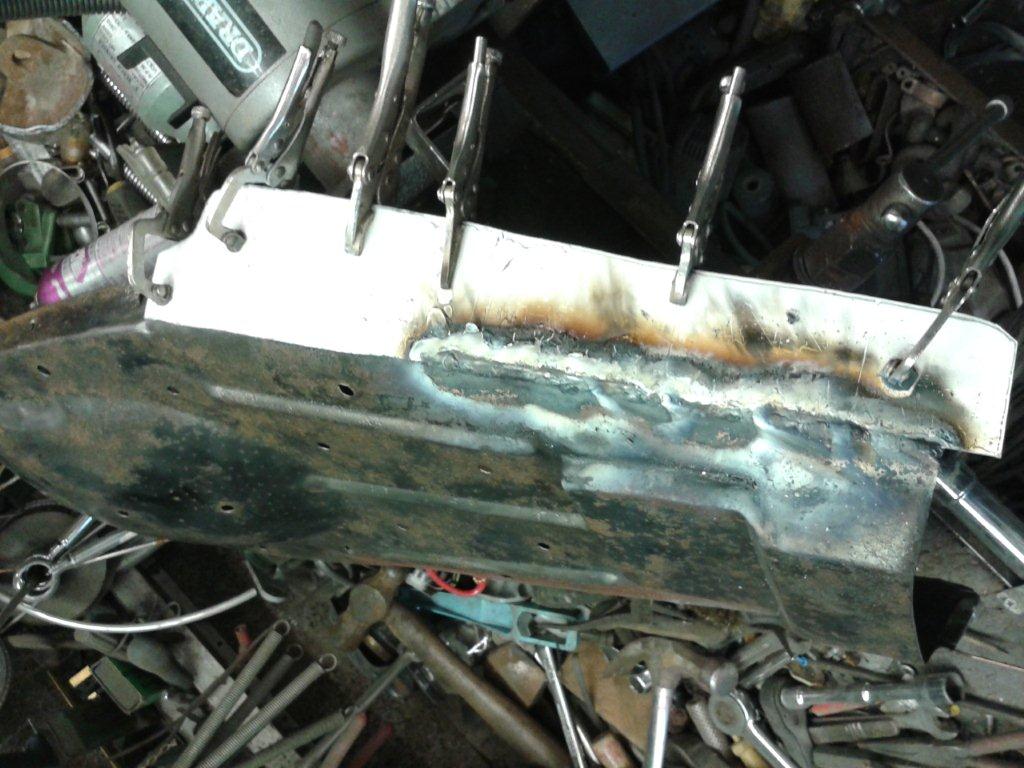
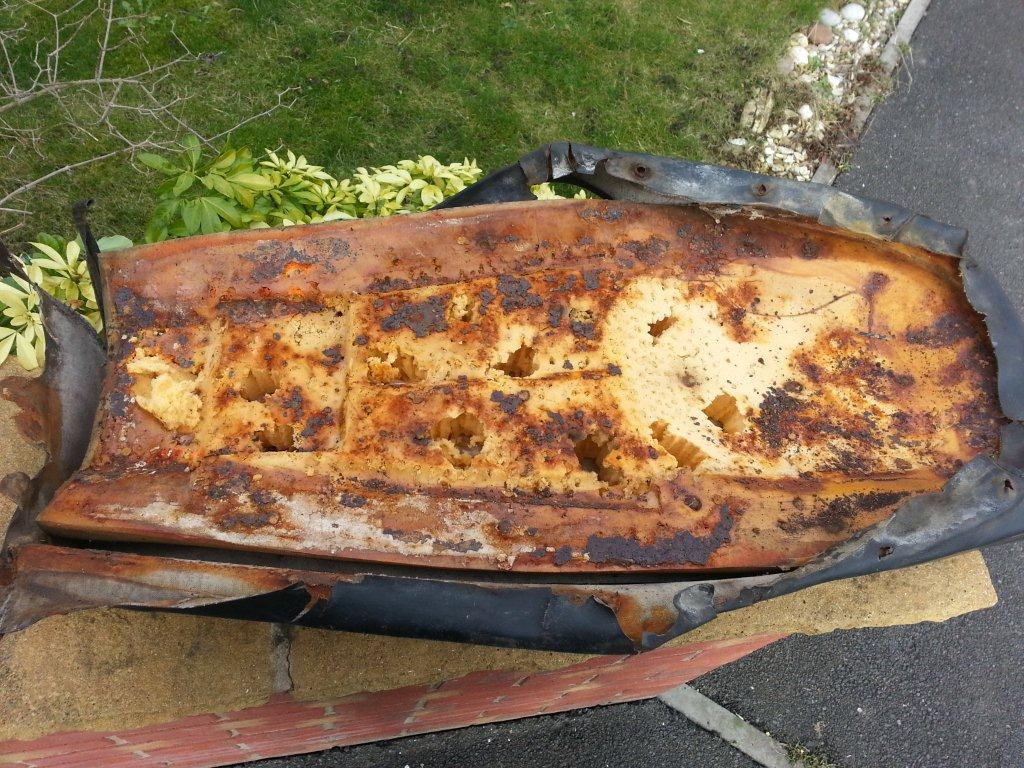
Well spent last Saturday (22/12) and today working on various parts of the bike. First off, the petrol tank. Wow - how much shit was in that tank? I have 5ltr bottles of this heavy duty industrial degreaser and cleaner - its a pretty much clear/very light pink liquid. I left it inside the fuel tank for a few hours and then poured it back in to the bottle. This was the resulting colour....

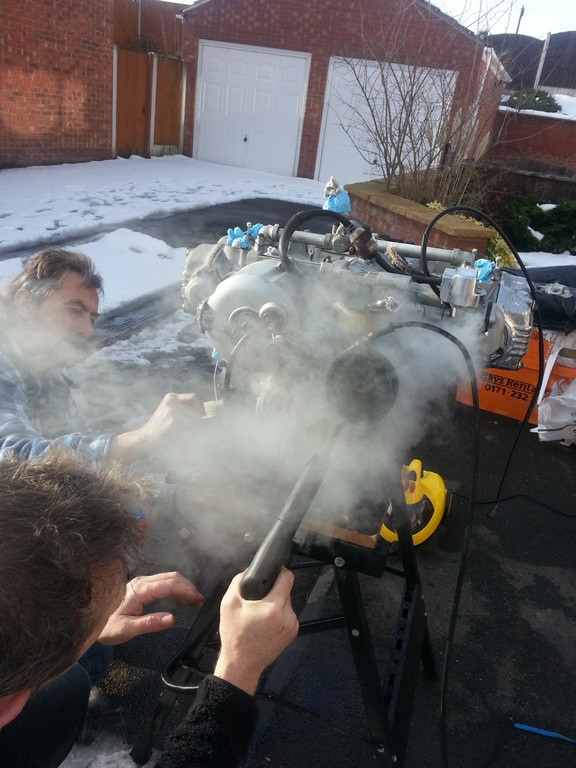
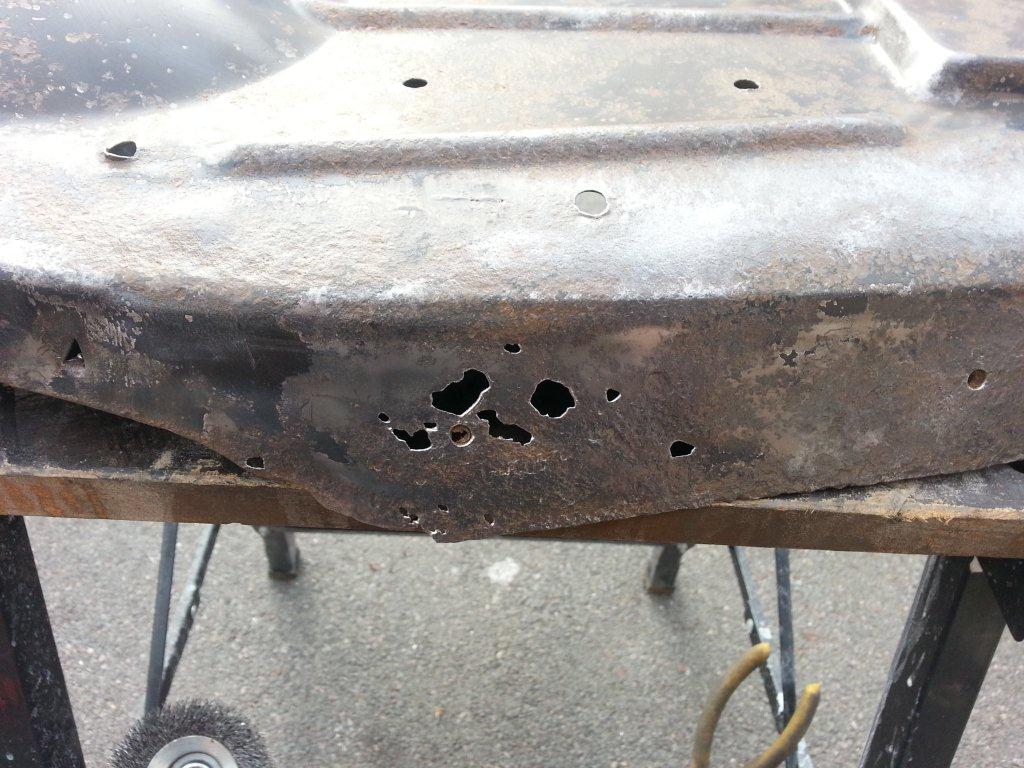
and it had lumpy bits in it! Several more iterations of the degreaser, Steve and I moved on to using old petrol to help dislodge the lumpy chunks at the bottom of the tank. I must admit, I thought for a moment I would have to buy a replacement tank as I thought it was unrecoverable, however once we poured out the petrol, I fired up the jet wash and we blasted the shit out of the tank (and it was raining to boot). That did the job! Now there are some signs of rust inside the tank, but the majority of the crap has now gone. I left the tank overnight (and all day Sunday) drying out with microfibre clothes inside to absorb the water....
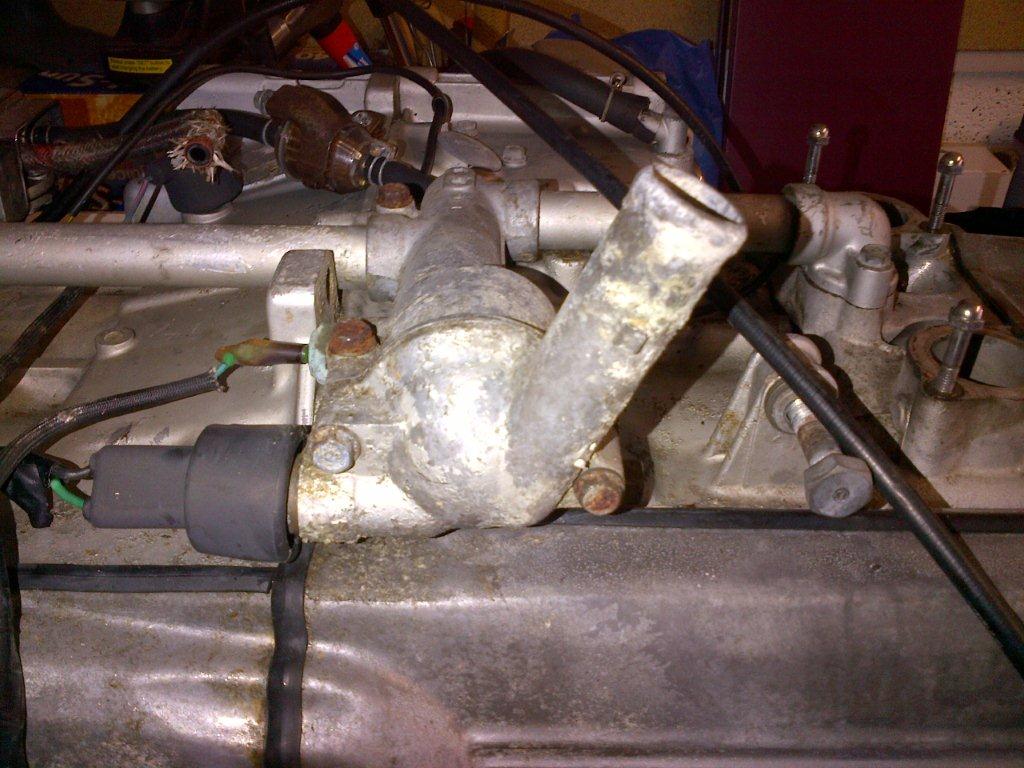
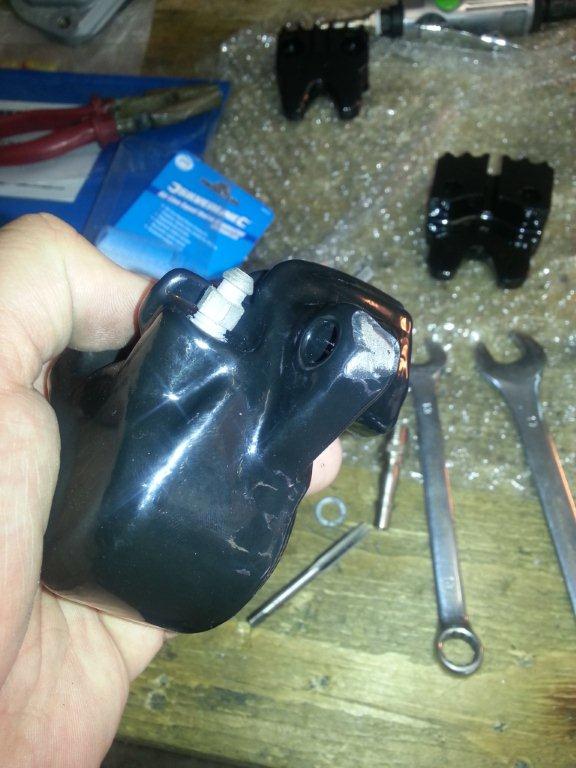
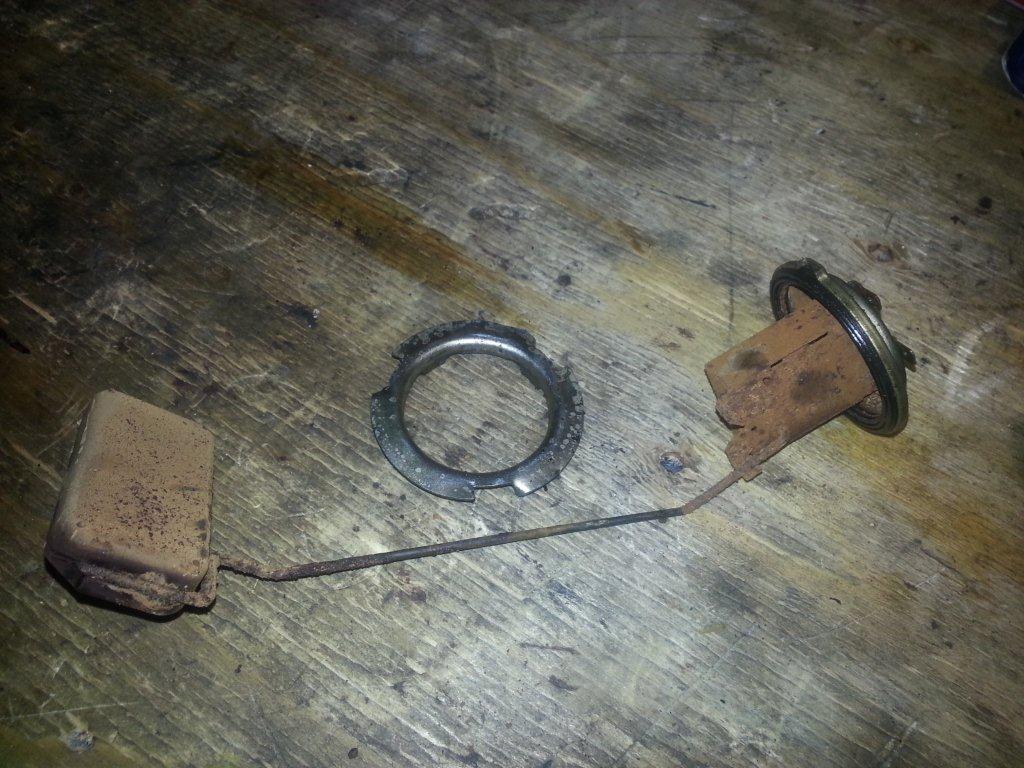
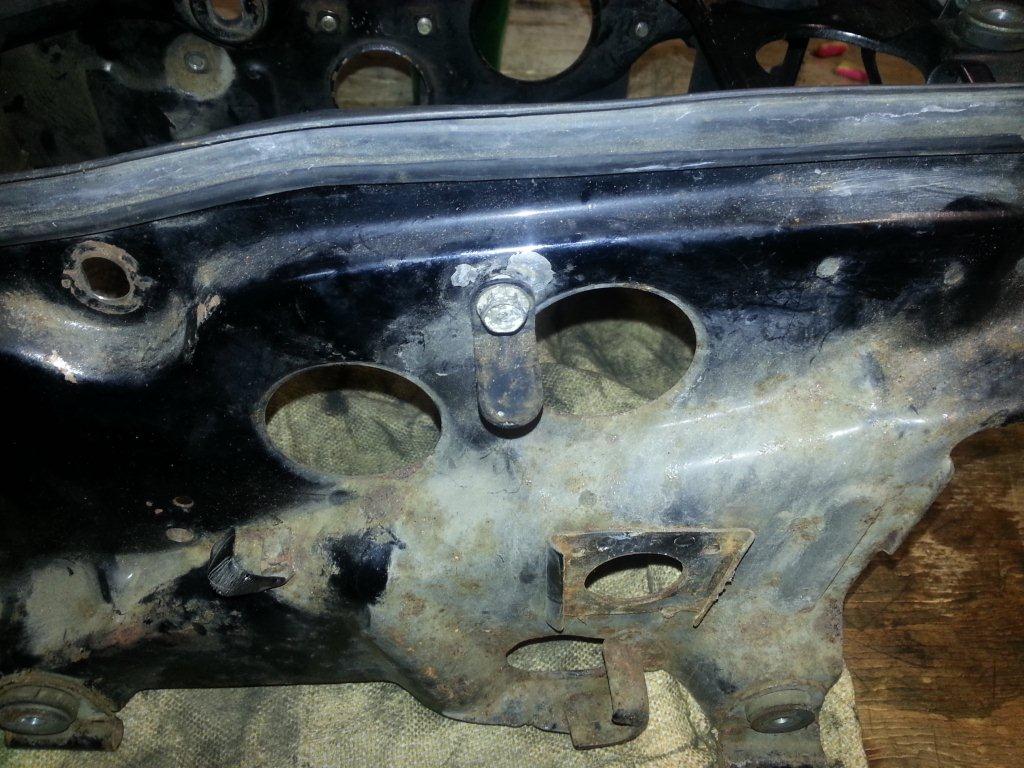
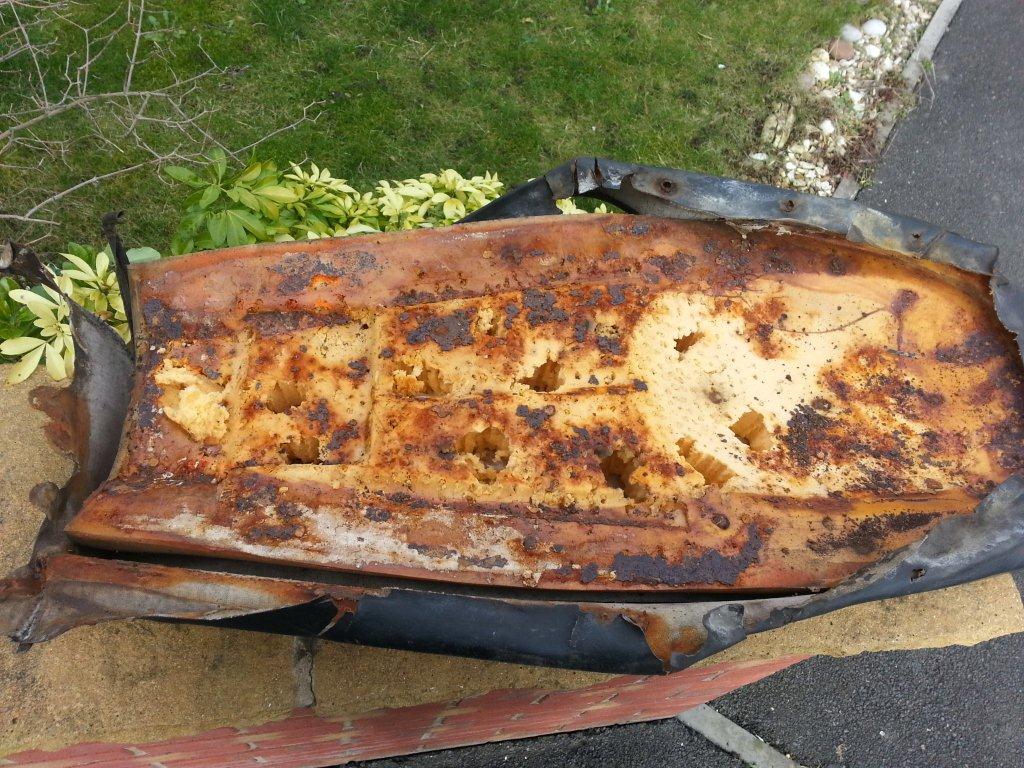
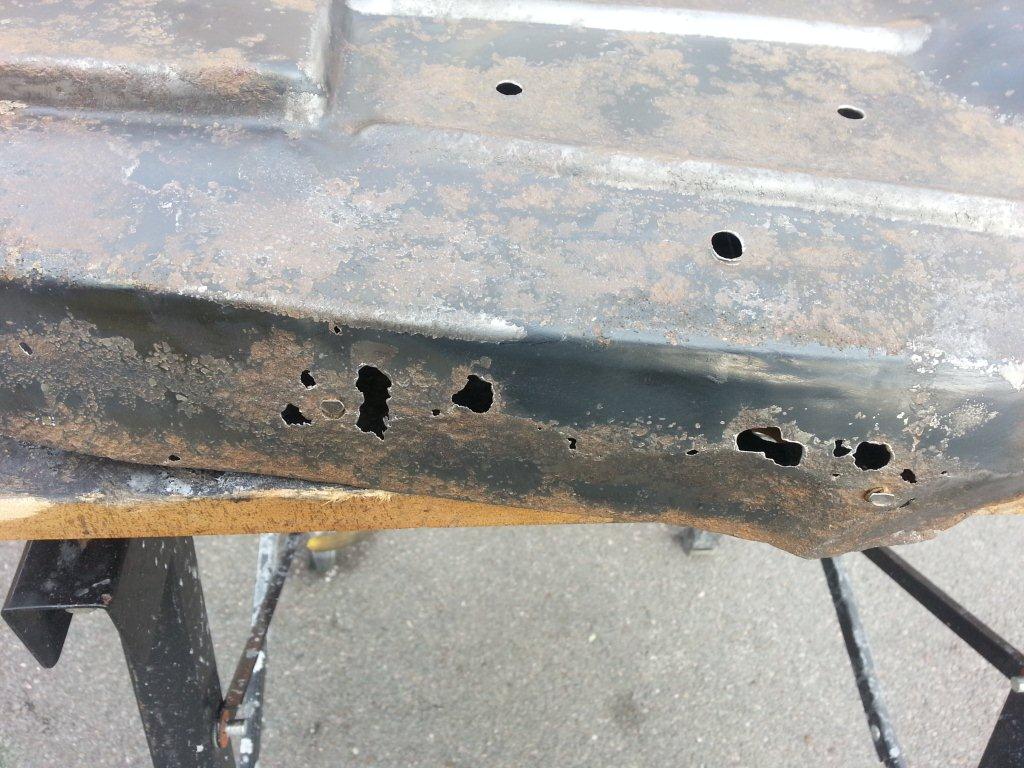
I didnt mention it before, but I had to remove the fuel level sender unit out of the tank in order to get the gunk out of it (not to mention the drain bolt). This was the condition of the sender unit before we started....
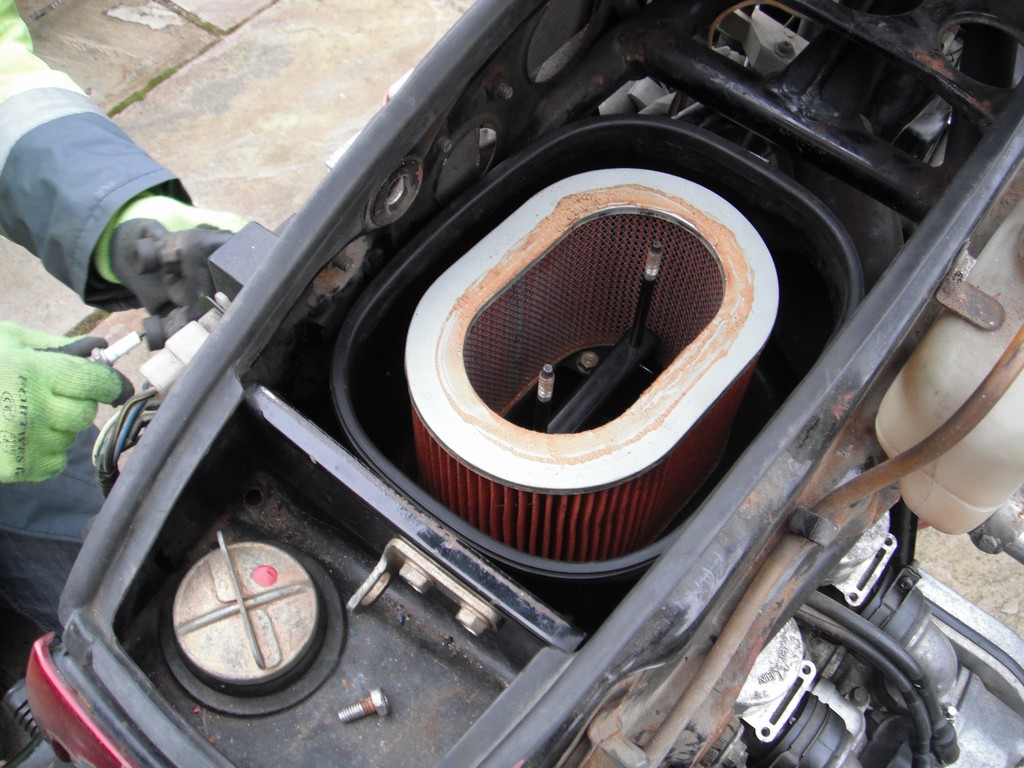
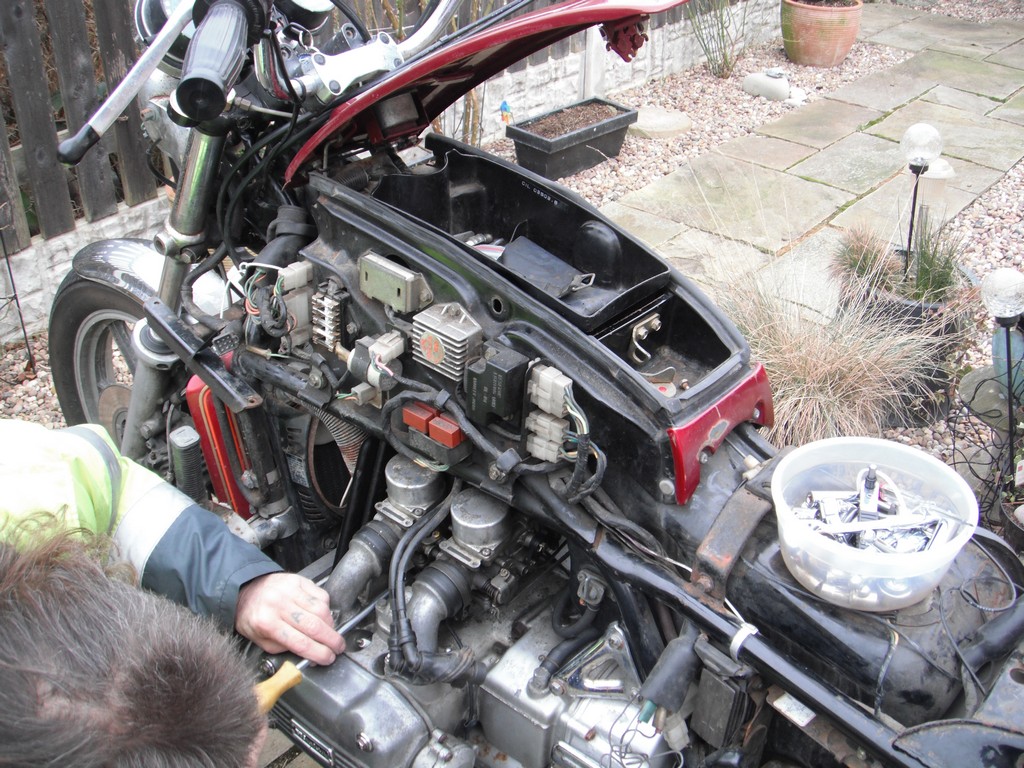
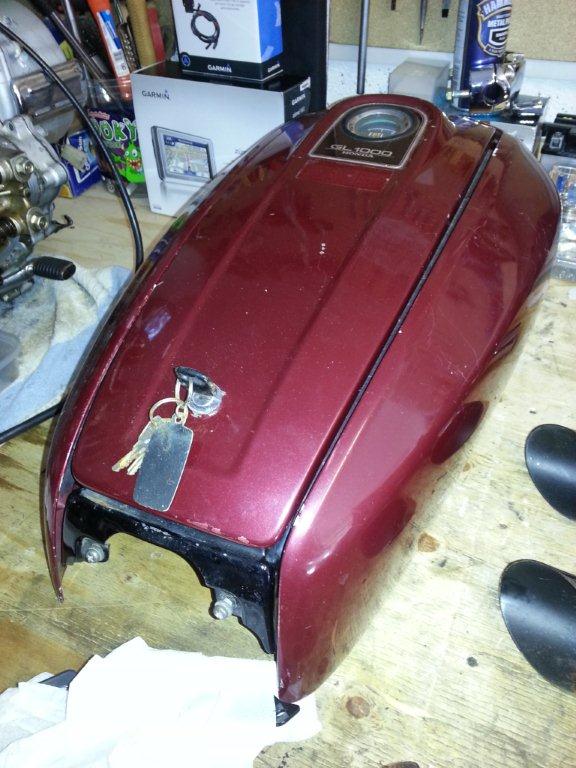
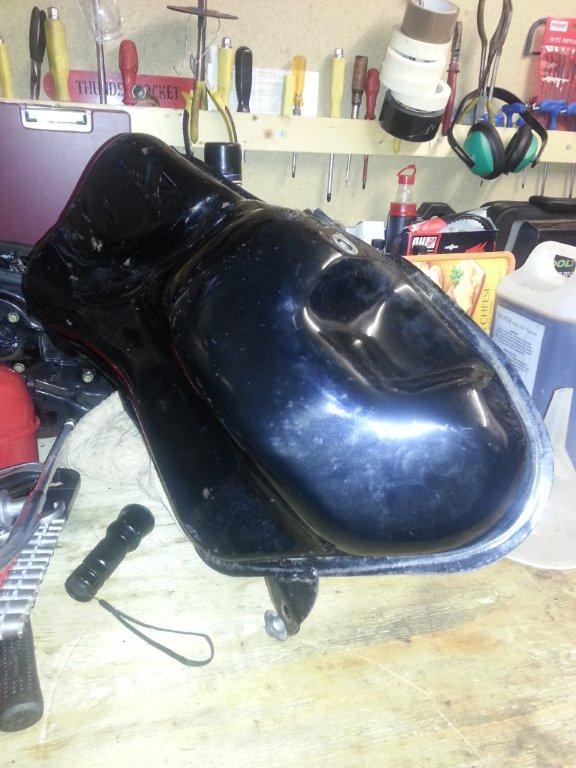
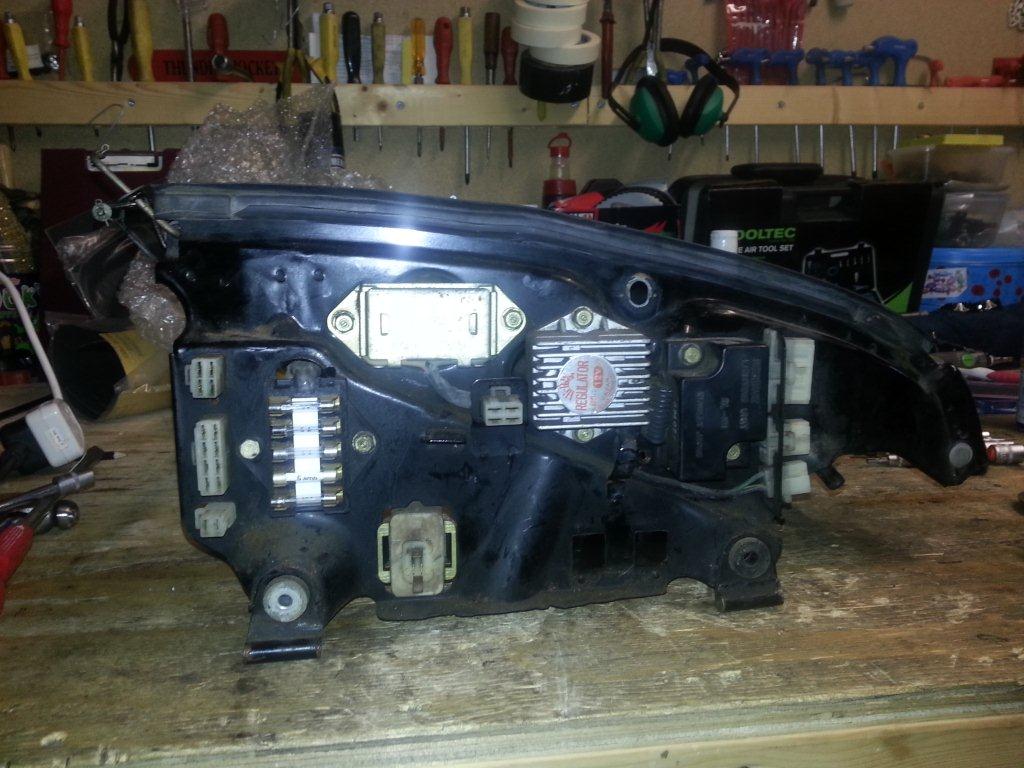
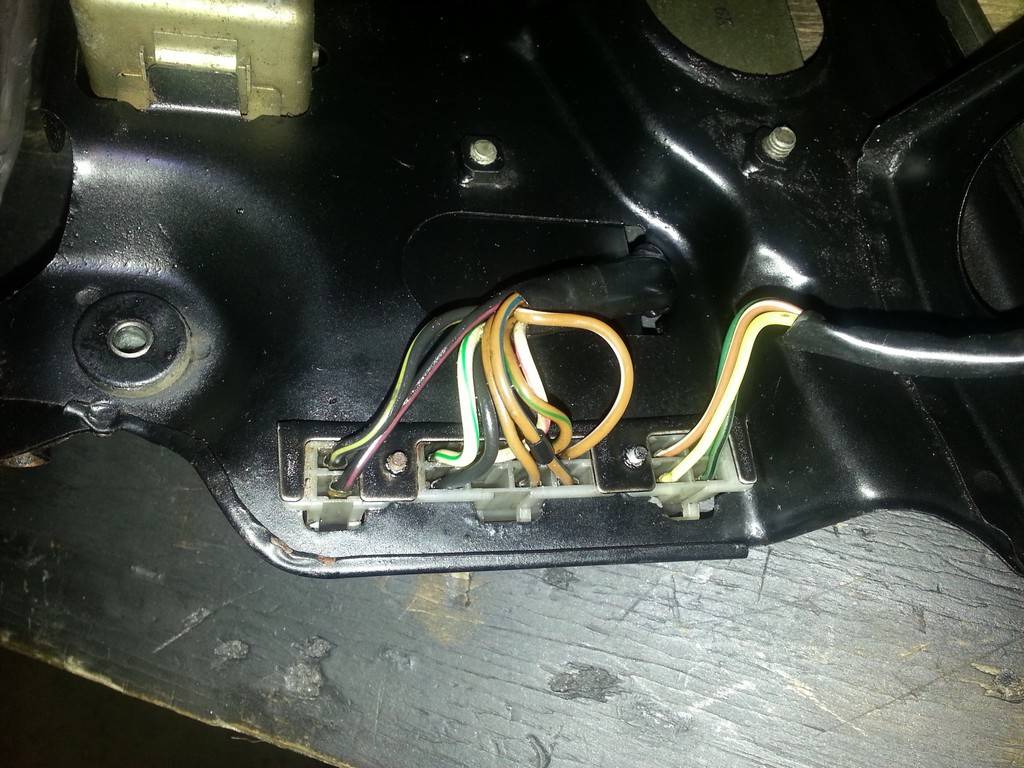
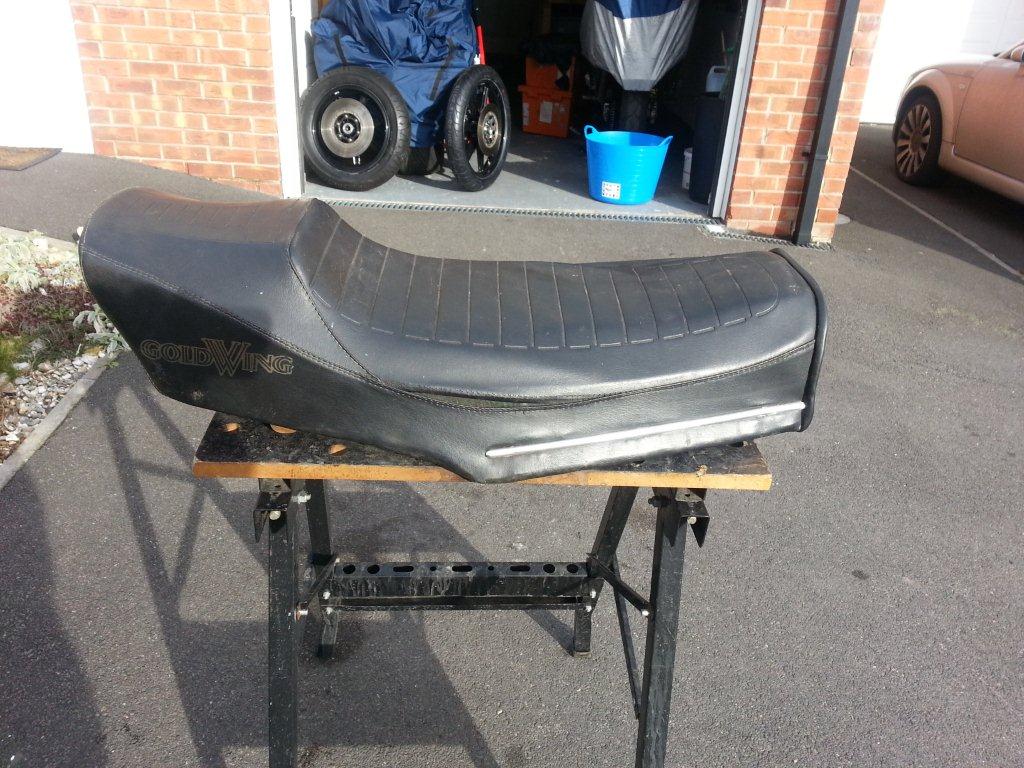
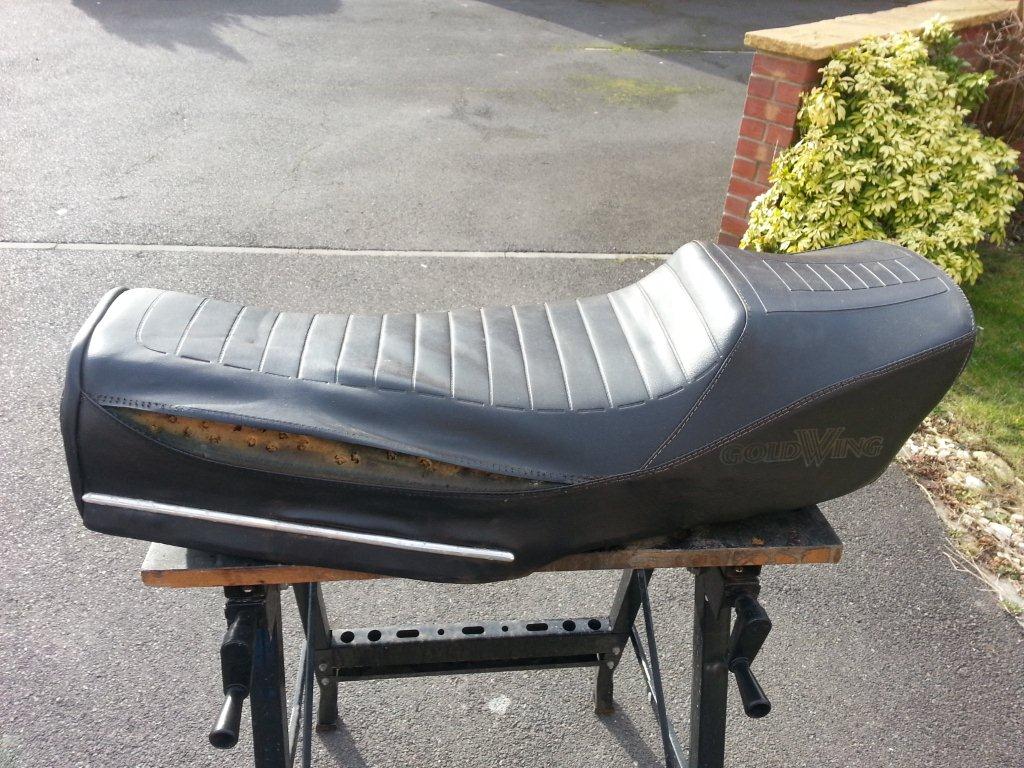
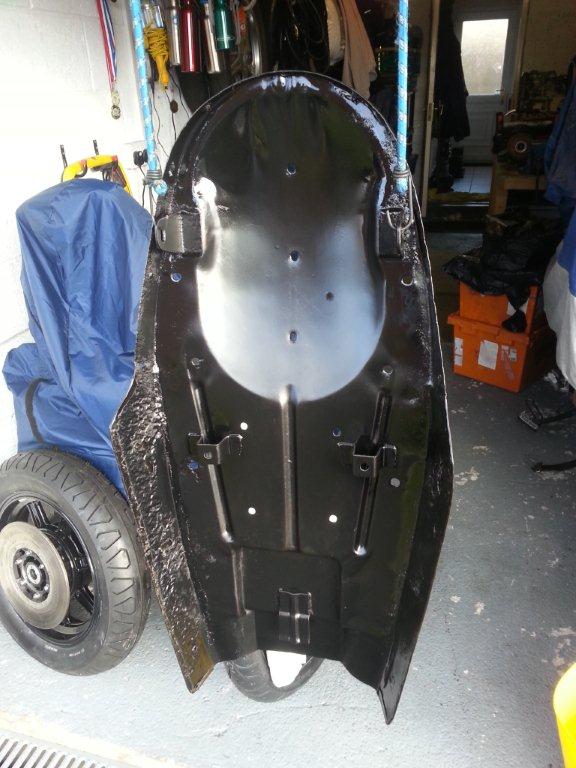
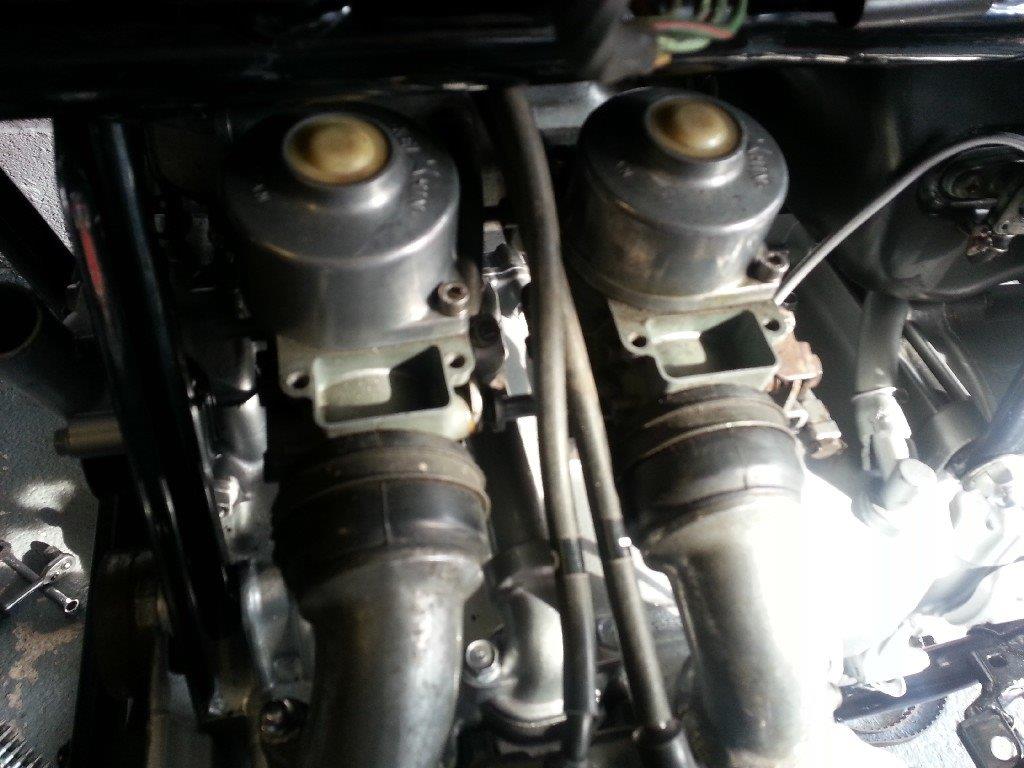
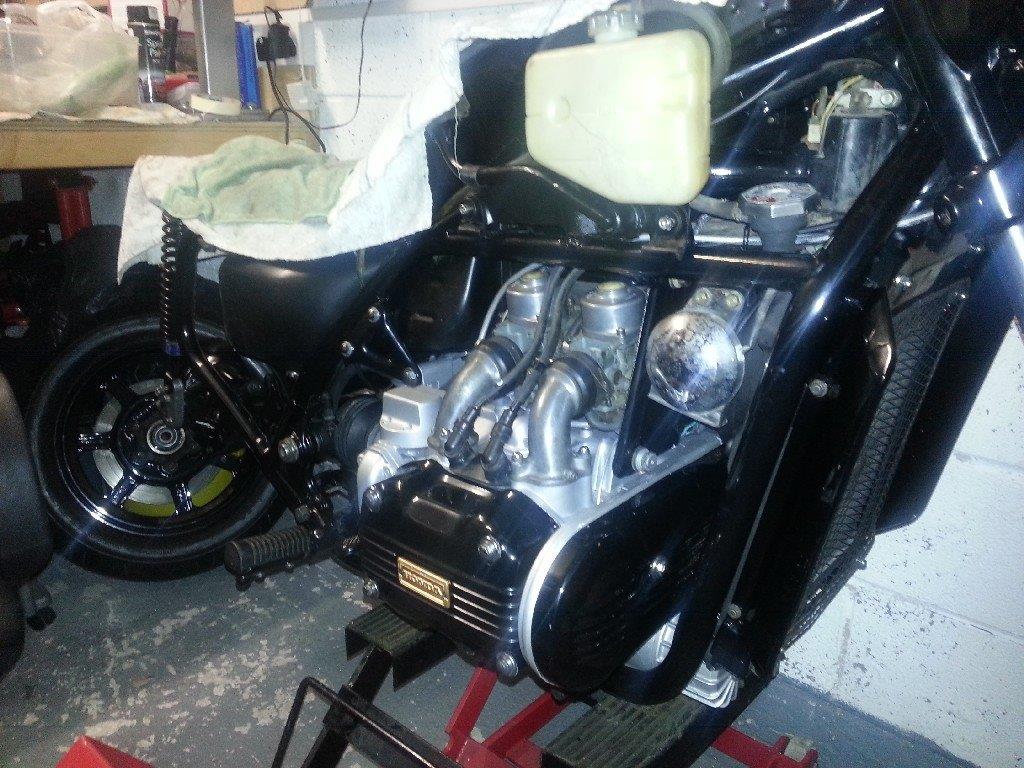
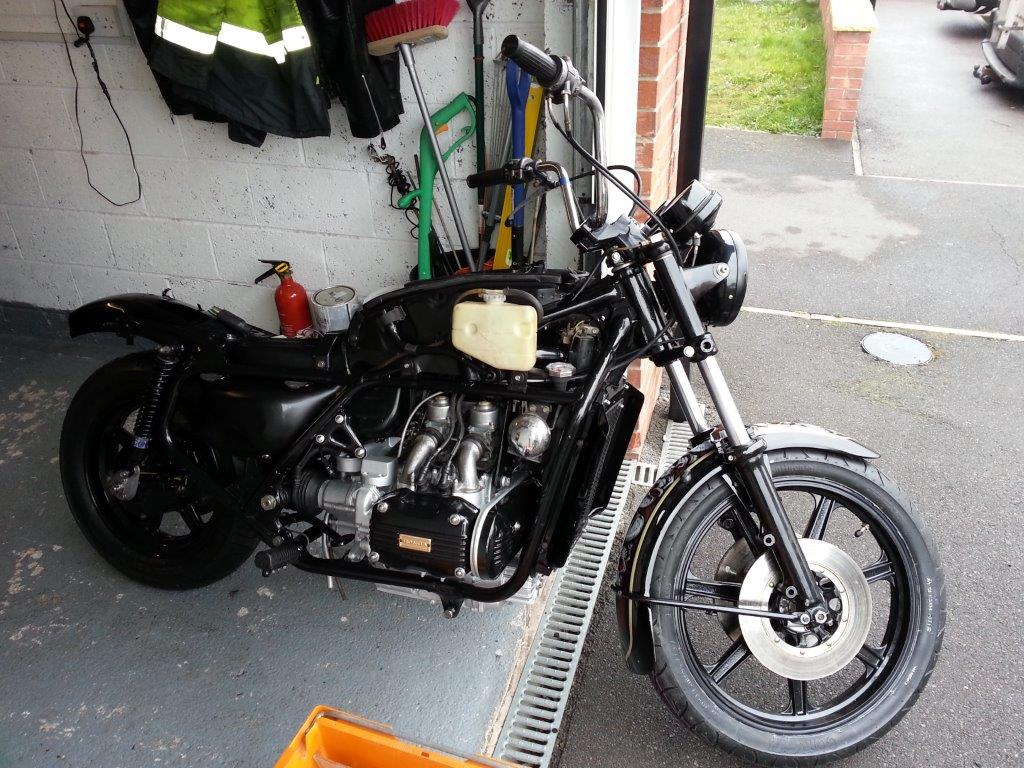
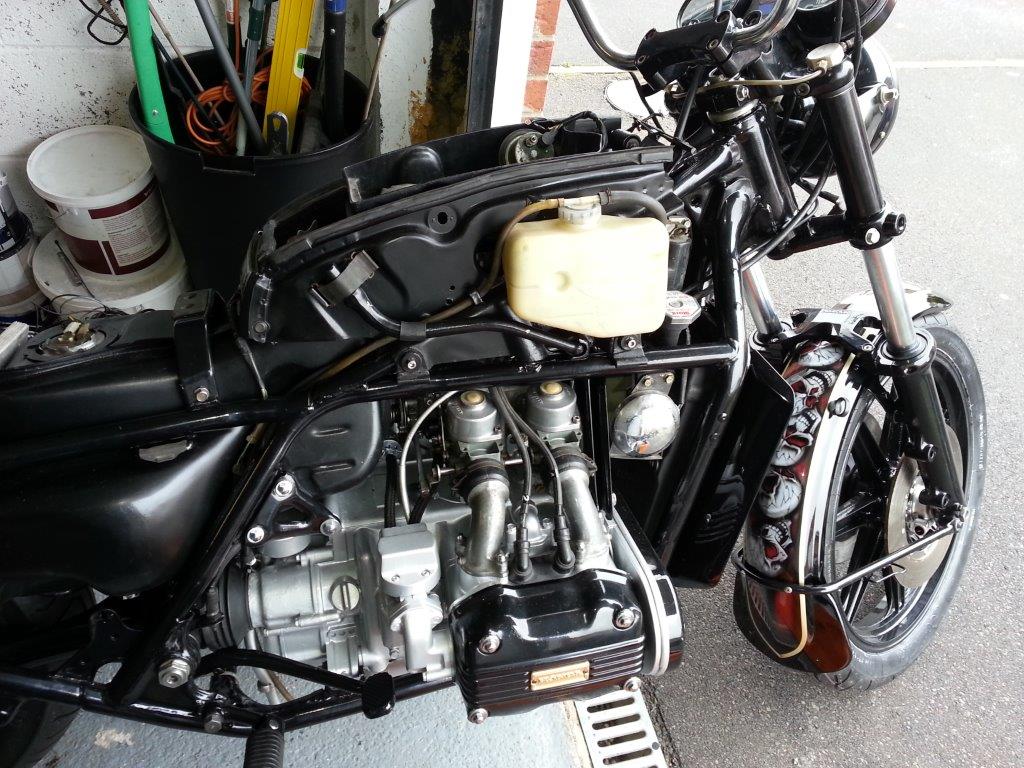
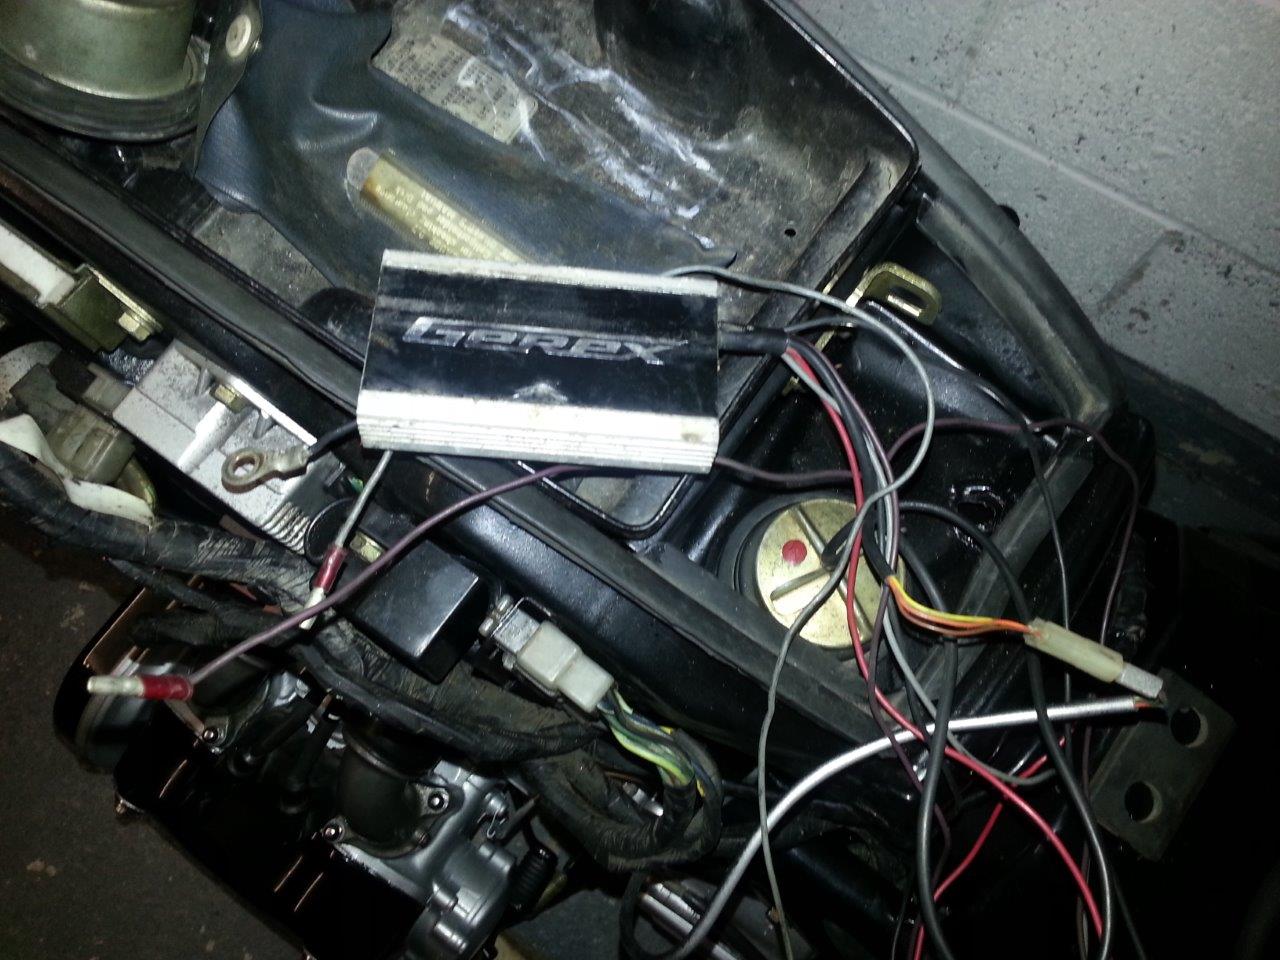
35+ years of shit inside the tank. Anyways, moving on.... This morning, I started the day off with the plan to clean up both the fuel tank (exterior) and the dummy fuel tank craddle. NB: The goldwings fuel tank is located under the seat - and what we would consider as the fuel tank, is actually a storage compartment, and provides access to the radiator reservoir bottle and the electrics/fuses. Example:
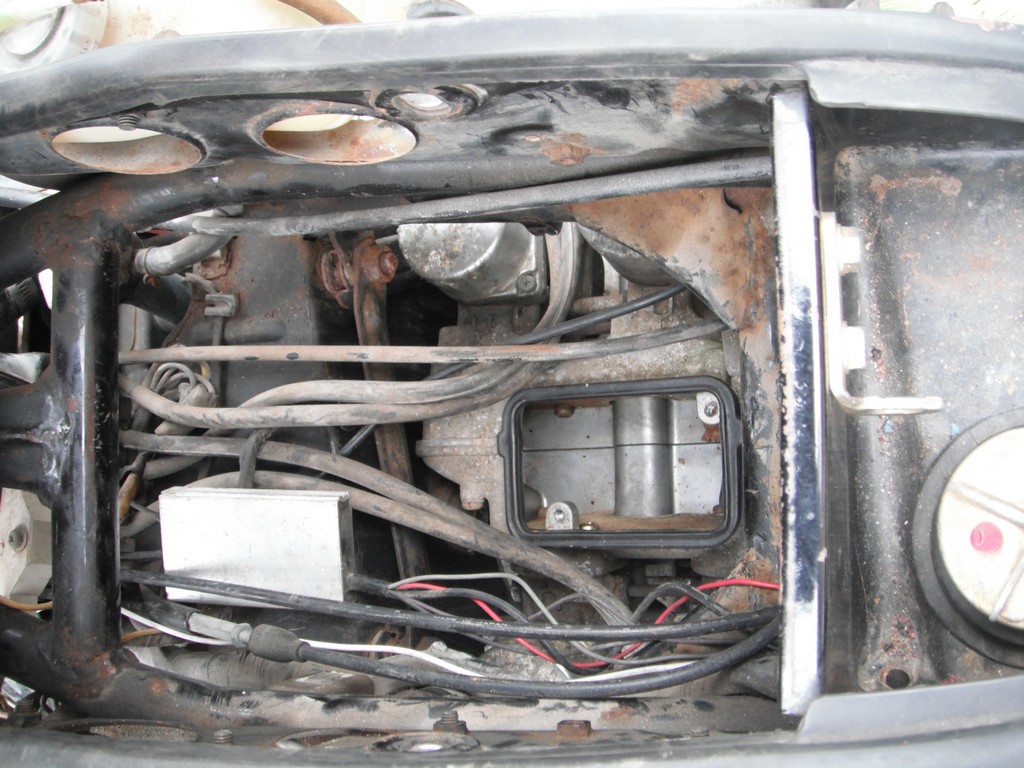
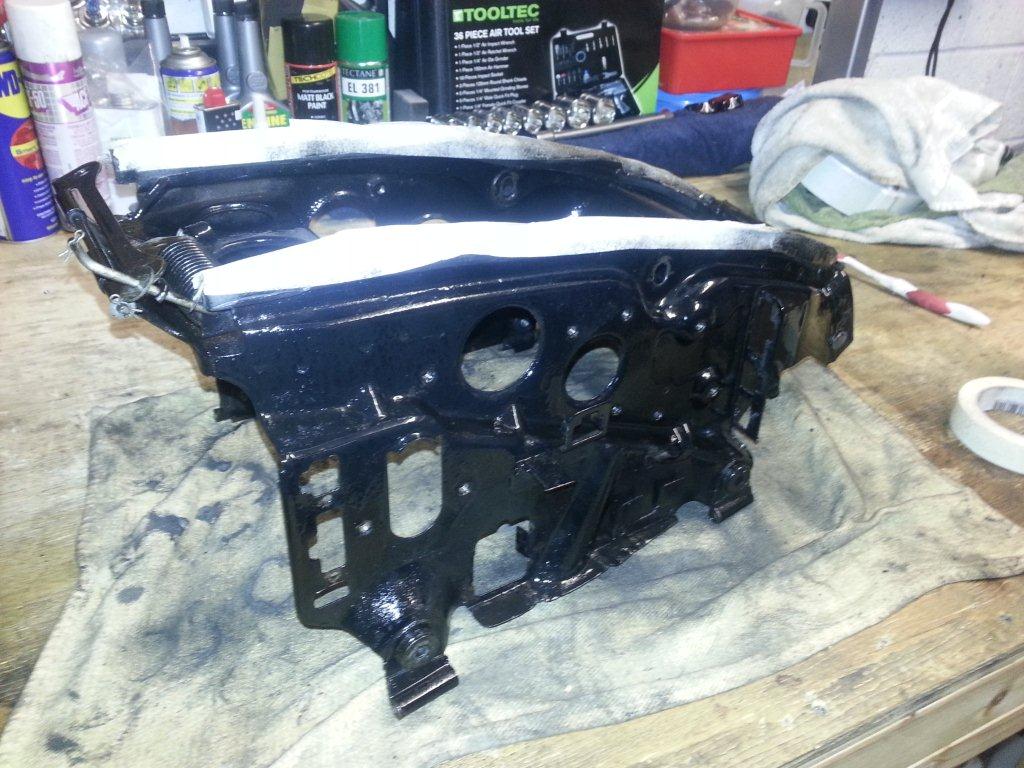
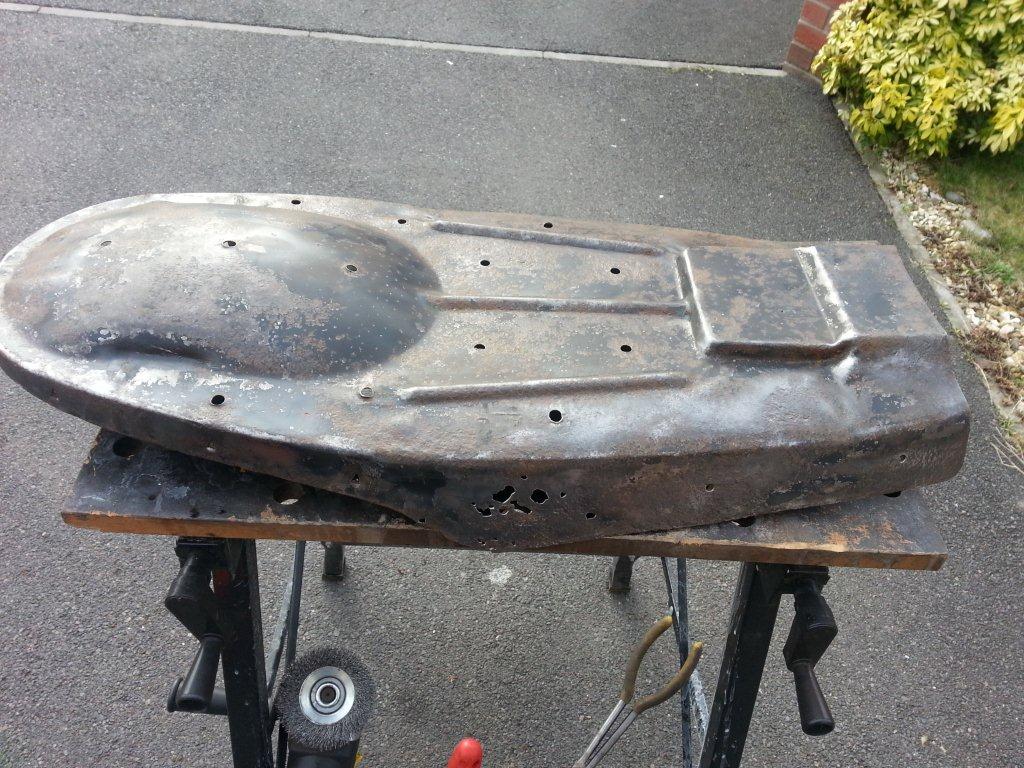
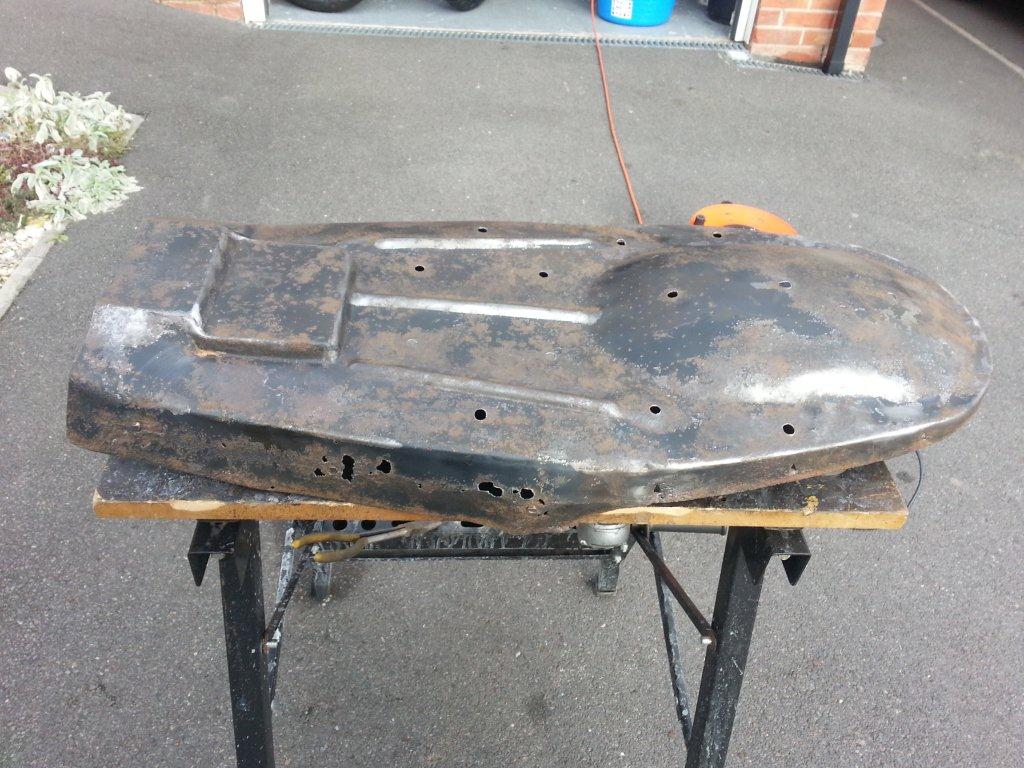
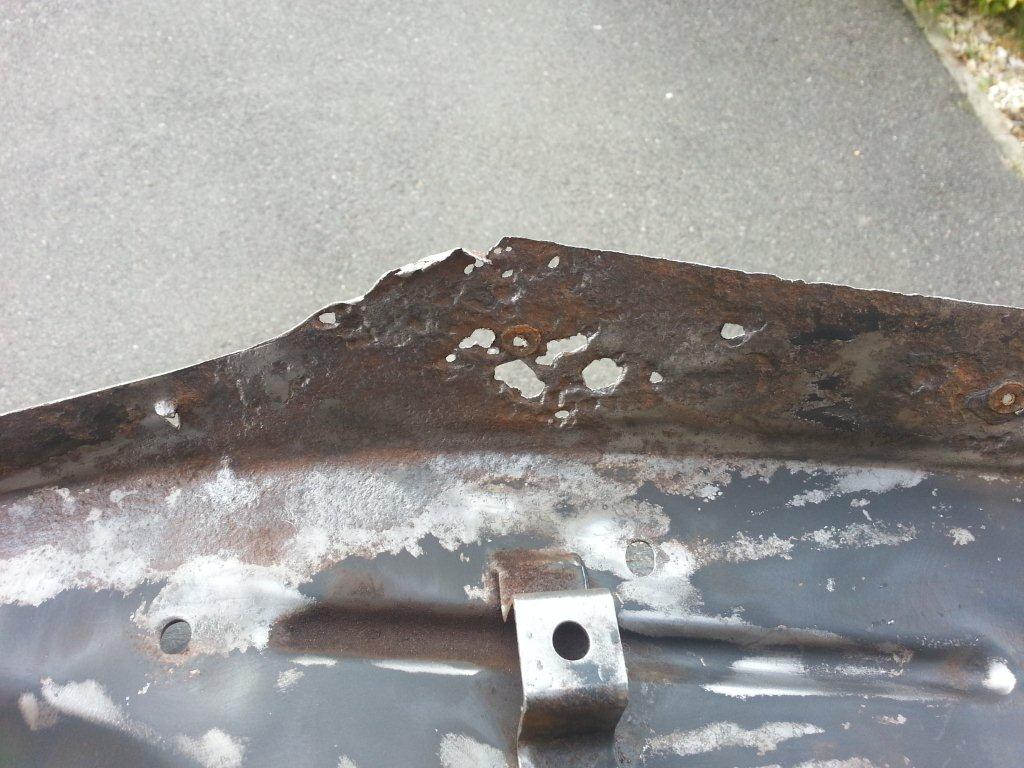
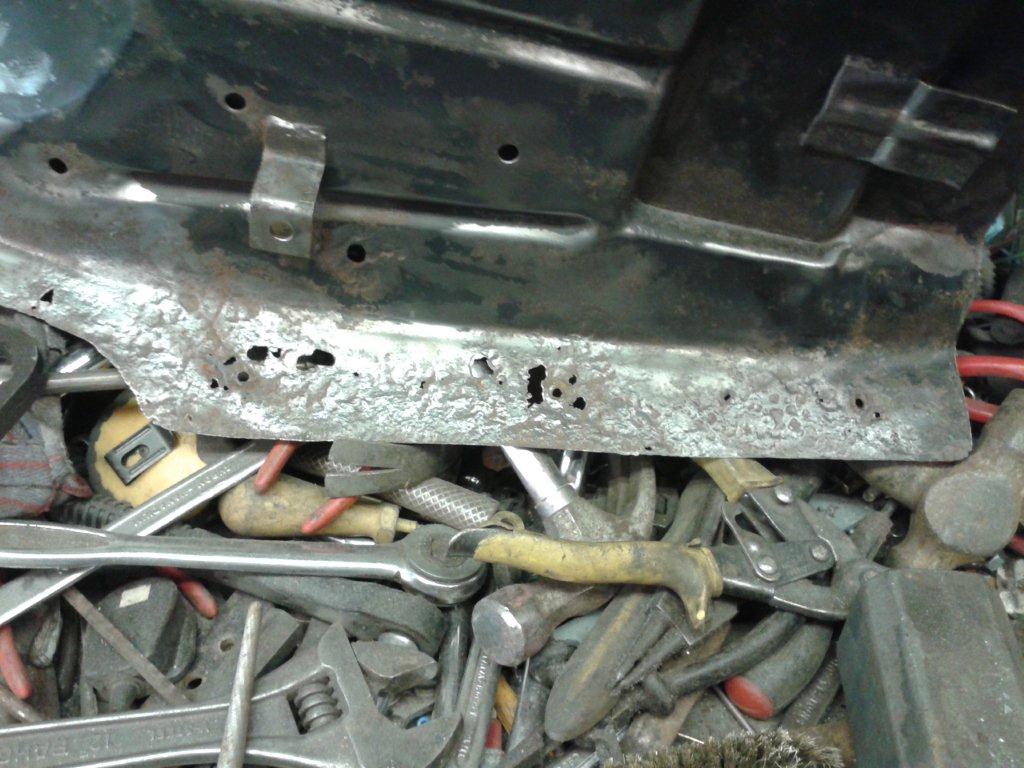
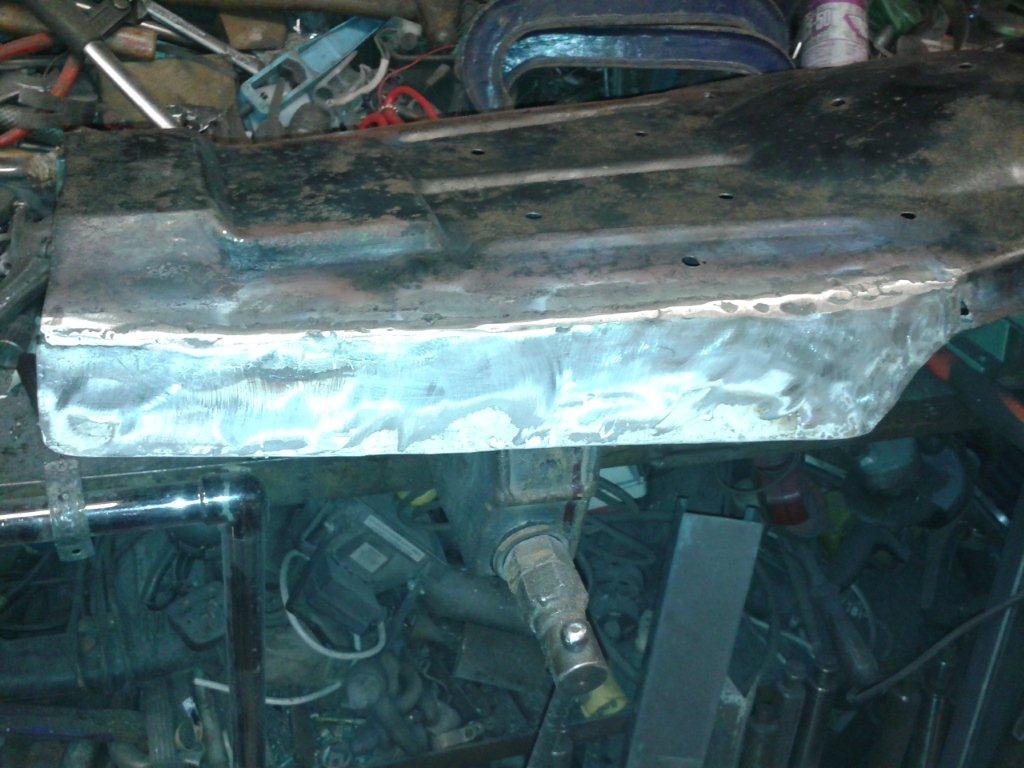
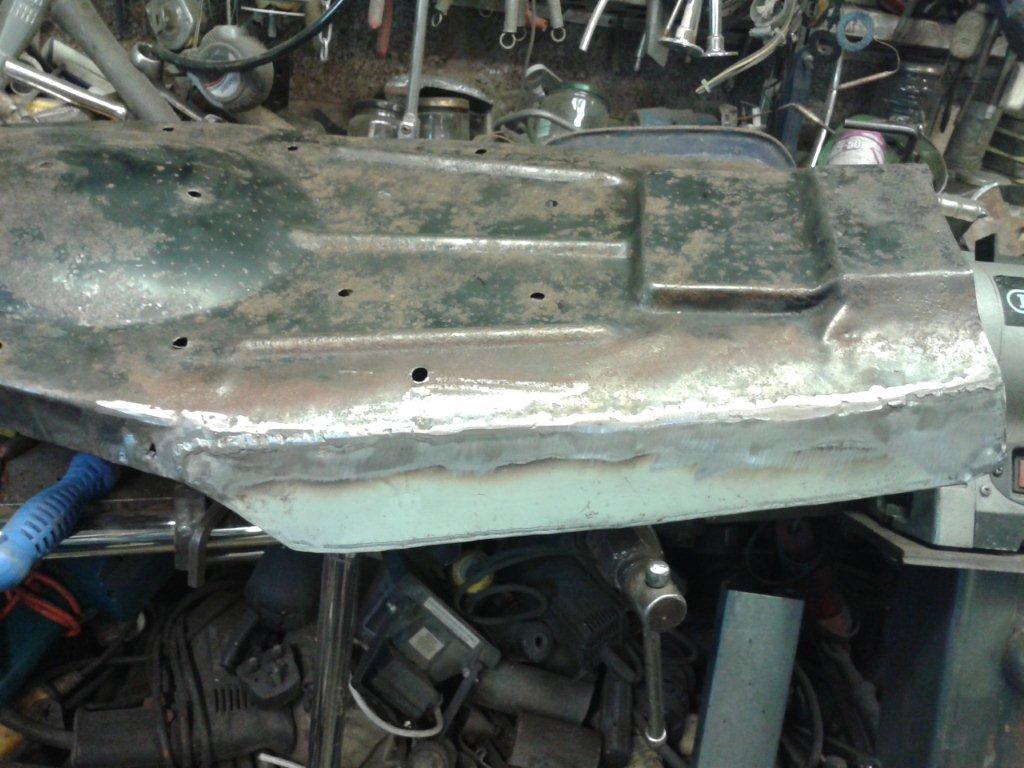
Anyways, the craddle was also is shitty condition....
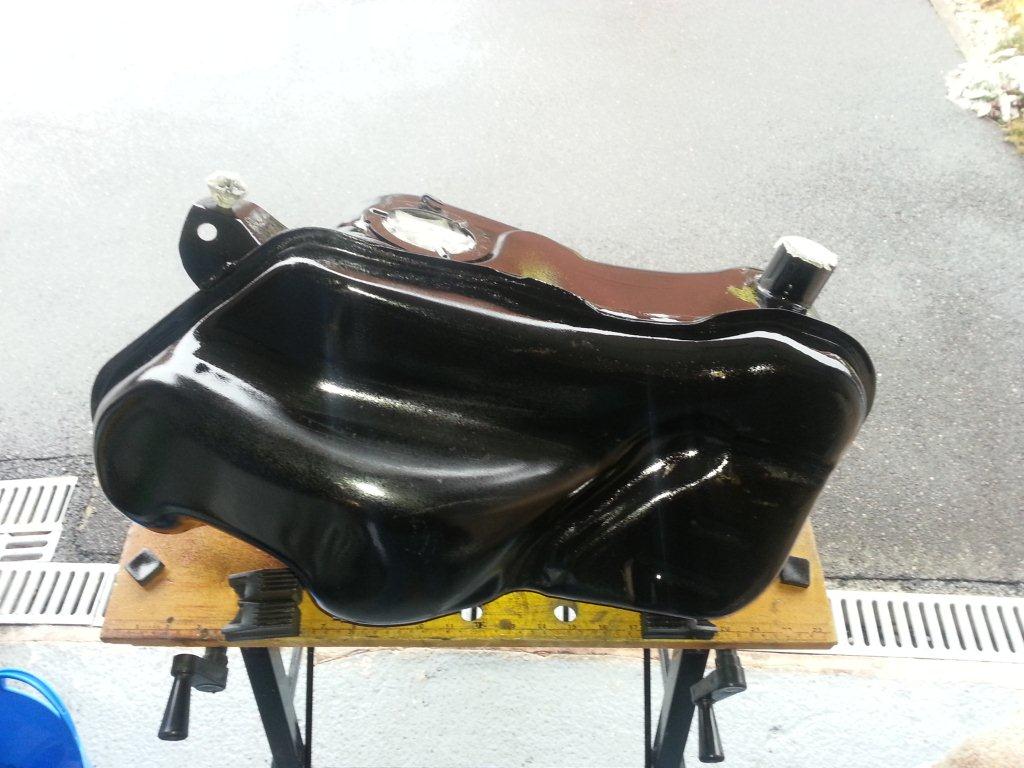
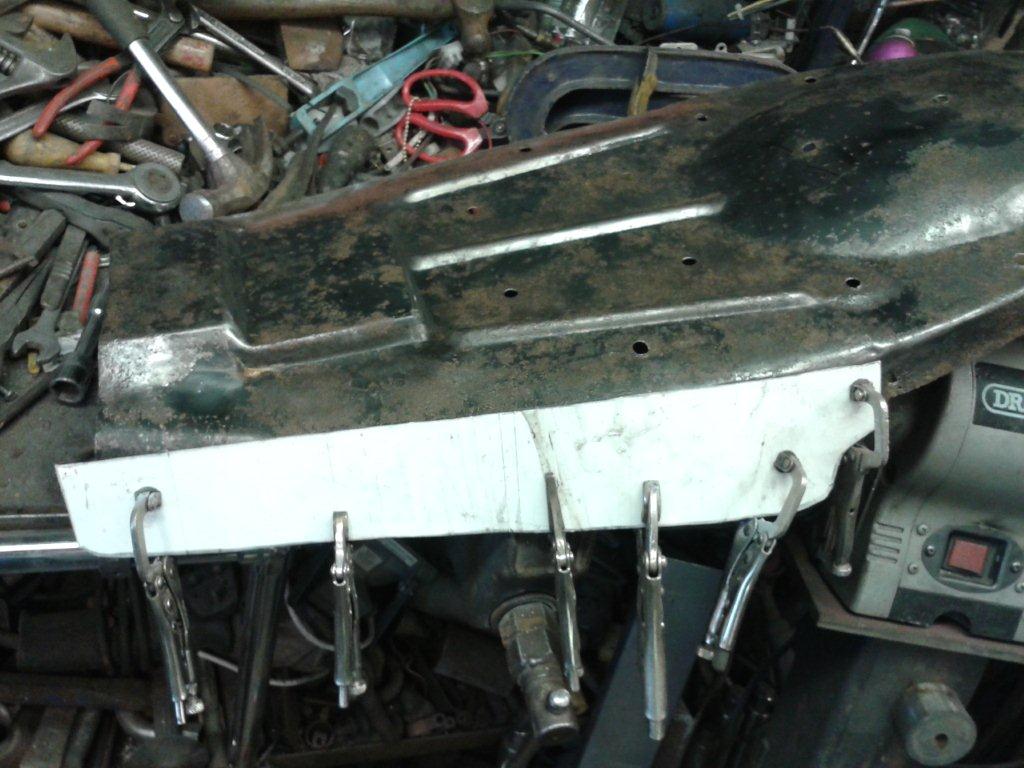
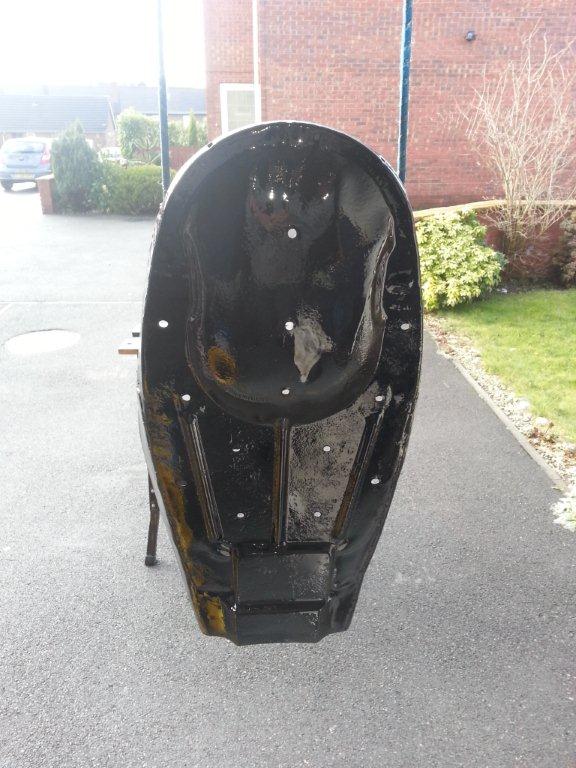
After photographing where all the bolts (different sizes) needed to go, I set about masking off the areas I didnt want the paint to get to. I also had to key up the surfaces of the craddle and the fuel tank, and of course clean them up and remove any dirt and other debris. Once done, it was time to spray up the parts. First up was the fuel tank...
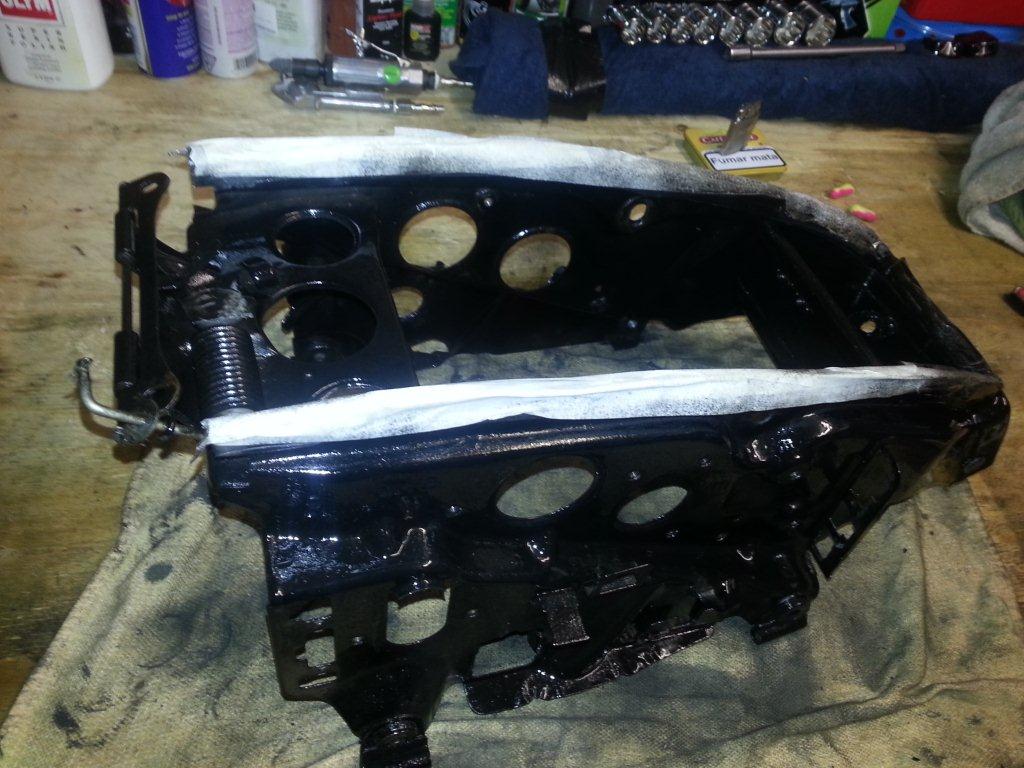
Once that first base coat primer was drying off, I did the craddle...
I did a couple more cycles on the both and in between I set about cleaning up that gawd-awful sender unit. Out with the wire wheel on the bench grinder and lets have at it! Once satisified with it, I brushed on ACF50 to stop any more corrosion whilst its out of the tank.
Tomorrow, I will be put a couple more coats of black on the tank and the craddle and they ought to be done then. Will just need to reassemble the tank and put some fuel in it to check for leaks