(UK) 1977 GL1000 Goldwing

Classic Goldwings

Help Support Classic Goldwings:

This site may earn a commission from merchant affiliate links, including eBay, Amazon, and others.
Fantastic build Imq and a really wild paint scheme ( I am still sleeping with the lights on :smilie_happy: ) :salute:
 
wow what great work ...i like the look of your work .....my 1200 implant in a 77 is a sharp mod to me ...the first oldwings were just a flat out total change in biking period ...and your restore work looks second to none :good:
 
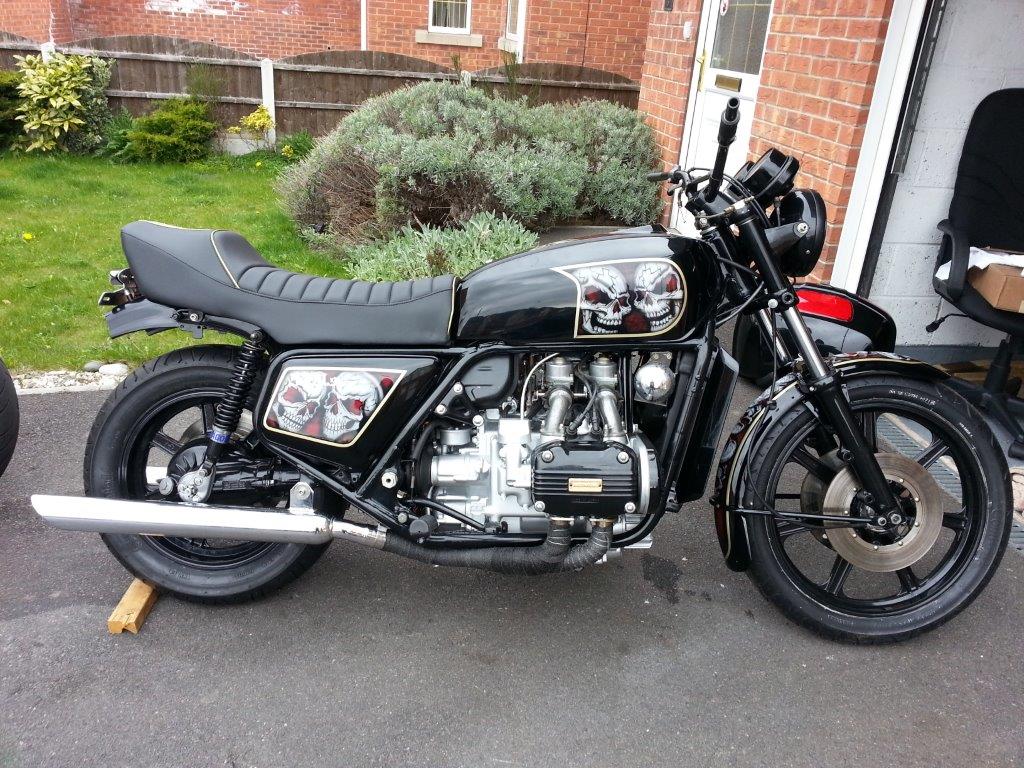
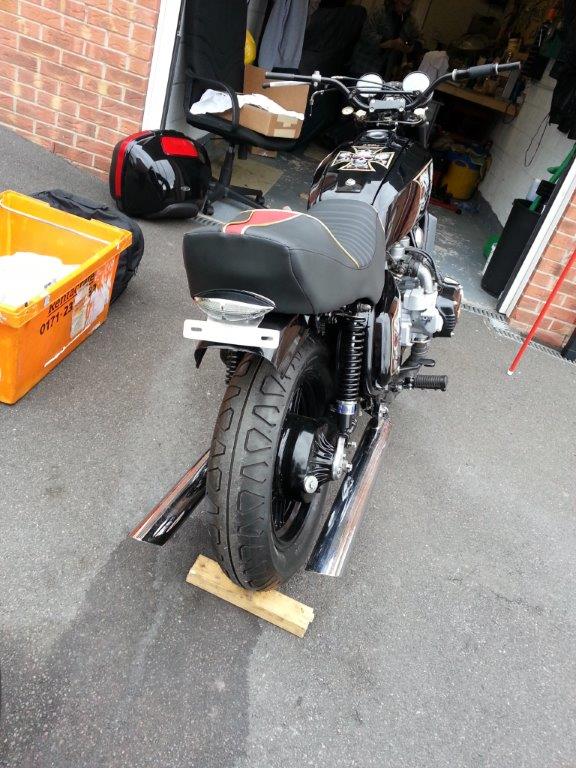
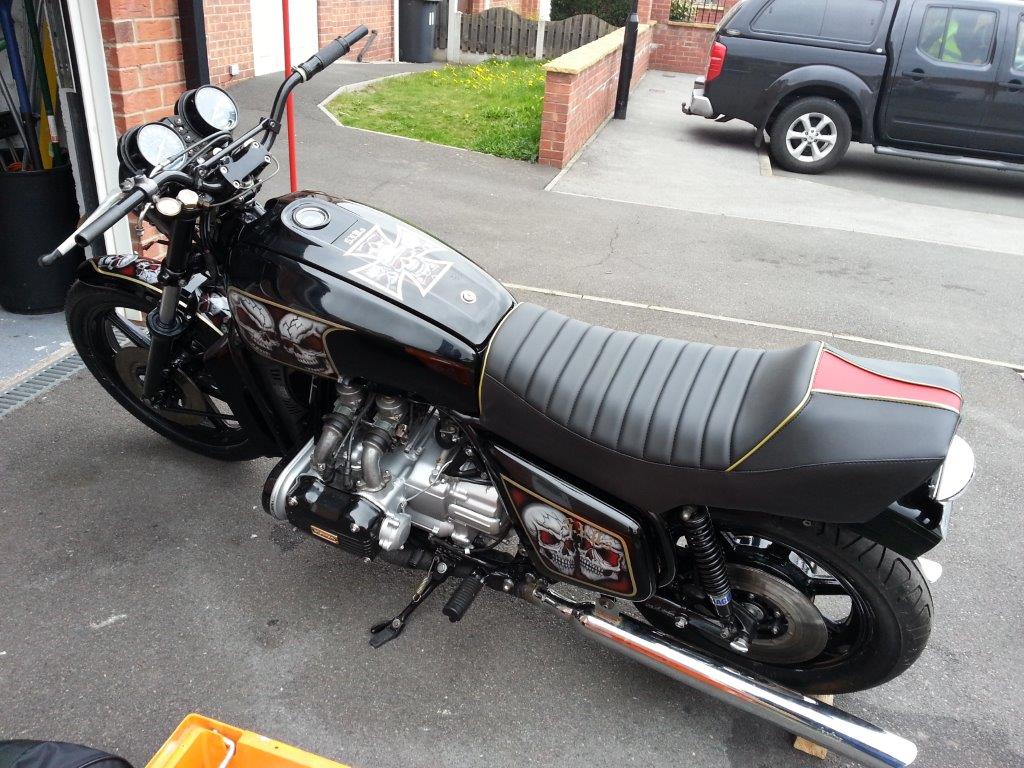
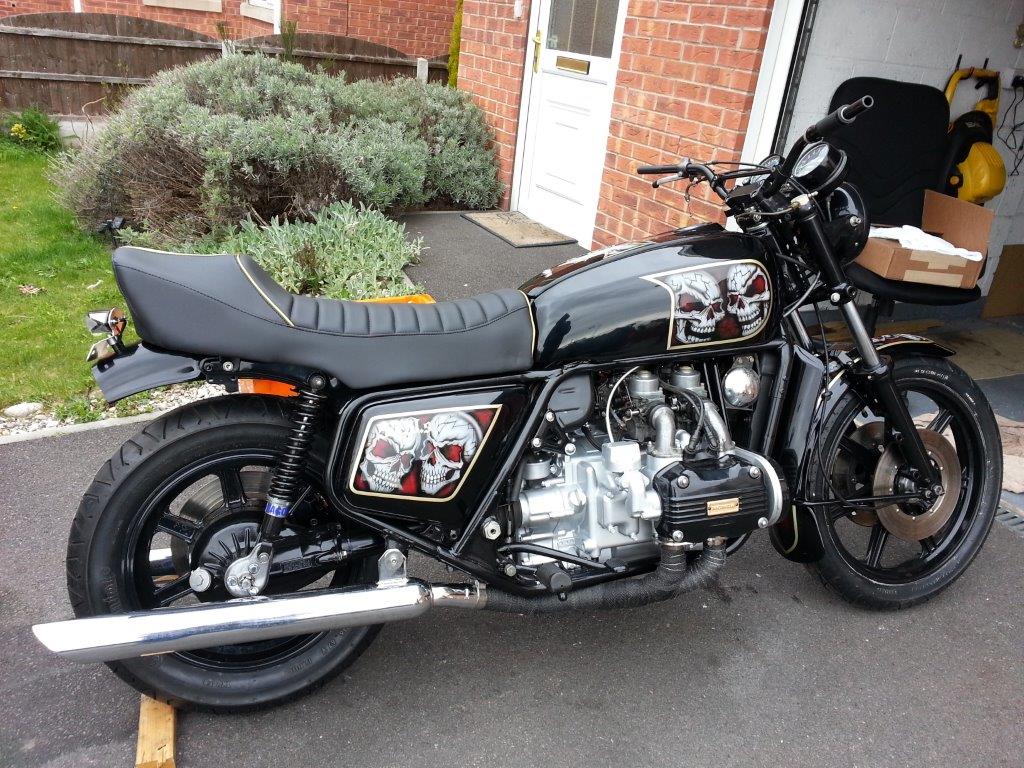
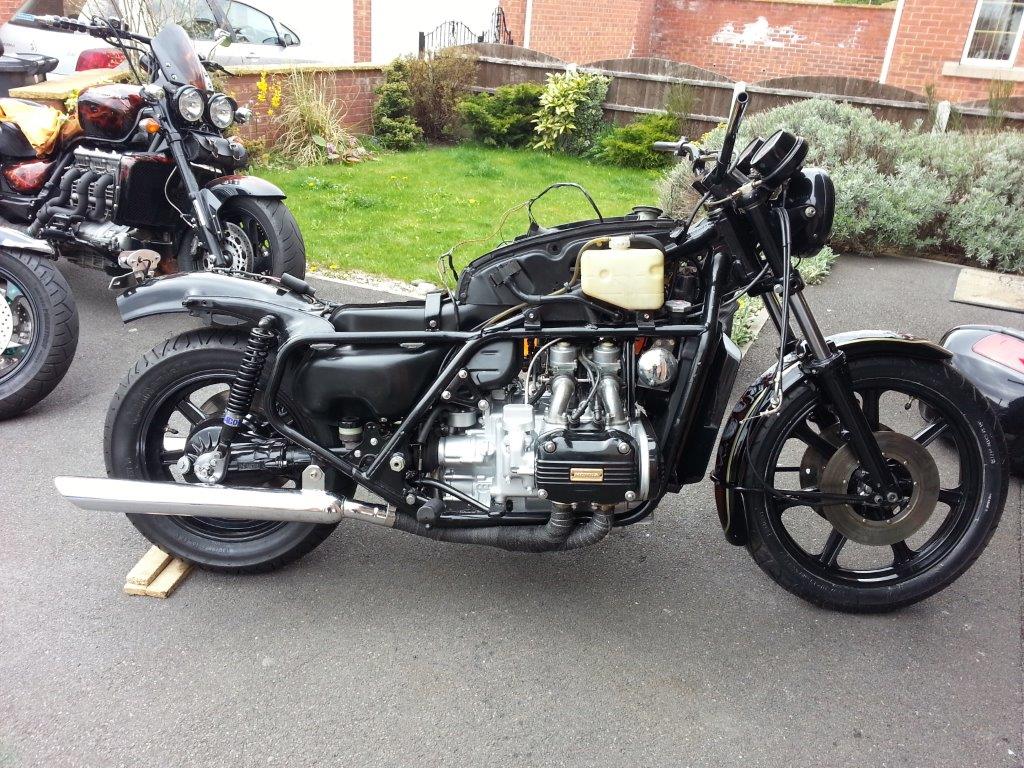
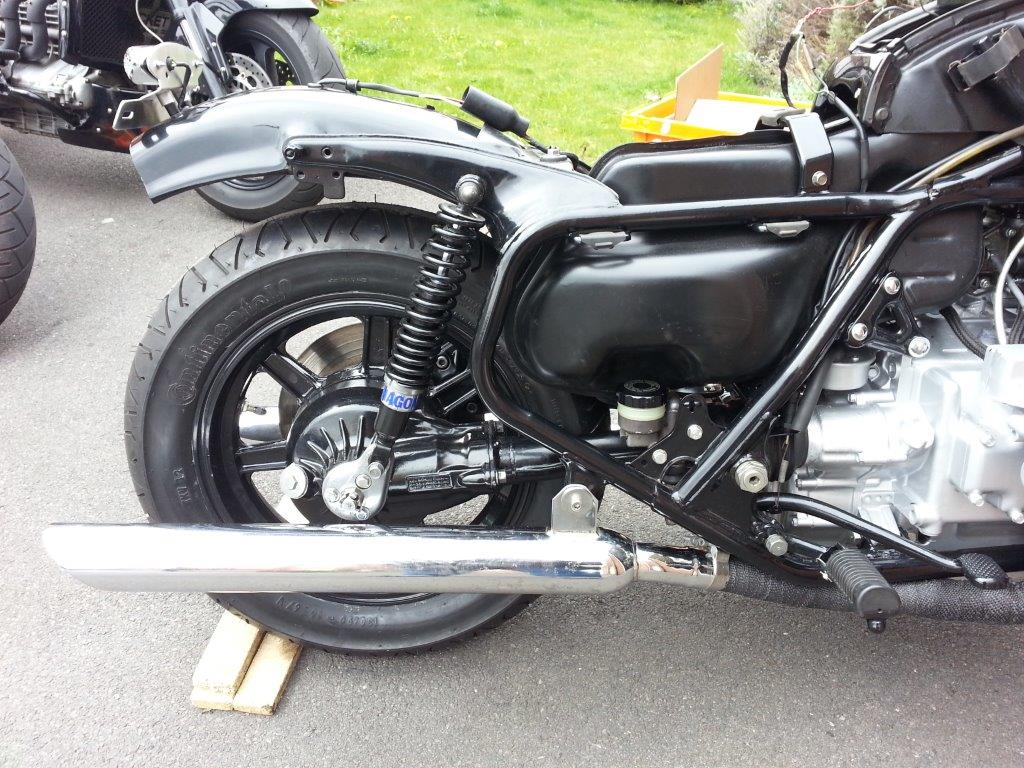
OK - now we have some issues.

1. Top radiator hose is leaking coolant after I put a few litres in. I cant find replacement OEM top hoses anywhere. Any suggestions where in the UK I can get a replacement one from?

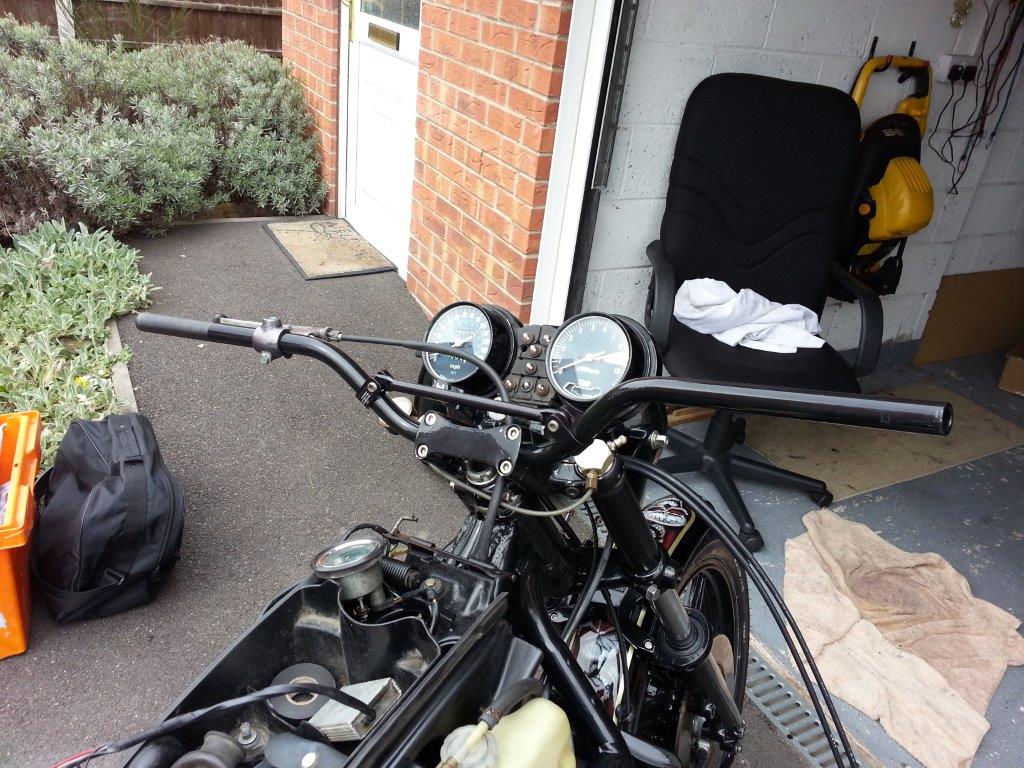
2. Throttle cables - is there just the 1 type or is there 2? I know it has 2 throttle cables but are the same types? The only throttle cables for the bike I can find are THESE - a so called PULL cable, but I can find no reference to a PULL cable. Help?

3. For some reason the starter button causes only the headlight to dim and does not turn engage the starter. I can jump the solenoid with a spanner and it will engage the starter, but not the button. I have checked the connections and they all appear to be in good order.....?

4, Head bearing for the yoke/triple-trees. The original ones on the bike end with a "J" whereas the KOYO replacement bearings end with a "JR" and do not fit on the stem - the opening is too tight. I have cleaned up and regreased the original sealed taper bearings and refitted the original ones I took off, but the supplier of the "JR" ones say they are correct and should fit (which they dont). Any ideas?

and finally for now...

5. Disc caliper oil seals - once again, the ones I got from an EBay seller saying these were correct for '77 GL1000 are too loose and wont make a tight seal with the piston. Again I have cleaned up the original ones and refitted. What should I be buying?
 
gee the wiring ...get ready its kinda tough here in this spot ...its probably the button causing the problem ...mot sure on the bearing on forks ...im assuming it had roller bearing and your trying to put in taper bearing ...I thank it cand be done with right stuff ...not sure never done it ....seems the early calipers have square oring shape In diameter 78and on had round ones .....there a car radiator hose that can be bought here for both radiator hoses
 
Actually the bearings on the bike when I got it were taper bearings - code ended with a "J". I order new replacement taper bearings from a seller on Ebay (these are KOYO bearings) and the code ends with "JR" and they do not fit over the steam. According to Mr Bearing seller there is no difference in bearings ending "J"or "JR" - which doesnt sound right.

Re the button - its currently dismantled and everything "looks" ok. It might be one of those "OMG" situations... I hope not.
 
Got some more done....

2013-04-22%2B13.42.01-765687.jpg


2013-04-22%2B13.42.05-767363.jpg


2013-04-22%2B13.42.16-769344.jpg


2013-04-22%2B13.42.43-759197.jpg


and then some more..... panels this time....

2013-04-22%2B14.54.12-758890.jpg


2013-04-22%2B14.54.43-760677.jpg


2013-04-22%2B14.56.00-762904.jpg


2013-04-22%2B15.01.07-757414.jpg


and finally the 1st dry fit is almost complete bar ...brakes, levers, and clocks)

Also found that this frame was meant for the original style "shortie" side panels and not these - so will need to mock up some mounting brackets.

When we assembled the calipers, the fockers pissed brake fluid everywhere - so when I acid-bath-dipped them I fooking destroyed them :) Need to buy some other ones (I have a spare rear).

Front master cylinder on lever needs to be overhauled as that too pissed brake fluid everywhere :(

2013-04-22%2B15.12.15-706023.jpg


2013-04-22%2B15.12.37-710096.jpg


2013-04-22%2B15.12.55-711947.jpg


2013-04-22%2B15.13.35-704244.jpg
 
Steve83":1ke8v2fk said:
Nice! I hope none of that brake fluid got on your new paint!!!

Had a loose disc so had all the front brake system on the bench with the calipers on the disc and the master cylinder/lever in the vice (not tight) and primed the system accordingly.

Unfortunately the calipers are arsed. If you look back through the thread you will see my "attempt" at cleaning them and I basically destroyed them! ho hum.

Just need to buy some more front calipers. Luckily I have a spare rear caliper.

Sent from SYDland ....
 
Well an old friend dug out some "old" front calipers which need a proper clean. I have been advised not to use my special cleaning liquid to do the cleaning since I destroyed the other ones :)

Interesting to know that there are sqaure and round oil seals - I will need to explore that some more and see if i can find the square ones.

I also received a front master cylinder service kit to rebuild that item of the bike.

The work never stops...... :)
 
I'd like to see more updates on this build.

BTW: I believe that all GoldWings shipped with ball head bearings (God only knows why they did this - even my 2006 1800 had them) a company named All Balls has done real well for themselves selling tapered roller bearings to replace them - which it appears you already had. Also, if they came out that easy, they may have been too small. I hear that most folks freeze the bearings and heat (gently) the head for installation - plus a special tool sometimes. The ball bearings soon get "notchy" when you hit a few good-sized potholes in the highway.

Also, your bike was made in Japan. They were made in Ohio from 1981 - 2009, then they closed the plant and moved production BACK to Japan again.

And, ALL GoldWings are pure metric unless someone has modified or added.

The actual original chrome "garnish" for the carbs was the winged chrome piece you pictured early in your report. The others are add-ons.

I'm sure you are past this now, but check the continuity on the starter button when pressed and released plus check the solenoid by putting 12 volts to the two control leads (green-red gnd and yellow-red +, I think), which should crank it.

Sent from my LePanII using Tapatalk 2
 
Ok. Its been a little while, but after a few issues, we got the bike running. However ....

1. The battery (new) is fading fast. My battery/alternator tester says the alternator is bad. Any ideas other than "engine out and replace the alternator"?

2. The starter switch has crumbled apart and I cant find any replacements anywhere. Is it possible to get a 2 wire starter button/switch to work in the circuit?

3. The rev clock doesnt work. It did when I stripped the bike down, but now it doesnt. Removing the cable shows it rotating when the engine runs, but no movement on the clock. Any ideas?

And finally

4. When does the radiator fan kick in/turn on?

Sent from SYDland.....
 
slabghost":2r04fw9k said:
Yes two wire switch will work. Need to add the coil wire to it though.

Can you provide a bit more info on your statement. Any ideas as to which of the 3 wiring loom wires from the original starter button are what?

Sent from SYDland.....
 
oh boy ...fun place ....the fan has a plug coming off of it ..you can check that with battery juice don't witch way positive and negative hook up ... but it dose need to pull air through radiator ...if fan works then if it don't come on its in the thermo switch.....

there is a yellow three wire connector at the left of the battery ...that aight be clean up or cutout and strait wired to see if it starts charging ...very possible it will ....

starter button sheeesh ....im not to sur what to say here ...wiring aroud the starter button seems to be only way ...maybe someone got better idea here than me ....
 
Might explain the charging issue. The regulator gets its signal voltage through the ignition. If the voltage from the battery to the ignition cluster is corroded, the regulator gets a false, lower reading and therefore thinks the battery needs more voltage. It then slow roasts the battery. There's a post somewhere on using a relay so that voltage goes to switch, back to relay, then the relay connects the regulator sense wire straight to one of the two hot wires from the battery. I get lower charging voltages this way. If yours is not getting enough voltage, well....just forget everything I just wrote.
 
[url=https://www.classicgoldwings.com/forum/viewtopic.php?p=102875#p102875:2prcsl7d said:
lmg » Tue Nov 12, 2013 6:27 am[/url]":2prcsl7d]
slabghost":2prcsl7d said:
Yes two wire switch will work. Need to add the coil wire to it though.

Can you provide a bit more info on your statement. Any ideas as to which of the 3 wiring loom wires from the original starter button are what?

Sent from SYDland.....
If you open the switch cluster you'll see the start button has three wires connected. One side is power from the ignition switch. The other side has one wire going to energize the starter solenoid and one wire going to power the coils. Extending those wires will allow you to locate your start button where it's most convenient for you. :builder:
 

Latest posts

Top