Engine Stand

Classic Goldwings

Help Support Classic Goldwings:

This site may earn a commission from merchant affiliate links, including eBay, Amazon, and others.
Thanks, again, for your help. Unfortunately, this thread was from 2010 and the photos of the engine stand that the contributor built were no longer available…although he did get rave reviews about it from the other forum members.
 
I grabbed this screenshot of a stand I'd like to build. For now I just set it on a rolling workbench. Makes painting the bottom an adventure!
 

Attachments

  • Screenshot_2023-04-17-20-03-37.png
    Screenshot_2023-04-17-20-03-37.png
    771.2 KB · Views: 0
  • Screenshot_2018-12-07-11-40-54.png
    Screenshot_2018-12-07-11-40-54.png
    607.8 KB · Views: 0
  • Screenshot_2018-12-07-11-38-58.png
    Screenshot_2018-12-07-11-38-58.png
    1.1 MB · Views: 0
I grabbed this screenshot of a stand I'd like to build. For now I just set it on a rolling workbench. Makes painting the bottom an adventure!
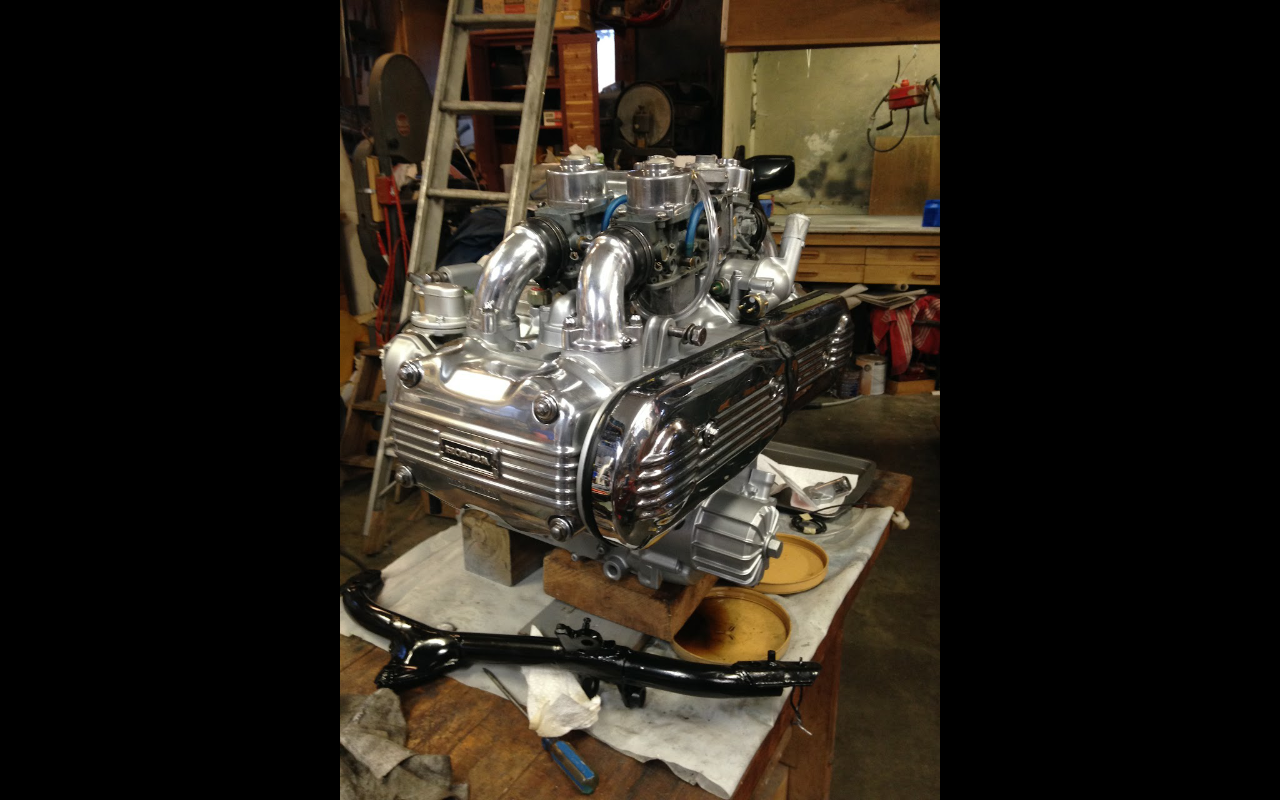
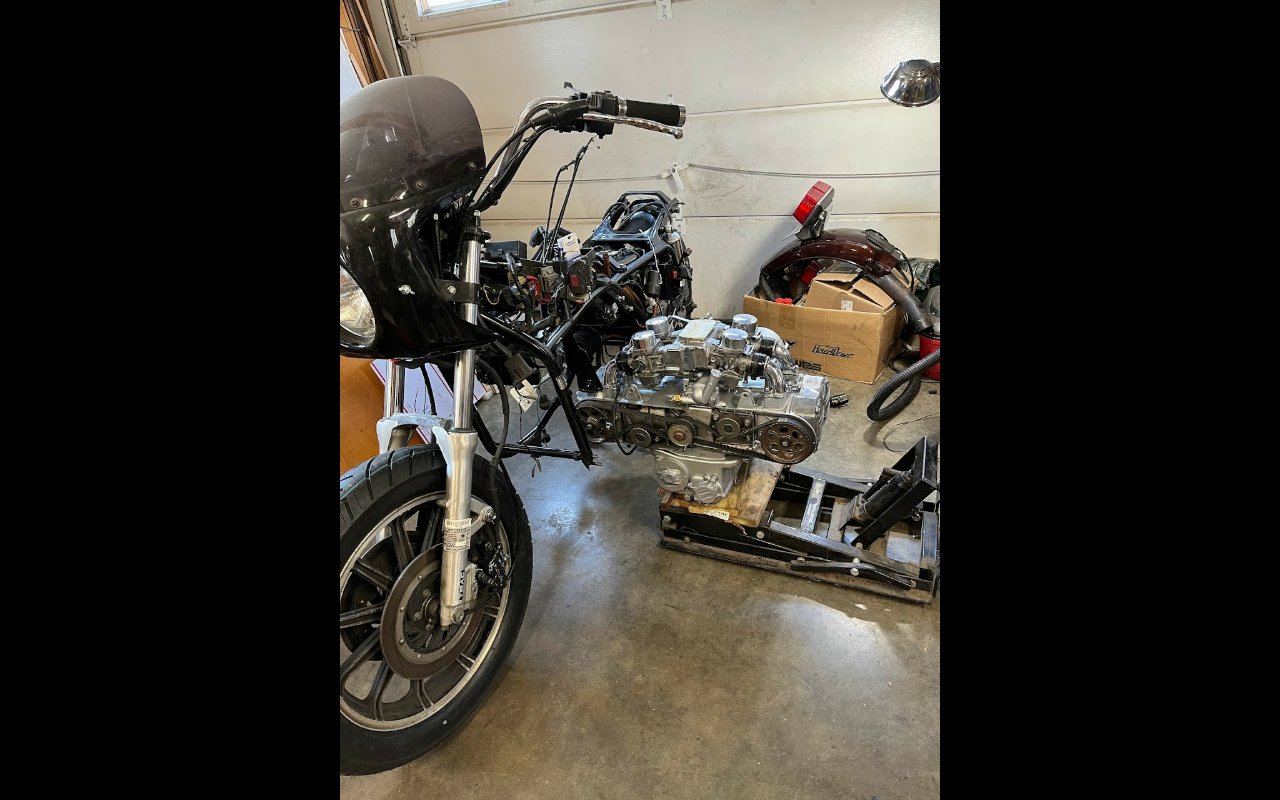
I cover the garage floor with a couple layers of corrugated cardboard and just roll the engine (minus intakes and water pipes) around to access different parts of it for clean/paint. You have to let the paint cure before setting weight on it (2 week minimum for POR15), but I'm in no hurry.
 
I'm using a transmission jack. Pivots and tilts, rolls easy any direction. Of course I'm a 1st timer at pulling a goldwing engine out but it went smoothly.
 
I use an atv jack to get motors out and sometimes the angles are tricky (level) does the transmission jack allow you to lock it in a position and roll it?
 

Attachments

  • Screenshot_2023-04-23-16-38-49.png
    Screenshot_2023-04-23-16-38-49.png
    858.4 KB · Views: 0
Thanks so much for these photos....incredibly helpful. I have a friend who's a welder and I'll try to get him to fabricate a pair of mounts based off of these pictures. I, too, used a transmission jack that I bought from Harbor Freight. It was inexpensive but it filled the bill and I had no trouble getting the motor out of the frame. I just need something now that I can mount the motor to so that I can do some work on it, clean it up, and repaint it. Thanks, again, for everyone's help and suggestions. If I can get my buddy to make me one of these I'll post some pictures.
 
I would like to see his interpretation. Sometimes it might be advantageous to have the engine facing the other way. That would make the water pump and head gaskets easier...I think, because I always did those in-frame.
 
I'm making some modifications to the designs that were in the photos that will allow the engine to be mounted in either direction. When I get the finished design fabricated I'll post some photos.
 
Here's what I came up with.... Because everything is bolted together and not welded, the engine supports are reversible allowing the engine to be mounted in either direction. The engine cradle can also be broken down into its separate components for easy storage. I used 7 feet of 1-1/2" x .12" square tube mild steel for the long supports and 3 feet of 2" x .25" square tube mild steel for the ten brackets. Everything was cut with a 4-1/2" angle grinder and holes were drilled with a drill press. All bolts are 1/2".
 

Attachments

  • EngineCradle1.jpeg
    EngineCradle1.jpeg
    3.3 MB · Views: 0
  • EngineCradle2.jpeg
    EngineCradle2.jpeg
    3.6 MB · Views: 0
  • EngineCradle3.jpeg
    EngineCradle3.jpeg
    3.7 MB · Views: 0
  • EngineCradle4.jpeg
    EngineCradle4.jpeg
    3.1 MB · Views: 0
Top