Here we go then.......... The Grand Finale.
***A word of warning for anyone suffering from rheumatic fever, tennis elbow or a pitchers shoulder.... STOP. This next bit could put you out of action for a while***
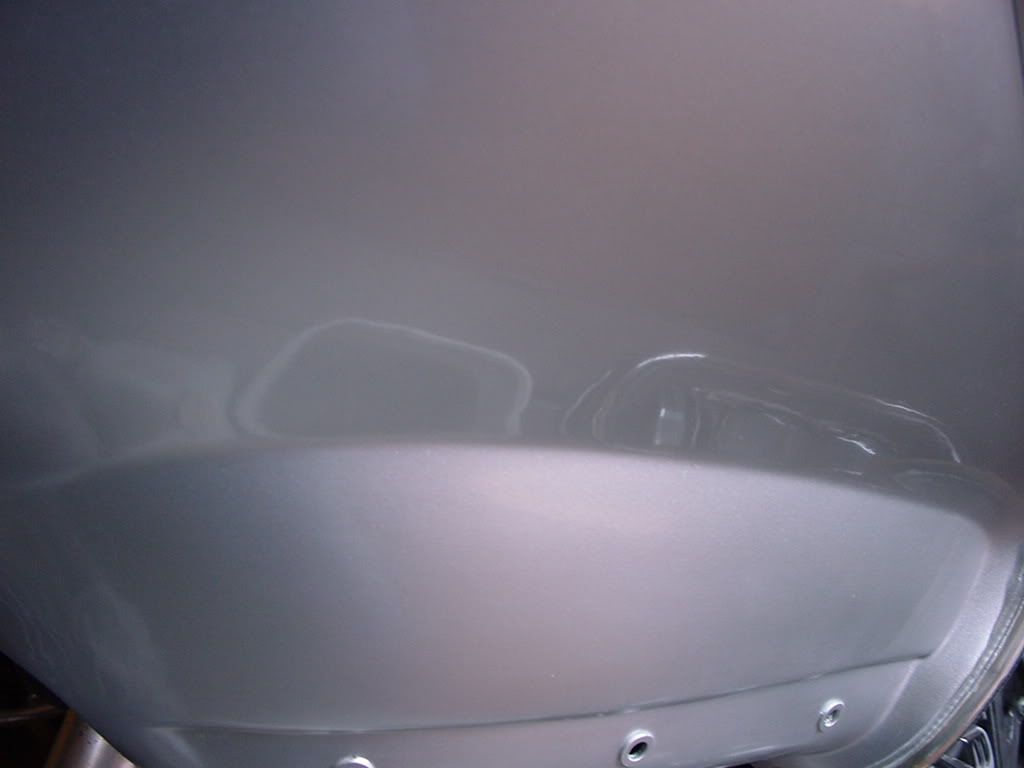
You should now have a primed, painted and sanded (dulled) part ready for a final finish. If you look very carefully at the painted surface you may see something that looks like "orange-peel". It won't be the same as a bad paint job, just miniscule unsanded "dips". This is not a problem, that should all disappear when you're done.
Okay, for this next step I use a "scratch-remover". My product of choice is a paste called Commandant 3, but i'm sure there are other, equally good alternatives were you live.
Put some paste on i polishing cloth. I use a cloth made of recycled cotton, very soft.
Using some pressure start to polish the paste over the surface until it starts to leave the surface of it's own accord.
Check your work after wiping the piece down and see if it's up to standard. If it's nice and shiny put some "normal" polish on and have a beer. If it isn't let it cool down and try again.
It's best to begin with the smaller parts (rear fender, side panels, pannier lids) before doing the "big" stuff like fairings.
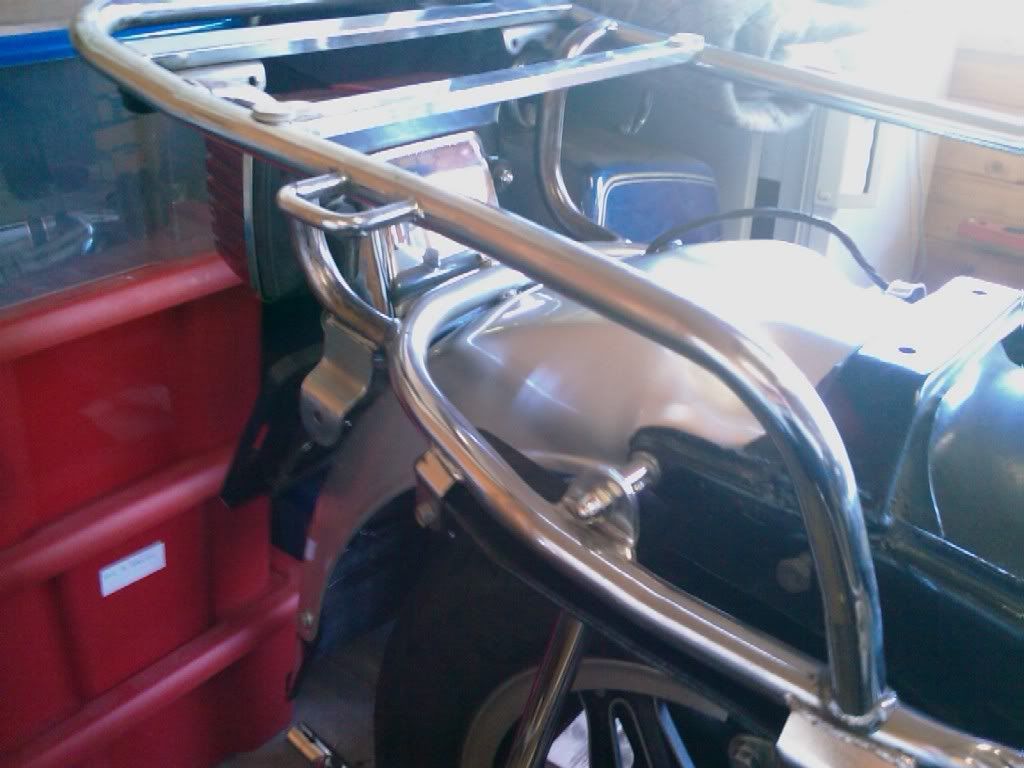
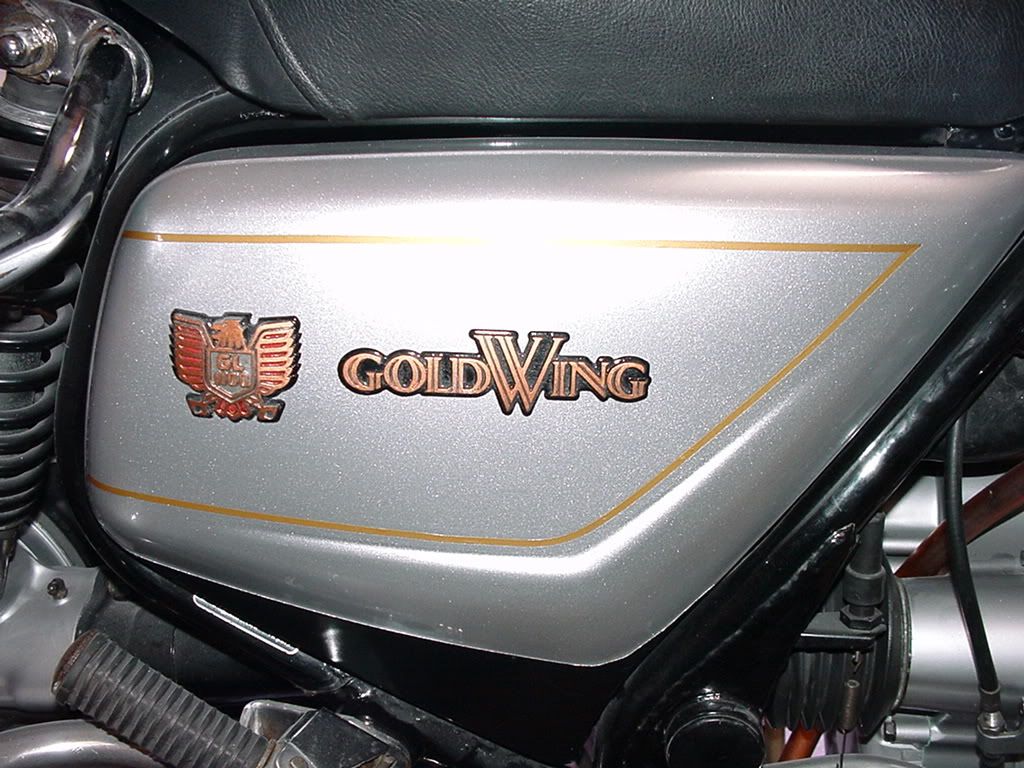
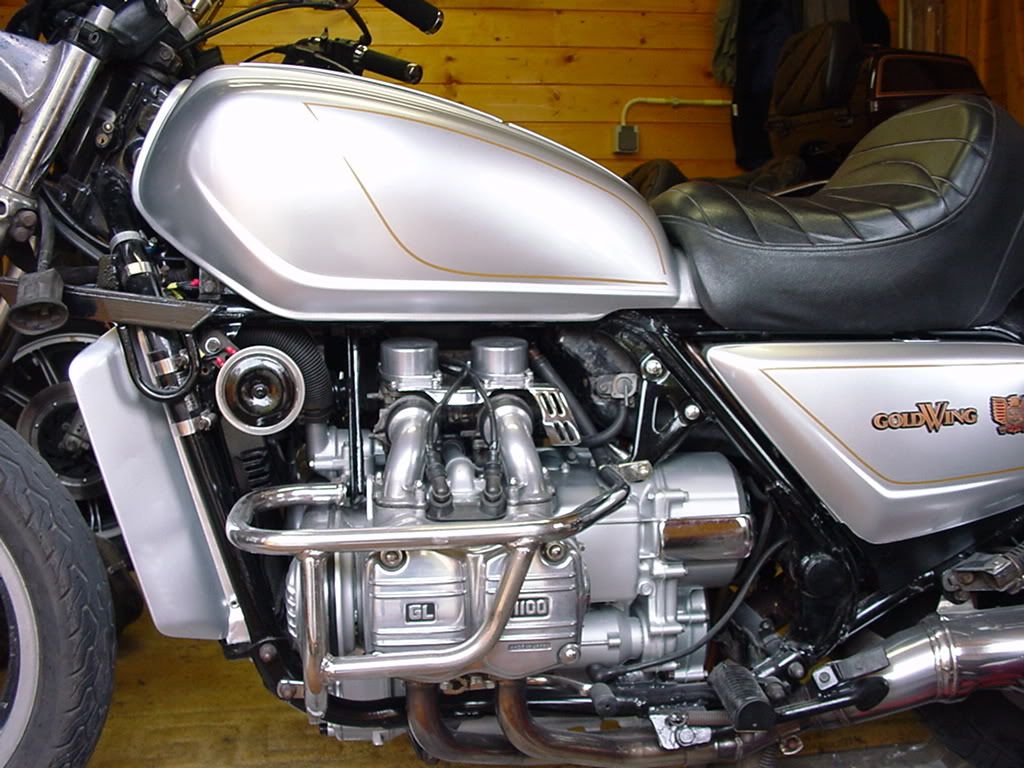
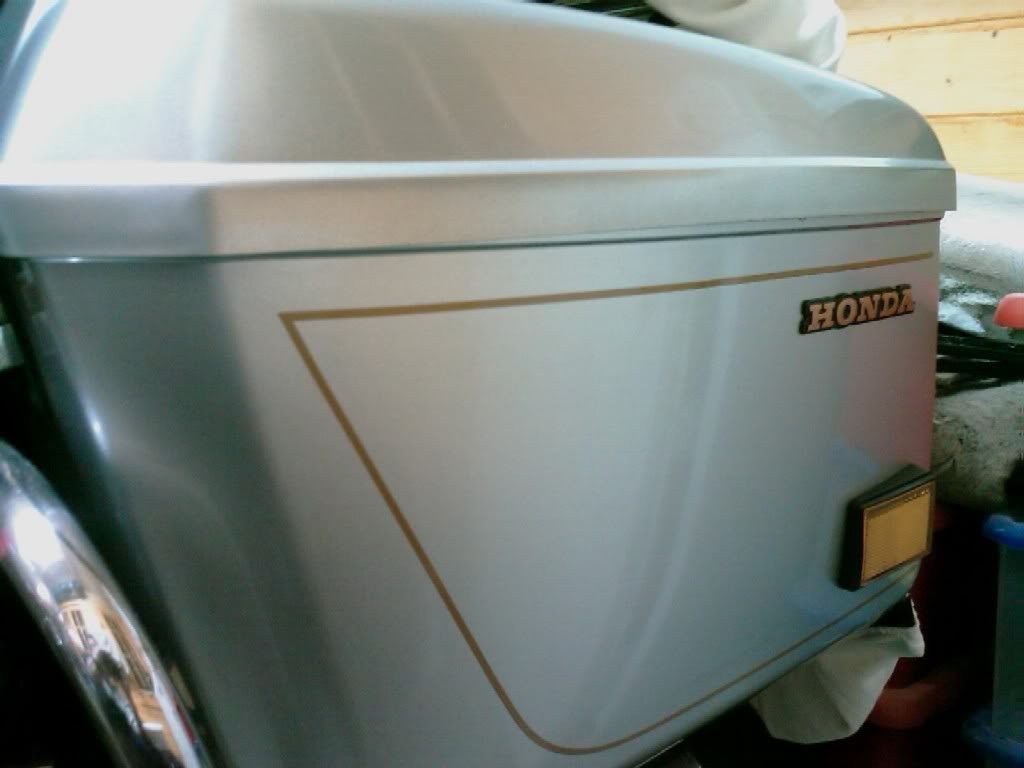
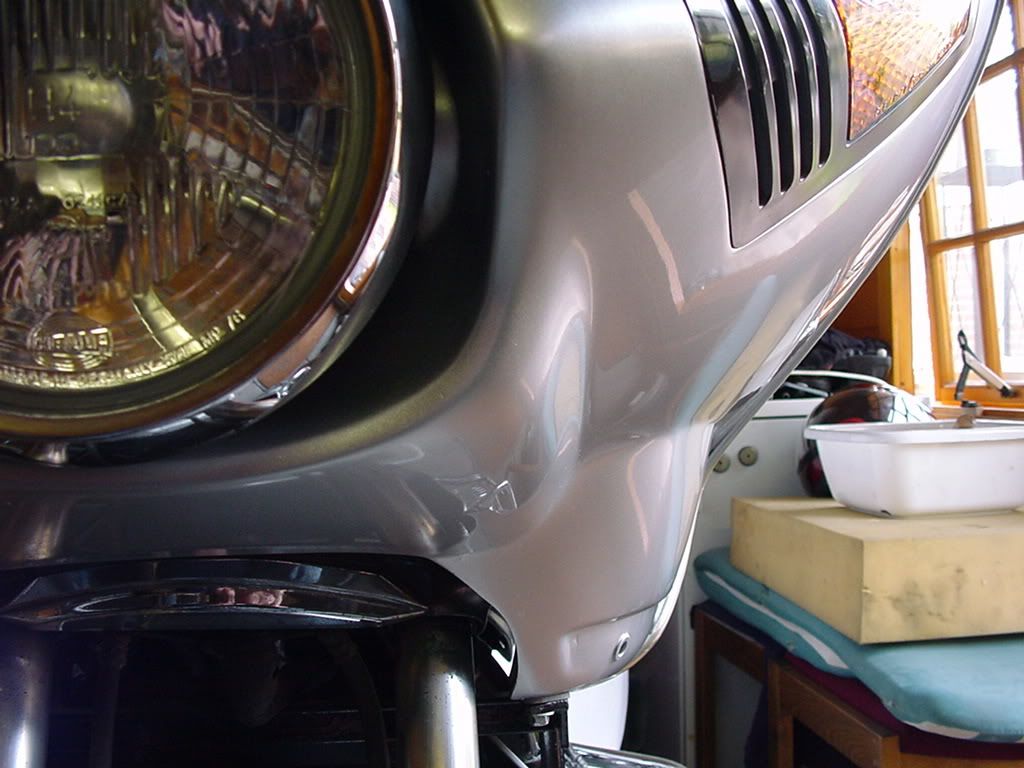
If it all came together and you didn't have too many beers (causing you to drop the bits on the floor, chipping paint and bringing forth a barrage of expletives that would make the Devil blush) then you should get something looking like this.......
Oh yeah, I did really repaint the logo's (with Revell enamel paint, then clear coated them. Hey, saved a couple of hundred bucks :grin: )
And thats about it, really. Just go for it. As with so many jobs, patience is key. Take your time and you'll have a finish like glass.
WITH A CAN, YOU CAN :grin:
Dave.


