lmg
Active member
Hi - I recently won on Ebay a 1977 GL1000 Goldwing, and I plan to either restore the bike or turn it in to something else. The bike currently looks like this....

I will be taking pretty much all of the "touring" stuff off of the bike including the fairing, panniers, racks, topbox, seat, handlebars, etc and keeping it bare/naked.
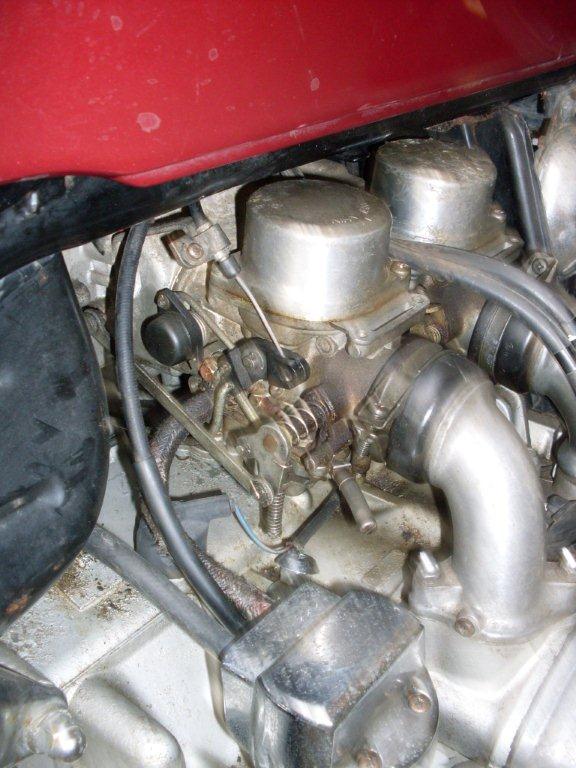
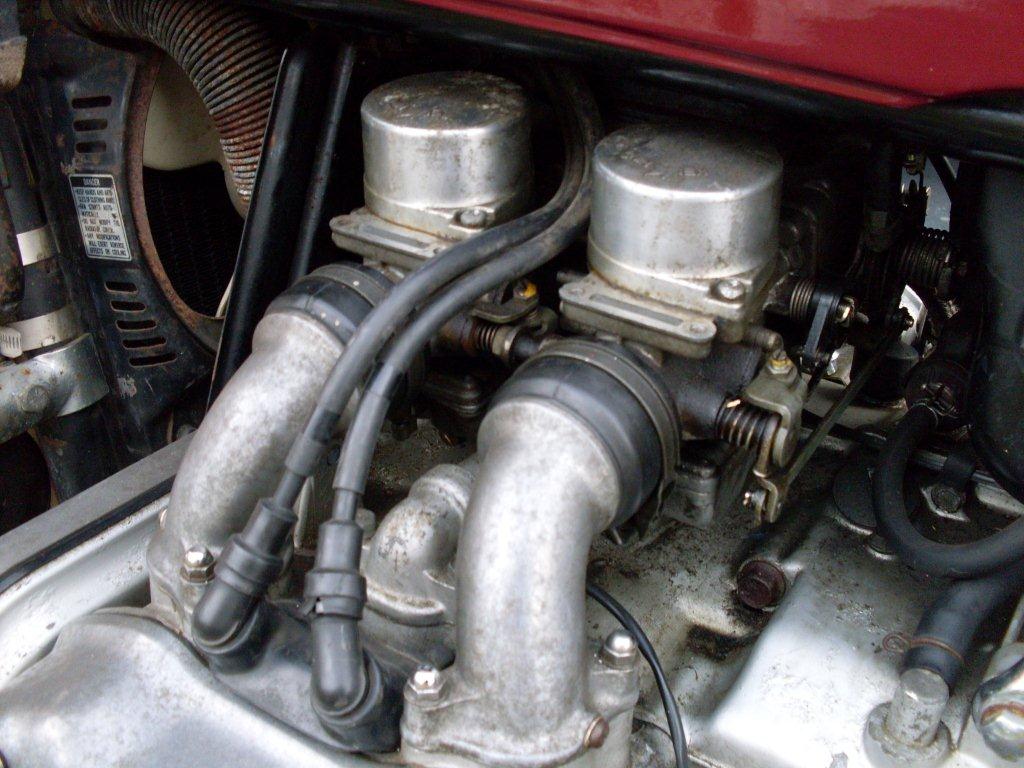
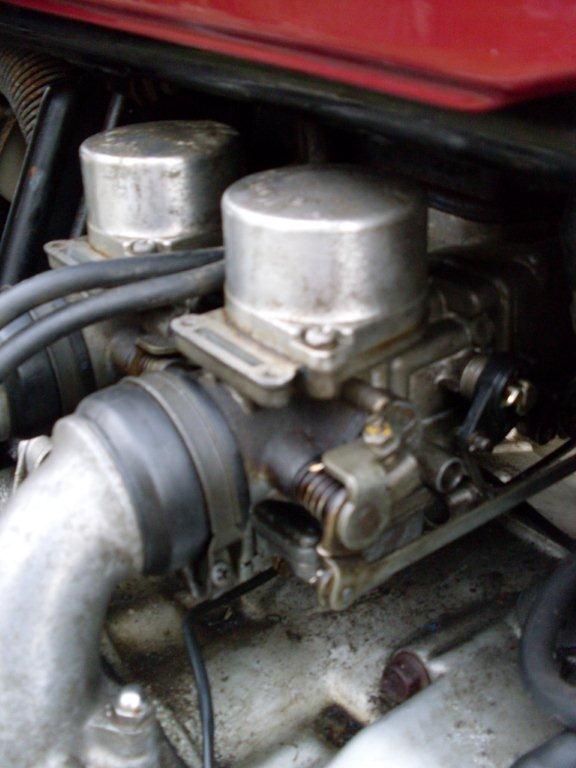
A friend from the IronButt UK site who is a knowledgable chap regarding all things Goldwings reckons the carbs are actually off of a 1100 - if thats the case then I will need to replace those and sell the 1100 carbs. The bike is currently only firing on 3 of the 4 cylinders, and its likely the carbs are the culprits.
I plan to strip the bike down completely and rebuild from the frame up. I also plan on doing something with the engine casing if I can manage it (and if I can work out how to do it).
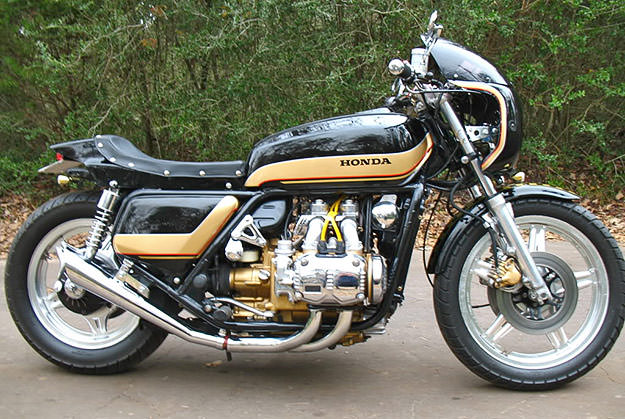
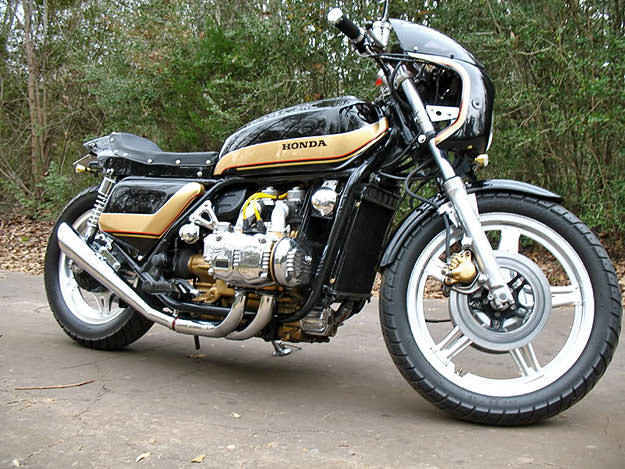
At the moment my thinking is that I would like to turn it in to something like this.....
I am going to collect the bike on Tuesday 27th September and will return them home on my new (aka 2nd hand) 3 bike trailer.

Today I have purchased a CYLMER workshop manual for my bike from a former owner of a GL1000 in Doncaster. He says the bike is a sublime ride with oodles of power. One thing for certain is that it will be an adventure!
Okay - last Tuesday with a 2am start Davey and myself headed down to Croydon, South London in order to collect my 3 bike trailer. Waking the seller up at 5:40am we hooked up the trailer and headed off around the M25 and under the Thames via the Dartford Tunnel. Arriving at Leigh-on-Sea (near Southend-on-Sea) at about 7:30am we had a hard time getting the seller of a GSX1100 (another project bike) out of his sack, but eventually succeeded and got the low rider on the trailer. Heading back towards London and South around the M25 (over the Dartford Bridge this time) we got caught up in the Traffic. With breakfast taken on the M3 we got to the New Forest where the GL1000 was holed up. Whilst on the M3 heading in to the New Forest Davey noticed the highest priced fuel either of us has seen before --- £1.76p/litre of Diesel (thats about £10 per UK gallon or $16+ for a US Gallon)! We had to reposition the GSX11 on the trailer in order to get the GL1000 on as well.
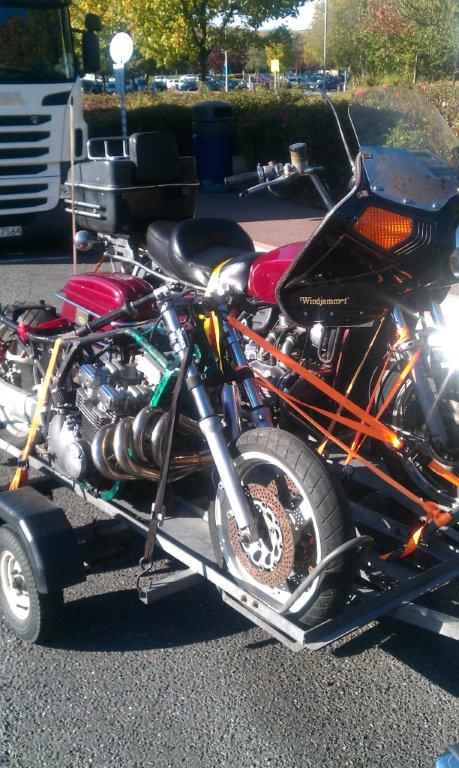
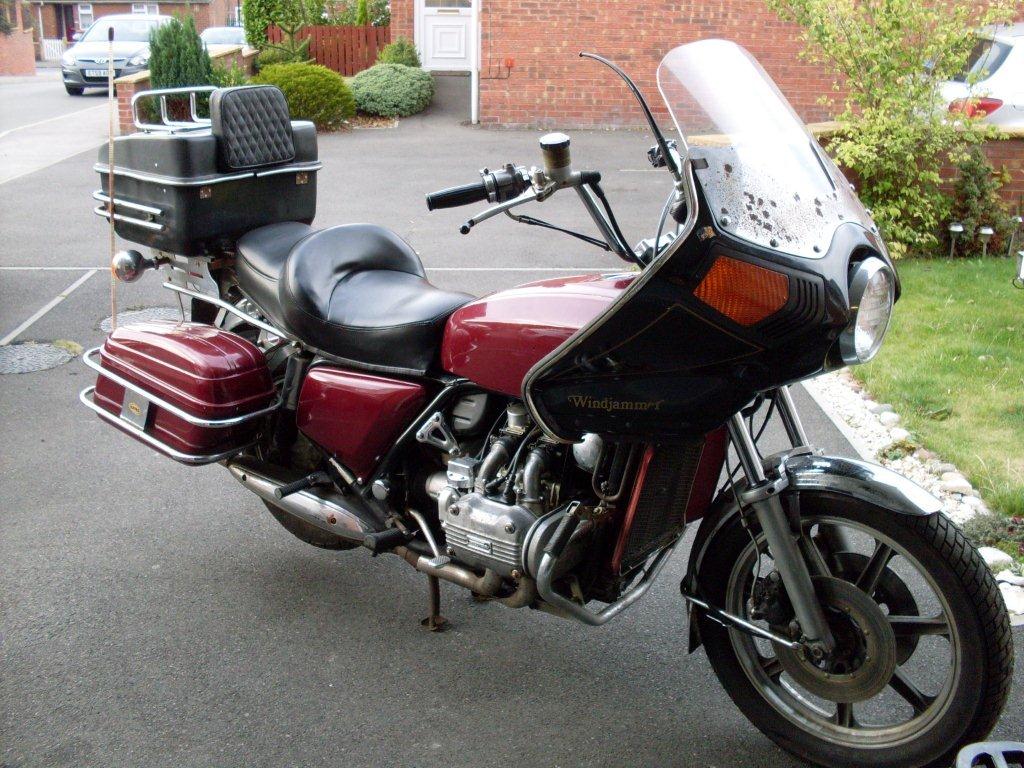
After the straps were checked and the tyre pressure pumped up correctly, we headed off back North. After a 16hr driving day we got back to my place. The GSX11 was psoition in the back yard and the Goldwing down the side of the house. Here are the first photos of the bike...
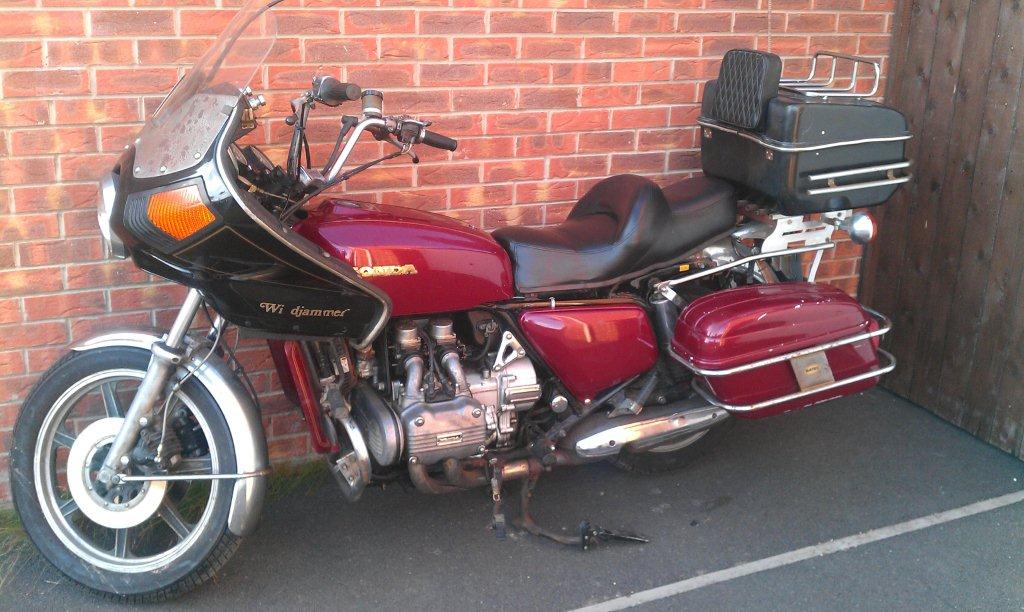
The bike appears to have a Vetter "Windjammer" screen on it - as well as a cassette/radion/CB unit wired in. The bike needs a fair bit of TLC, but the question is this....."Return it to a Goldwing Touring standard or a Goldwing Bobber?".
Today my parents arrived from Spain today for a visit and since I havent seen them in quite a few months, I did what any sane person would do and I left them in the house whilst I commenced stripping down the Goldwing.
First things first - took the seat off. It actually is held on by 2 clamp bolts so it was a piece of cake. Next I wanted to tacklet the bikes fat ass. I removed the panniers....
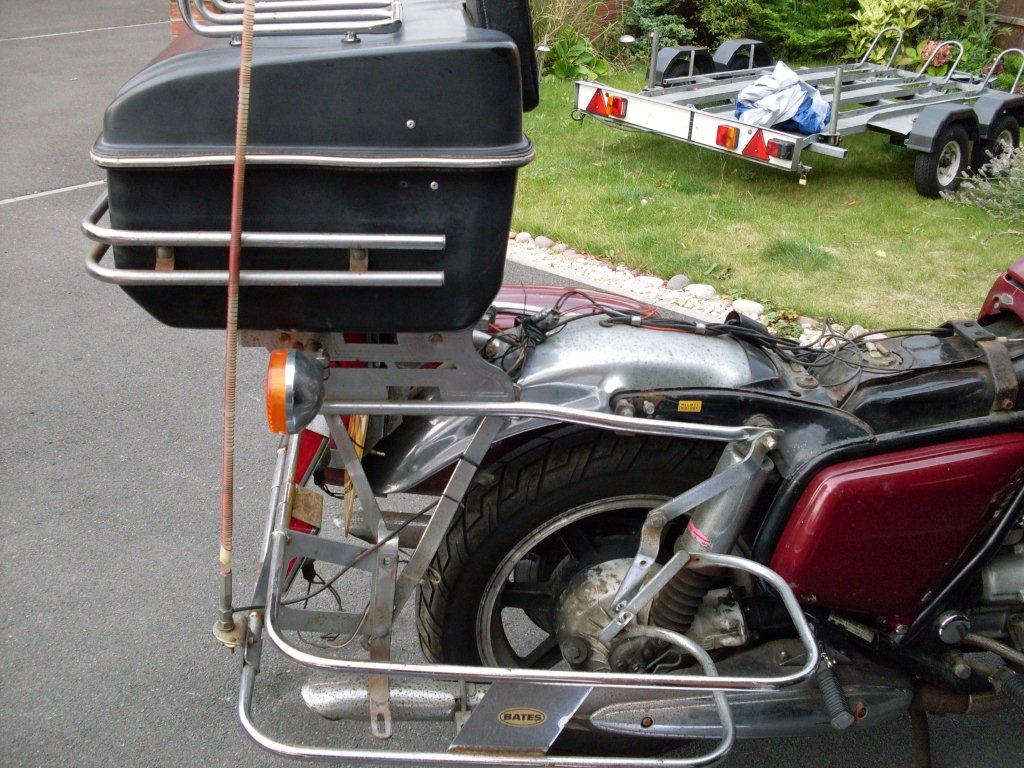
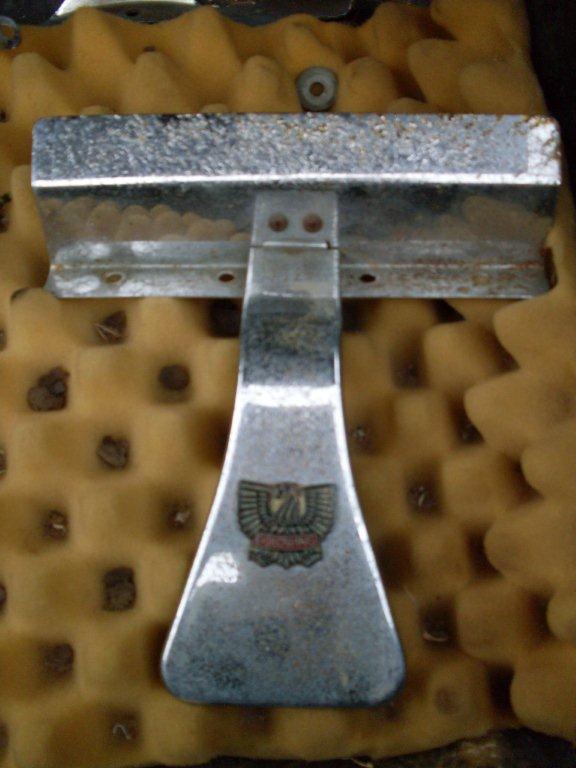
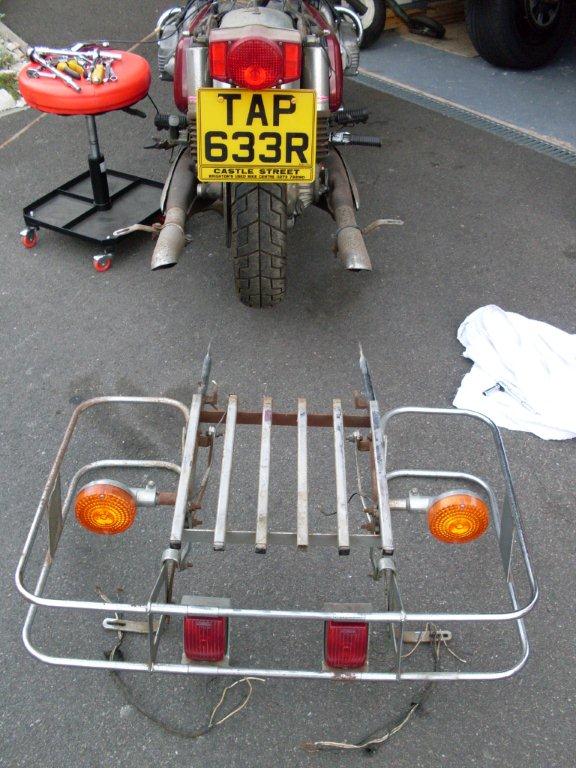
Next took the top box off....
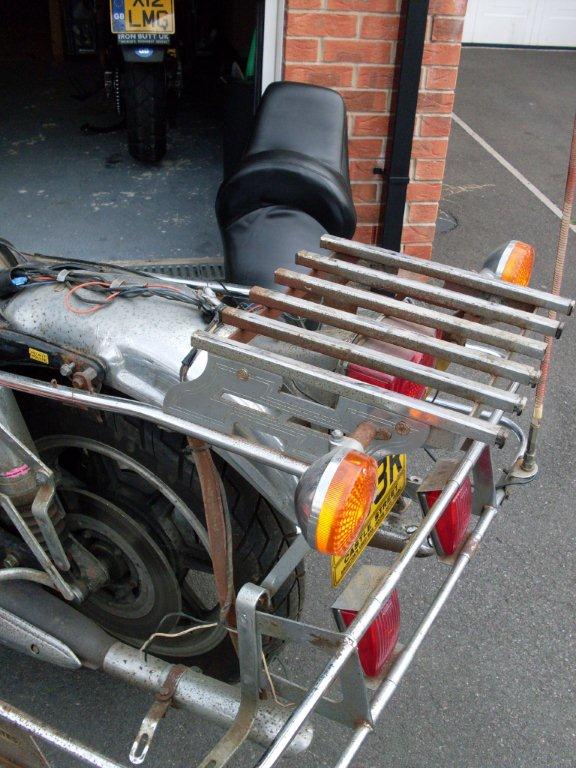
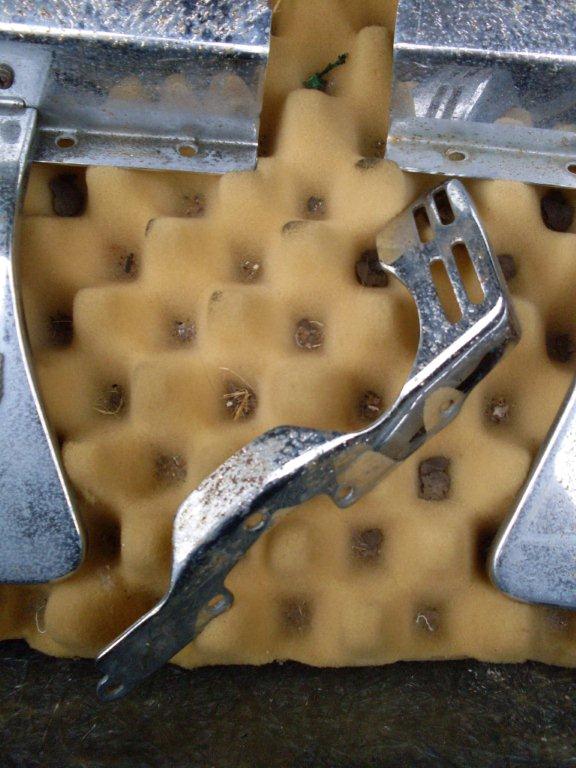
This allowed me to take the pannier | top box rail off (all the electrics where spliced in using bullet connectors under the seat) and unlike my Triumph Rocket III the rear light loom was run down the outside centre of the rear mudguard.
Needed to summon my Dad out to help me remove the Vetter Windjammer fairiing.
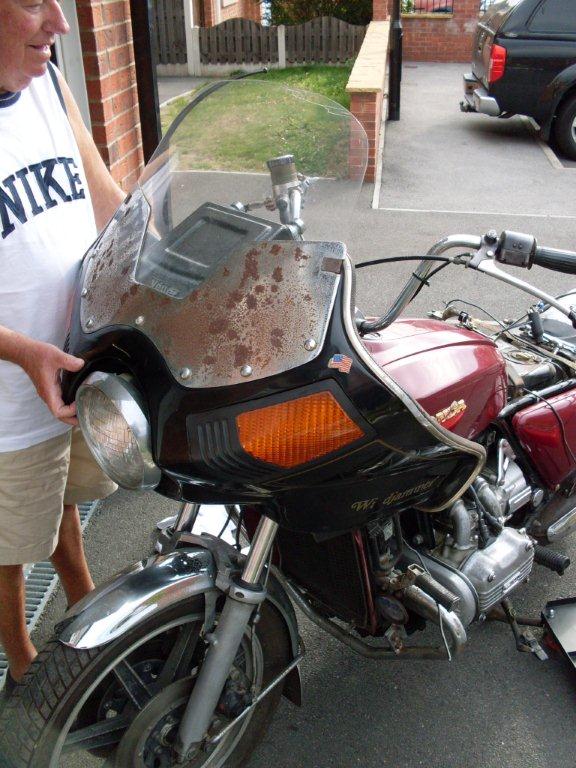
The fairing is a work of art - all the wiring loom is extended from the headlight via a single plug/socket connector in to the side of the fairing, so along with 4 bolts and disconnect the plug/socket, the fairing was off.
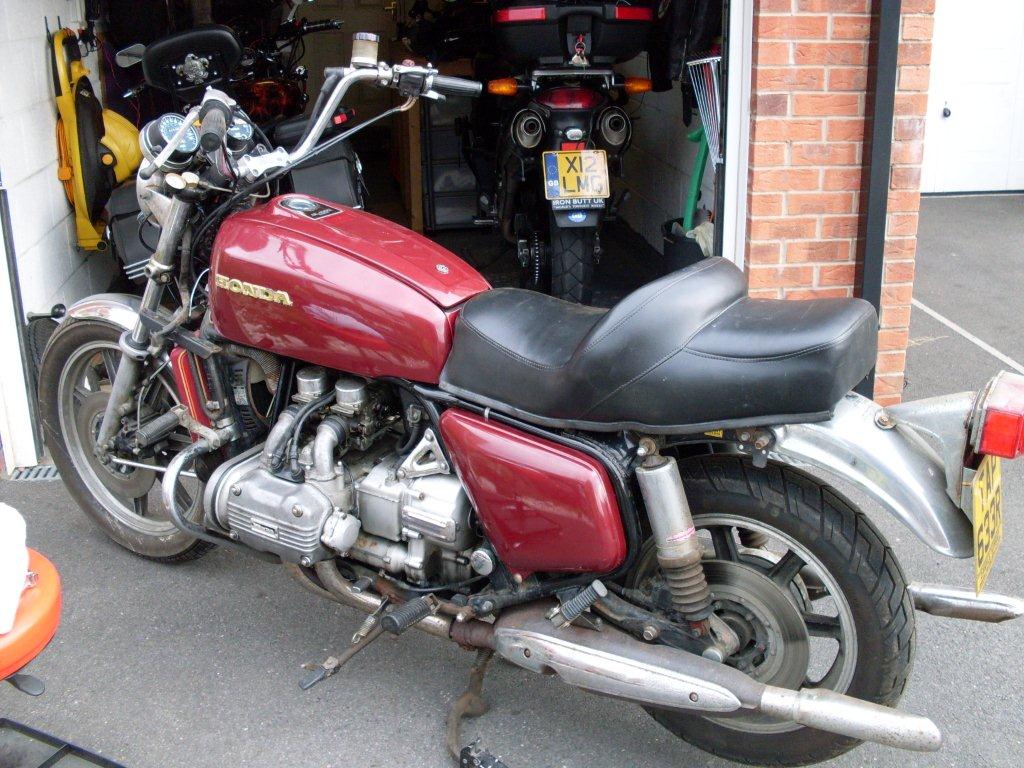
The bike is now almost back to stock.....
What was interesting to note was all the nuts and bolts (without exception) came apart without rounding and being rusted on. A piece of cake. I actually thought what a 34yr old Triumph Rocket III might be like to dismantle knowing that bike (I have 2 of them) as I do :
The bike has a lot of surface rust, but apart from that there are no holes that can be seen at this stage and everything works in terms of electrics. The battery on the GL1000 is housed under the left side panel and is quite huge!
Next steps are to flip a coin to decide whether to do the stock restoration or go down the custom route.
I will be taking pretty much all of the "touring" stuff off of the bike including the fairing, panniers, racks, topbox, seat, handlebars, etc and keeping it bare/naked.
A friend from the IronButt UK site who is a knowledgable chap regarding all things Goldwings reckons the carbs are actually off of a 1100 - if thats the case then I will need to replace those and sell the 1100 carbs. The bike is currently only firing on 3 of the 4 cylinders, and its likely the carbs are the culprits.
I plan to strip the bike down completely and rebuild from the frame up. I also plan on doing something with the engine casing if I can manage it (and if I can work out how to do it).
At the moment my thinking is that I would like to turn it in to something like this.....
I am going to collect the bike on Tuesday 27th September and will return them home on my new (aka 2nd hand) 3 bike trailer.
Today I have purchased a CYLMER workshop manual for my bike from a former owner of a GL1000 in Doncaster. He says the bike is a sublime ride with oodles of power. One thing for certain is that it will be an adventure!
Okay - last Tuesday with a 2am start
Davey and myself headed down to Croydon, South London in order to collect my 3 bike trailer. Waking the seller up at 5:40am we hooked up the trailer and headed off around the M25 and under the Thames via the Dartford Tunnel. Arriving at Leigh-on-Sea (near Southend-on-Sea) at about 7:30am we had a hard time getting the seller of a GSX1100 (another project bike) out of his sack, but eventually succeeded and got the low rider on the trailer. Heading back towards London and South around the M25 (over the Dartford Bridge this time) we got caught up in the Traffic. With breakfast taken on the M3 we got to the New Forest where the GL1000 was holed up. Whilst on the M3 heading in to the New Forest Davey noticed the highest priced fuel either of us has seen before --- £1.76p/litre of Diesel (thats about £10 per UK gallon or $16+ for a US Gallon)! We had to reposition the GSX11 on the trailer in order to get the GL1000 on as well.
After the straps were checked and the tyre pressure pumped up correctly, we headed off back North. After a 16hr driving day we got back to my place. The GSX11 was psoition in the back yard and the Goldwing down the side of the house. Here are the first photos of the bike...
The bike appears to have a Vetter "Windjammer" screen on it - as well as a cassette/radion/CB unit wired in. The bike needs a fair bit of TLC, but the question is this....."Return it to a Goldwing Touring standard or a Goldwing Bobber?".
Today my parents arrived from Spain today for a visit and since I havent seen them in quite a few months, I did what any sane person would do and I left them in the house whilst I commenced stripping down the Goldwing.
First things first - took the seat off. It actually is held on by 2 clamp bolts so it was a piece of cake. Next I wanted to tacklet the bikes fat ass. I removed the panniers....
Next took the top box off....
This allowed me to take the pannier | top box rail off (all the electrics where spliced in using bullet connectors under the seat) and unlike my Triumph Rocket III the rear light loom was run down the outside centre of the rear mudguard.
Needed to summon my Dad out to help me remove the Vetter Windjammer fairiing.
The fairing is a work of art - all the wiring loom is extended from the headlight via a single plug/socket connector in to the side of the fairing, so along with 4 bolts and disconnect the plug/socket, the fairing was off.
The bike is now almost back to stock.....
What was interesting to note was all the nuts and bolts (without exception) came apart without rounding and being rusted on. A piece of cake. I actually thought what a 34yr old Triumph Rocket III might be like to dismantle knowing that bike (I have 2 of them) as I do :
The bike has a lot of surface rust, but apart from that there are no holes that can be seen at this stage and everything works in terms of electrics. The battery on the GL1000 is housed under the left side panel and is quite huge!
Next steps are to flip a coin to decide whether to do the stock restoration or go down the custom route.