


OP
OP
pics
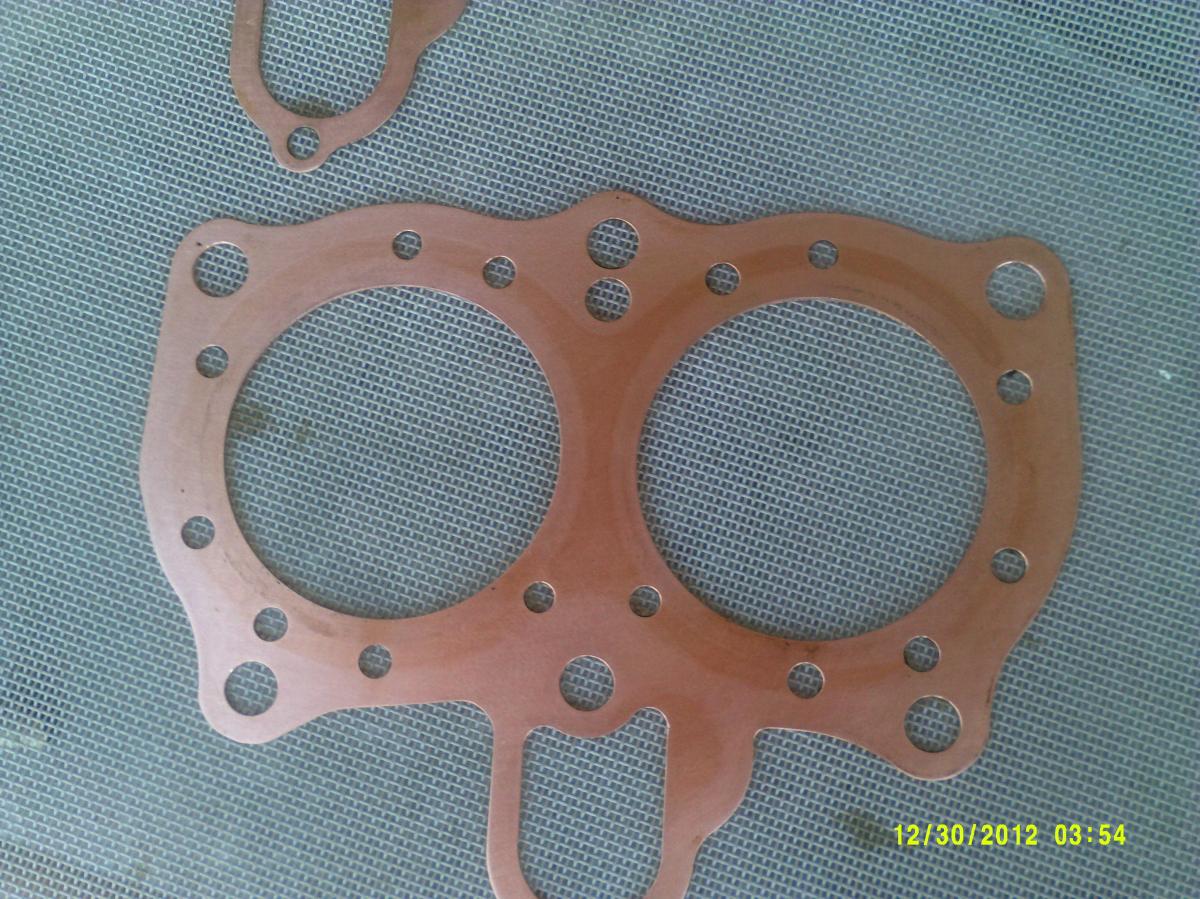
you can see right about around the 6 Oclock position that cylinder pressure was pushing into water jacket ...maybe other places too
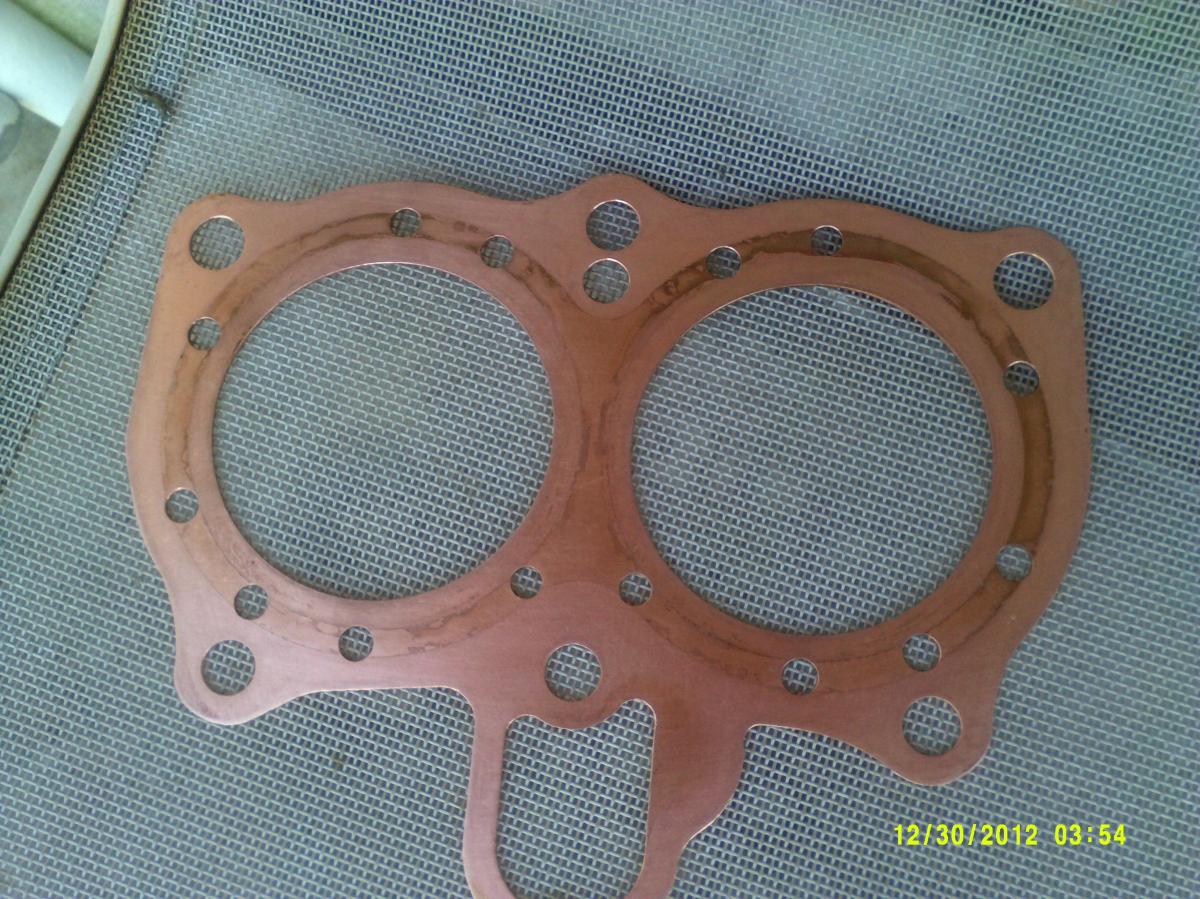
same here it seems for sure
now at 12 Oclock and more
you can also see at 40plus pounds of torque there no compression on the gasket but milling marks ..maybe you can see them if you inlarge the pics ...with the way thing are i cant see anyway to get torque on the cylinders with the bolts being on the outside ridge of the water jackets ..its rather easy for me to see that an o ring that raises things up 1/1000 or more is the only way one can put enough pressure on the cylinder sleeves ...cooper is just a race tool and suited best for air cooled bikes ..the pics dont really show much of anything on the sleeves at all ..where the most pressure is and the furthest thing from the bolts ..
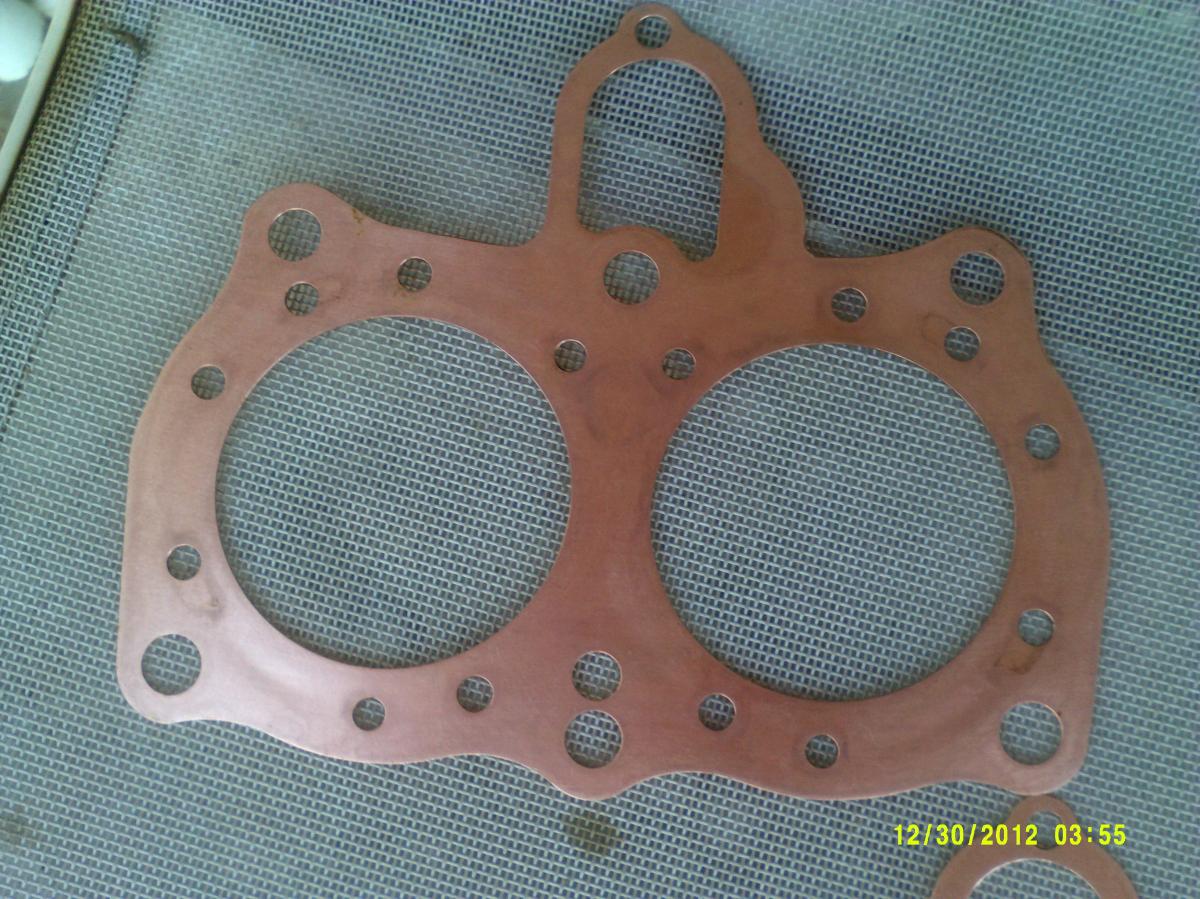
you can see right about around the 6 Oclock position that cylinder pressure was pushing into water jacket ...maybe other places too
same here it seems for sure
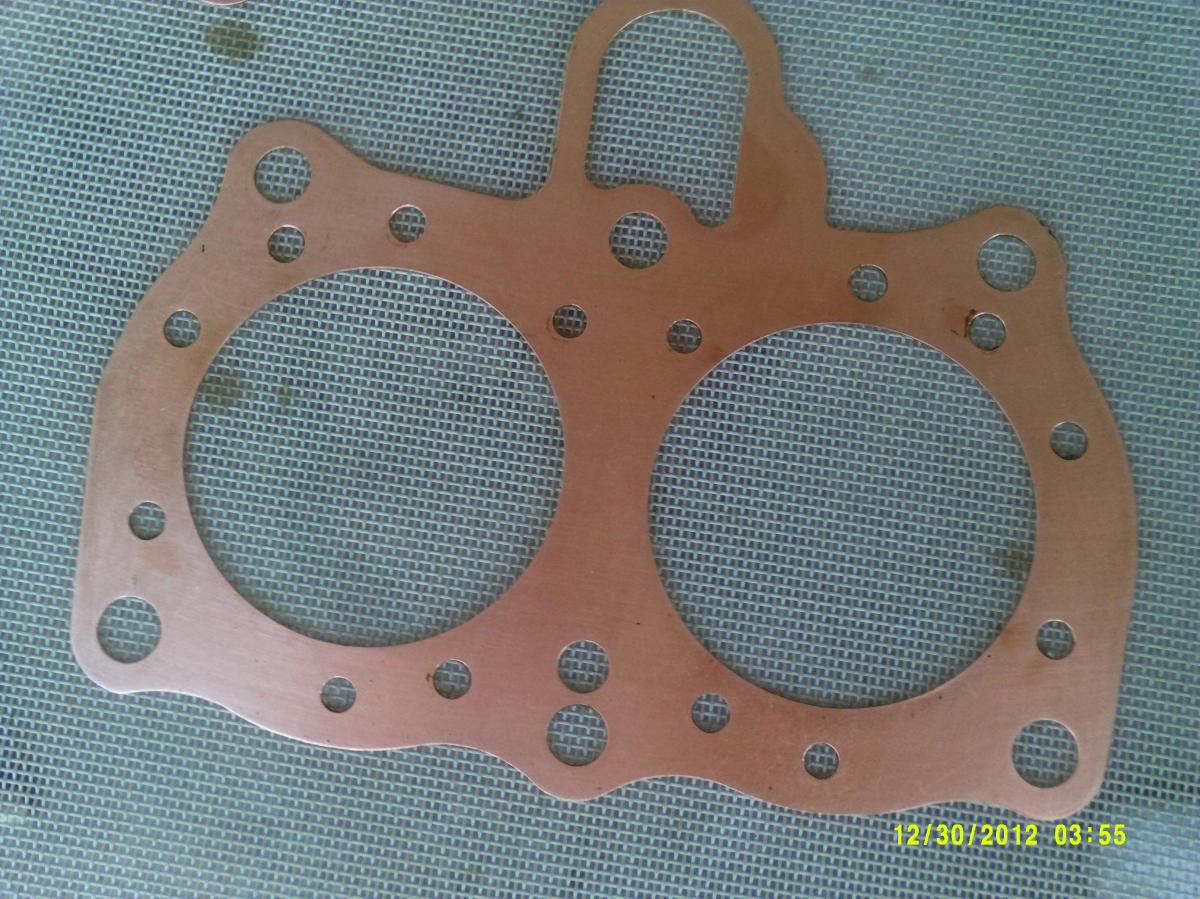
now at 12 Oclock and more
you can also see at 40plus pounds of torque there no compression on the gasket but milling marks ..maybe you can see them if you inlarge the pics ...with the way thing are i cant see anyway to get torque on the cylinders with the bolts being on the outside ridge of the water jackets ..its rather easy for me to see that an o ring that raises things up 1/1000 or more is the only way one can put enough pressure on the cylinder sleeves ...cooper is just a race tool and suited best for air cooled bikes ..the pics dont really show much of anything on the sleeves at all ..where the most pressure is and the furthest thing from the bolts ..


