its been snowing on and off all day so the wing has been parked even though the dunlop e3's on the wing have more tread than the dunlops on the van ")


detdrbuzzard":12lxut0q said:its been snowing on and off all day so the wing has been parked even though the dunlop e3's on the wing have more tread than the dunlops on the van
no snow stuck to the ground or grass and the temp was in the low 40's but the air was cold enough that we got snow, was comming down hard at times1060dsl":fok3zgfm said:detdrbuzzard":fok3zgfm said:its been snowing on and off all day so the wing has been parked even though the dunlop e3's on the wing have more tread than the dunlops on the van
SNOWING??
joedrum":wcsluqpe said:gee weez thats nice
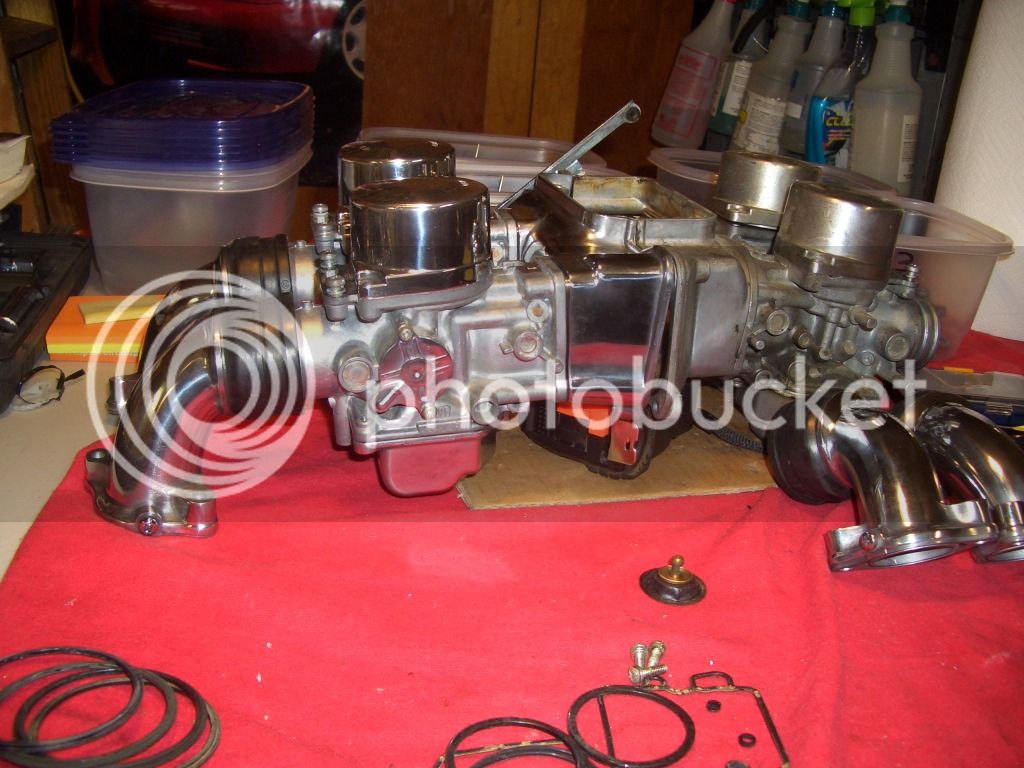
Sidewinder":2d17pt79 said:Polished some more. Halfway done with the polishing.
[email protected]":3pibm5x7 said:That carb looks awsome. I am doing a restoration, and I would love to know how you polished those parts. :clapping:
Sidewinder":2k25hfbc said:[email protected]":2k25hfbc said:That carb looks awsome. I am doing a restoration, and I would love to know how you polished those parts. :clapping:
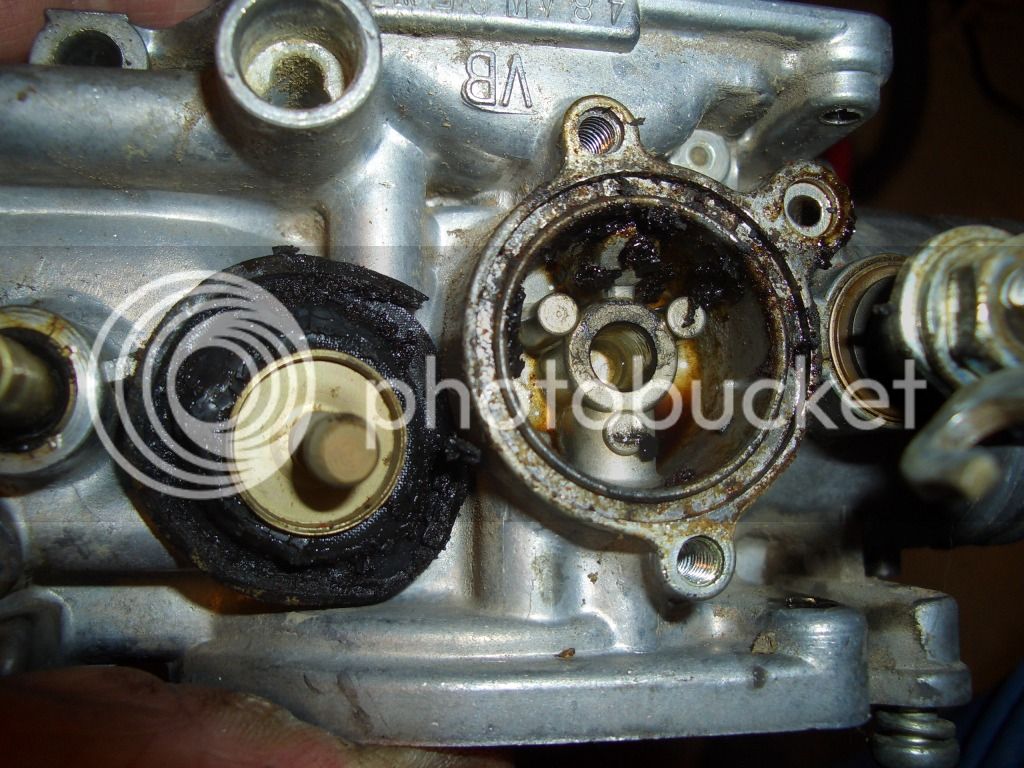
The shiny parts were oxidized pretty bad and scratched up so, I started with 220 grit sandpaper, then 320 grit, followed by 800 grit .......... Then to the polishing wheels ..... first run with brown or tripoli compound to a decent shine, then the green compound. Took about 3-4 hours total and lots 'O rubbing.
The bodies were in the ultrasonic cleaner for extended rides on and off over a couple of days.
All the brass parts including jets were cleaned along with the bodies, holes cleared with proper size micro drill bits then finished off with 0000 steel wool to a shine.
[email protected]":2yp6r8dm said:Way short on tools, no ultrasonic cleaner, or polishing stuff. But your carbs still look awesome.
Enter your email address to join: