Painting the 1500

Classic Goldwings

Help Support Classic Goldwings:

This site may earn a commission from merchant affiliate links, including eBay, Amazon, and others.
Sorry I miss spelled Simichrome, it may not matter

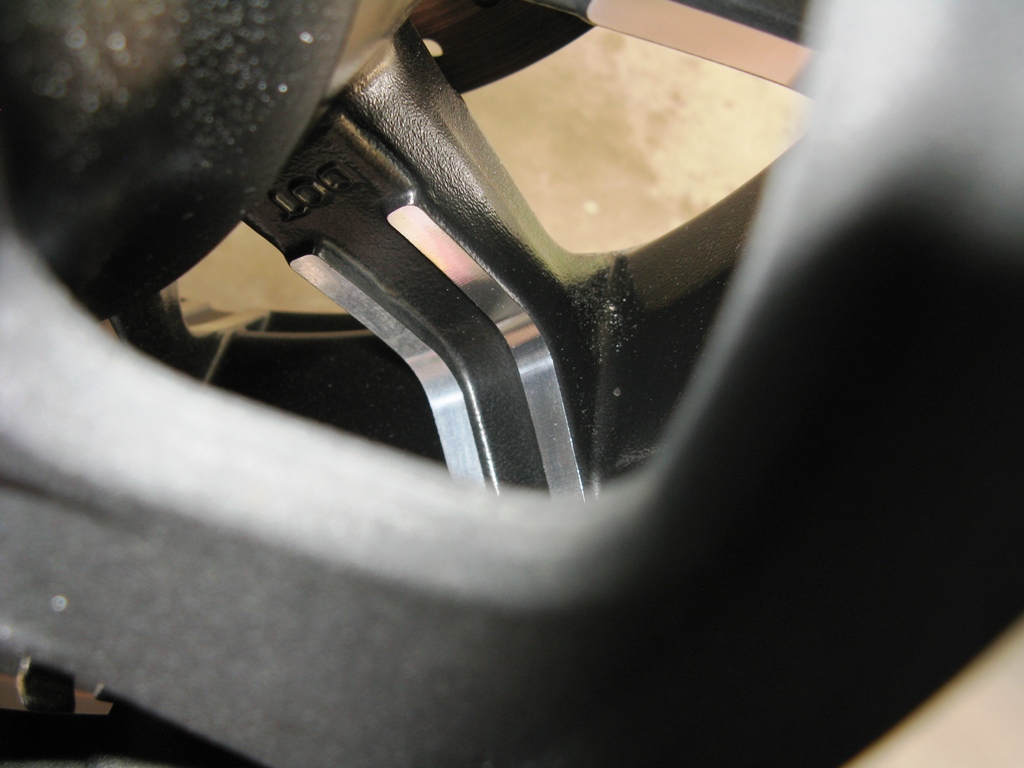
Wheel pic, right polished, left not
image.php
 
Looks good. I used the Norton product to polish the 1500 parts, one product did well with the three different pads. I used it on the front wheel and the results are in a previous post. As I mentioned, will be consolidating my cleaning products. Highly recommend Flitz and this Norton product. Both are expensive, but I think worth it.

The wheels on my 1200 are on the project list. It's been a work in progress since late 2016, and will still be in the future.

Visited my paint guy this morning. Had to have the StartingLine finishing gun replaced. The SS nozzle stripped the aluminum threads, and I did not torque it like the factory did. No questions asked, it was here this morning - good service.

Took him a bottle of wine in a Princess Auto box as a thank you for everything he did for me. Things like free clear coat and activator - 1 1/2 quarts, loaned me his high end Devilbiss Pro finishing gun when I started, and a host of other little items. The advice given was right on the money. Can't buy that type of service.

Taking a break from the 1500. Parts going on look good and make the project worthwhile.
 
Today was another good day. More parts going on, front end almost completely buttoned up:
Front End almost together.jpg
Front End almost together - 2.jpg
Have to put the side mirrors together, probably tomorrow. Installing saddlebags tomorrow, lights to follow. Time to start on the rear pockets and speakers as well. Shelves are getting a bit bare.

The trim may look black but it is not. It is a dark blue, closer to the original. Didn't like the blue that I had first painted the trim in.
 
Thanks. There are some signature issues that could have been rectified but you have to get up very close and personal and have the right lighting to see. Not going to enter it in a show any time soon.

I have been reflecting on the paint scheme. There is a two stage and three stage pearl paint. My '85 1200 LTD has a gold metallic colour that is only a two stage paint.

Two stage pearl car paint color, also known as the base-coat and clear-coat system. It is the application of the pearl paint in two main layers, the base-coat, and the clear-coat. A two-stage pearl coat is normally easy to apply and is an inexpensive solution. Three-stage pearl car paint, also known as the base coat, mid-coat, and clear-coat system. This is the system where you will have a colored basecoat, and a translucent mid-coat with pearl and then a clear-coat is placed on it. Three-stage pearl paint is usually difficult to apply on the car and also more expensive than the two-stage pearl paint. However, the end product cannot be compared with the other painting car systems. This is the site I used for this explanation:https://mygaragestory.net/pearl-paint-definitely-need-know/

I have been browsing and looking at info and videos regarding the pearl affect. Seems body shops and the pros - the Gunman from down under only use one, maybe two coats of pearl because of the expense, and it does the trick. It also depends on the car manufacturer as well, have to follow its recommendation as well. For Tony, you Aussi's have a lot of good info to share.

For us motorcycle types there seems to be no direction regarding this. I treated the pearl coat the same as any other, I put three coats of the pearl on. Should get a real good look when it gets out in the sunlight. My only concern while painting was to have no runs, the rest would work itself out.

When I get to the 1200 that has a two stage metallic gold colour, I'm thinking I like the pearl look and will be discussing this with my paint guy. I will also be considering doing a clear base coat, and while wet apply the base colour and one additional base colour coat. Follow this with another clear base coat and while wet apply the first coat of pearl and two additional coats following. Finish off with three coats of clear. If all goes well, no cut and polishing required. Just some thoughts on my next paint project.

This was my first paint project, and from what I have read and viewed, doing a three stage white pearl paint is not the easiest. I would highly recommend doing a paint job with the pearl mid coat because the look is fantastic.

I have mentioned that I did the blue trim as well. I will post the formula for the colour I used, closely resembles the factory colour.

Cheers
 
[url=https://classicgoldwings.com/forum/viewtopic.php?p=216686#p216686:22ox6mzq said:
Rednaxs60 » April 17th, 2020, 6:16 pm[/url]":22ox6mzq]
Picked up my cut and polish pads. Have a course, mid and fine. Will be using my Flitz polish with each:Took the Flitz polish to my paint guy, and his opinion is that it will do nicely. Will be starting this week end. Quite a few of the pieces have been curing and hardening for at least 3 days. Going to do some discreet pieces to get used to using these disc and to see the results. Since most are quite good, will start with the medium and finish pads. Can always go back to the course, and work my way up again. Will make a determination on wet sanding when I start and depending on the finish. The finest sand paper I have is 2000 grit. Will look for a finer grit.

Edit - now have 2500 and 3000 grit paper, did a quick run into the paint shop. Cut and polish starts tomorrow.
file.php

A giant Thank You for the Flitz Polish idea. Switched from the Simichrome and results were achieved in half the time and less effort. :thank_you:
 
Most welcome. Use the Flitz Protectorant - Flitz Ceramic Sealant it's called on the web site, really does what it is intended to do.

On another note, more parts going on. Will post pics later today. Looking for the original front lower cowling and the three pieces up the sides of the bike, and the engine covers - any dust collectors out there? The one piece where the engine guards fit has to have the exhaust flaps for warm air. I have the chrome pieces, but I'm not a chrome guy. I was thinking a light silver/grey pearl would really accent the bike nicely. Have ordered the side cover emblems. Should be here next week. Next project to finish off this project. When I do change these parts, will be divesting myself of the chrome.
 
I was out this morning. Had some blue trim paint made up and put in a spray can - quite neat that this can be done. There is one caveat regarding this custom spray can paint. It cannot be shaken like a normal spray can or it goes foamy inside the can, then no good. I was instructed to rock the can back and forth, not too quick, a couple of times then use. It also has a shelf life.

Sprayed the rear blue pieces and finished with 2 coats of satin clear coat (spray can) - all now look the same. They'll be ready for assembly tomorrow morning. Picked up a piece of black ABS at Industrial Plastics for some minor issues such as reinforcing the trunk lid where the rack bolts go through the lid. Then it's putting these pieces on. As I get closer to finishing, finding out that I was not as diligent as I thought I was regarding nuts and bolts. Thankfully I have a not to bad stash to chose from. Figure the schedule is for Sunday to be done. Here are a couple of pictures:
GL1500 Almost Done.jpg
GL1500 Almost Done - 2.jpg
 
Picked up a square foot piece of 1/8 inch black ABS - had white but would not be a colour match - to reinforce the trunk lid rack holes. Cut pieces to use, heated and molded each to the trunk lid, good sanding with 80 grit and ABS cement. Let sit for 15 minutes or so and drilled holes. Works a treat and will keep trunk lid from getting stress cracks around the bolt holes.

Needed some 20 GA wire for the LED strip lighting install. Not too many places in town that have this size. Local electronic shop did, and it was next door to my paint guy.

Mins Man posted on my thread in GW Docs about how to make an ABS slurry. "To repair ABS is to put some pieces in a sealable jar and add some acetone. The ABS disolves in the acetone and when you get the acetone/ABS mix right you have a slurry which you can use it for the repair (I use an icypole stick to apply it). After the acetone has evaporated you're left with ABS, the same as the material around it which can then be sanded and painted." Will use this next time.

I have found a couple of suppliers for the heat/exhaust protectors. Not worried about the finish condition because I will be painting these. Will be changing the chrome ones out for the original painted versions. I asked my paint guy, yes I ask him a lot of questions about painting, about a very light silver/grey pearl paint scheme for these parts. I have the pearl and enough clear coat on hand to do these parts, would only need the colour. on hand and would only need the colour coat. I am also looking for the engine covers, a little harder to source, as is the lower front cowling behind the front wheel.

Will also be looking into a water base clear coat. It is less toxic than solvent based, won't smell up the entire garage. Can it be used over a solvent based paint scheme? Not worried about longevity because the exhaust/heat protectors are not exposed to the road like the front cowling behind the front wheel.

Missing a fairing molding, the short one that fits at the rear side of the front fairing side marker light. Bit pricey so I'm going to try my hand at making one - ABS is easy to work with.

More work today, might have the bike back together later today. Cheers
 
I just buy ABS cement by Amazon, but it is black. I use about a can per year on bikes and our John Deere garden tractors. Just fixed the 345 hood yesterday. Long crack that I fixed with cement and fiberglass cloth.
 
I noticed on the side panels that one of the POs used a bit of fibreglass cloth to cover the emblem holes. Many ways to achieve the aim. One can of ABS cement a year? Lots of ABS work going on.
 
Very nice man! The lower cowl, is it being chipped to death? Reason I ask, I had a car (think it was the Ford) that had a rubberized finish in the strategic areas of chipping. It worked quite well. Didn't have the same finish as the rest of the car, but unless you're laying on the ground you'd never notice. Just an idea....
 
Thanks - it even rides nice. The lower front cowling takes a lot of road rash and is not the best looking. It is the Show Chrome cowling so any freshening up will be a challenge. I'm thinking a good paint job with clear coat will stand up just as well. A factory finish one can be painted and repaired repeatedly. I have the paint protection film for some of the strategic areas as you mention.
 
Thank you. One of the items I had mentioned, LED strip lights in the trunk and saddlebags done today. Had to do these so that I could put the last of the plastic on, underside of the trunk. Lots of pictures on the forums regarding this but took about 5 hours from start of cutting and wiring the LED strips to size, taking the side lights apart, making sure these worked at each step, and install with OEM connectors. Wiring of any kind takes a lot of time. Pic of the LED lights:
Side Marker Lights.jpg
The left side fairing molding short piece has gone for a walkabout. Trying my hand at fabricating this little piece over the next couple of days. Here's a pic of the set:
1500_FairingMoldingSet_H-1001.jpg
Probably spend more time at it then it's worth, but there aren't a lot of options. Hate paying $0.32 on the dollar plus shipping ordering from the US. Will contact the local dealer this week and find out if one is available, never know. She's a work in prgress.
 
True enough. Been browsing the web for the original heat/exhaust protectors, front lower cowling, and the engine side covers. A few out there in varying states, but a fresh coat of paint can make anything look good. Looking forward to riding it now.
 
Top