Your finger get tired :BigGrin: It's looking better!
You are using an out of date browser. It may not display this or other websites correctly.
You should upgrade or use an alternative browser.
You should upgrade or use an alternative browser.
Painting the "Slug"
- Thread starter mcgovern61
- Start date


Help Support Classic Goldwings:
This site may earn a commission from merchant affiliate
links, including eBay, Amazon, and others.
Doctor tugboat operating on oldwings face lift. Nicecset up
OP
OP
- Joined
- Dec 3, 2009
- Messages
- 10,969
- Reaction score
- 230
- Location
- Kingsport, Tennessee
- My Bike Models
- Former '82 GL1100 "The Slug"
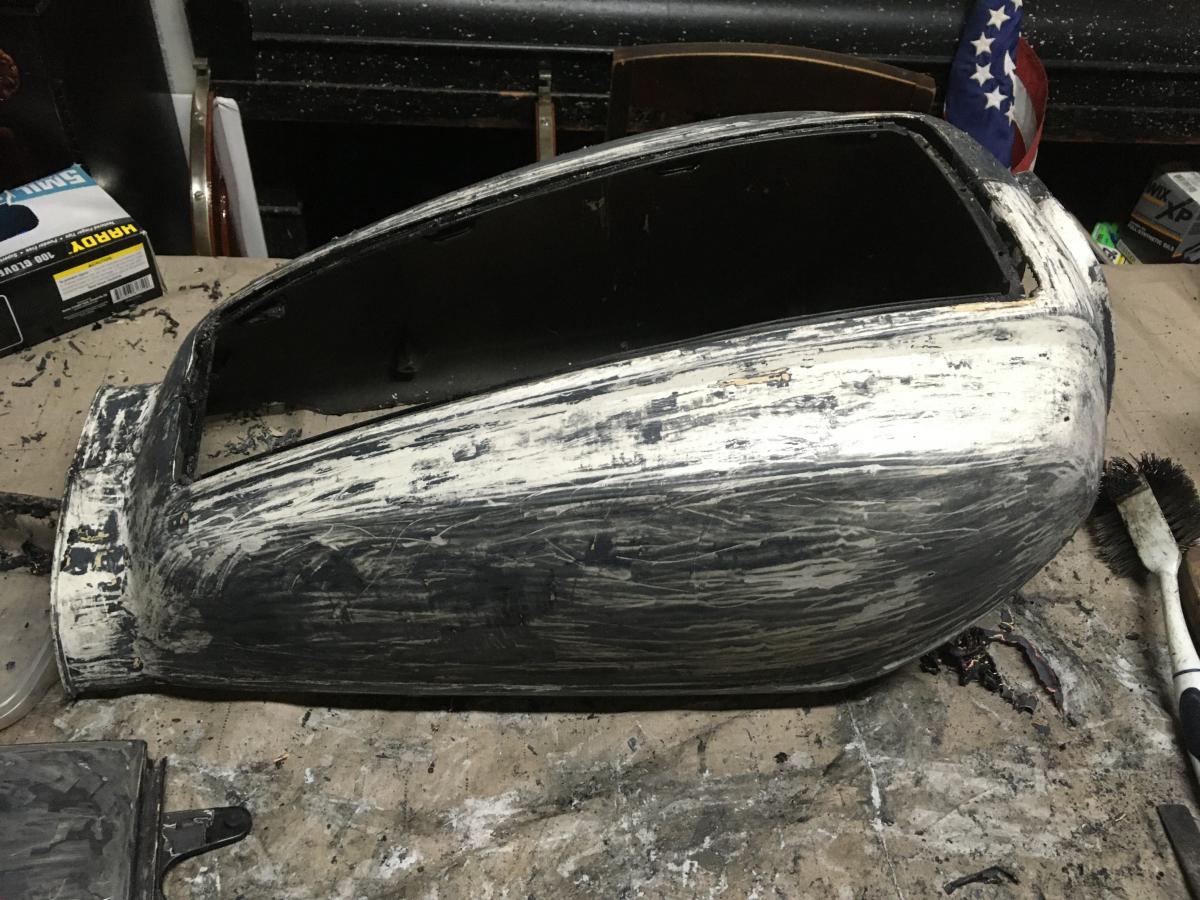
Wet sanding with 400 really smooths everything out. Fixed the Bondo areas, self etching primer again on the small exposed metal post sanding and 2 more coats of filler primer. Wet Sanding later today with 600 grit.
- Joined
- Dec 3, 2009
- Messages
- 22,403
- Reaction score
- 238
- Location
- Van Nuys Ca.
- My Bike Models
- 1983 Interstate
2018 KLR 650
2018 BMW S1000 RR
- My Bike Logs forum link
- https://classicgoldwings.com/forums/dan-filipi.122/
What is “filler primer”? Is that like special thick primer of some kind?[url=https://classicgoldwings.com/forum/viewtopic.php?p=215980#p215980:1ti7giy4 said:mcgovern61 » Today, 7:48 am[/url]":1ti7giy4]
Wet sanding with 400 really smooths everything out. Fixed the Bondo areas, self etching primer again on the small exposed metal post sanding and 2 more coats of filler primer. Wet Sanding later today with 600 grit.
OP
OP
- Joined
- Dec 3, 2009
- Messages
- 10,969
- Reaction score
- 230
- Location
- Kingsport, Tennessee
- My Bike Models
- Former '82 GL1100 "The Slug"
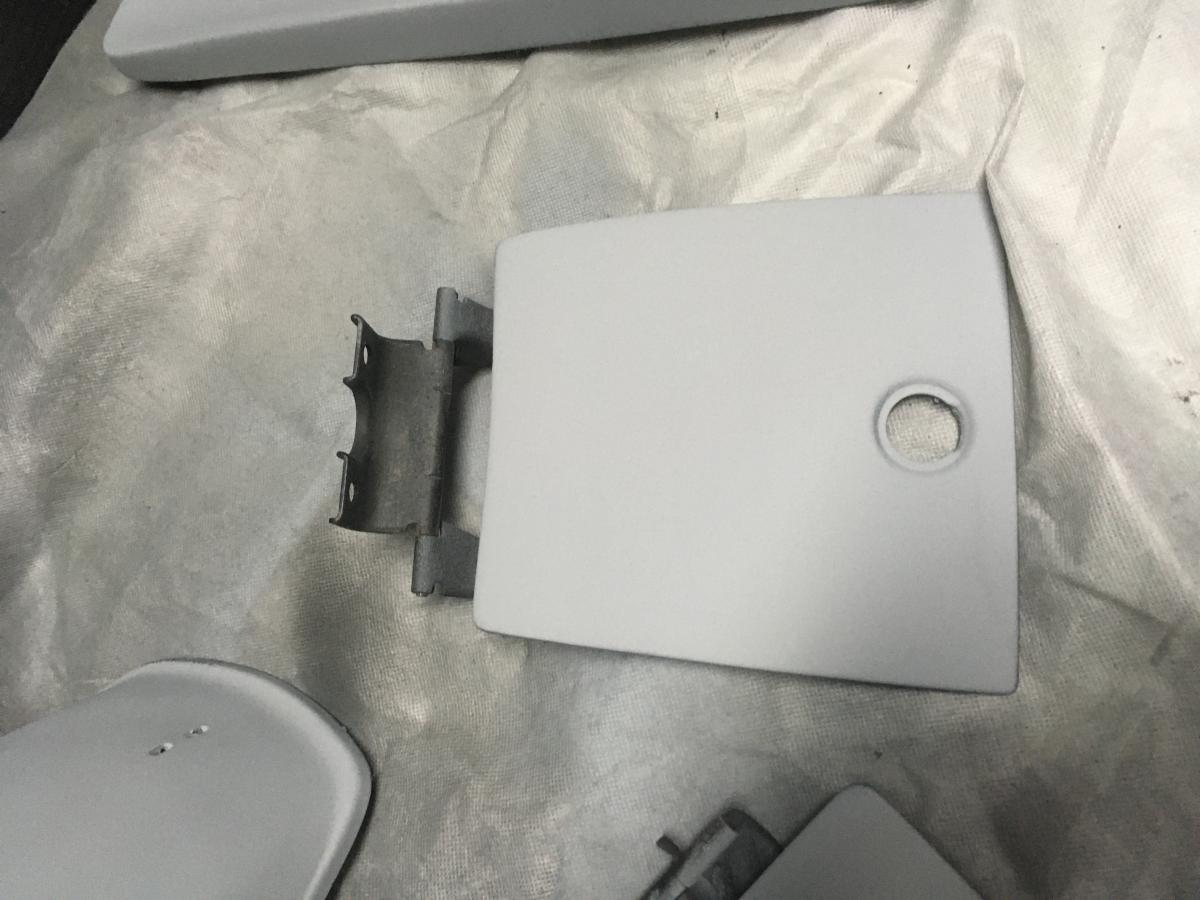
Yes it is. It is still primer, but is a bit thicker and fills the marks from sanding and other minor imperfections. When peeling away the original paint, there is a very thick level of filler primer below the basecoat (almost 1/32" thick). Take a look at the light grey layer in the paint chips:
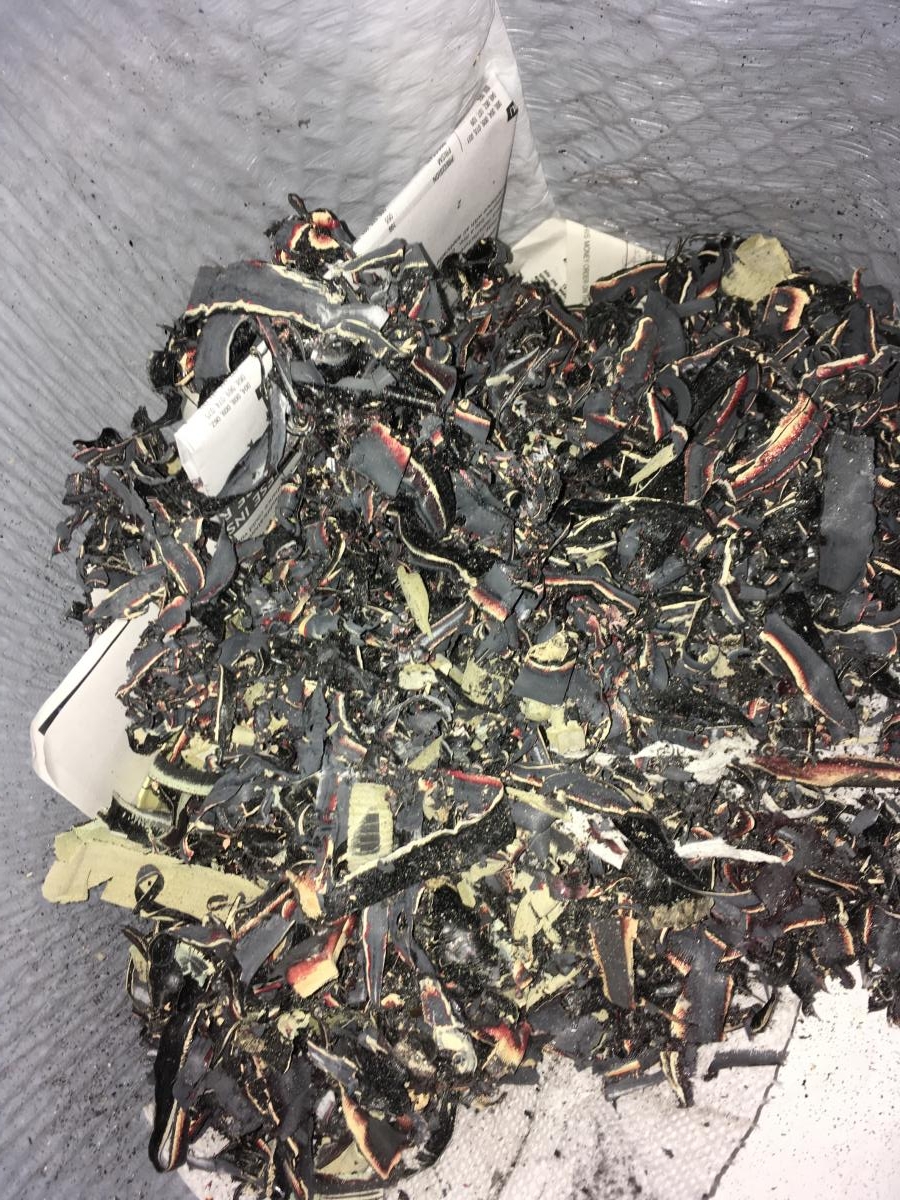
One of the reasons for so many layers is because I took all of the paint off and got down to bare metal, fiberglass, ABS and regular plastic. You cannot just clean, prime, color coat and clear with the mixture of materials these parts are made from. Each coating sprayed is very thin to build back up to the original mil thickness.
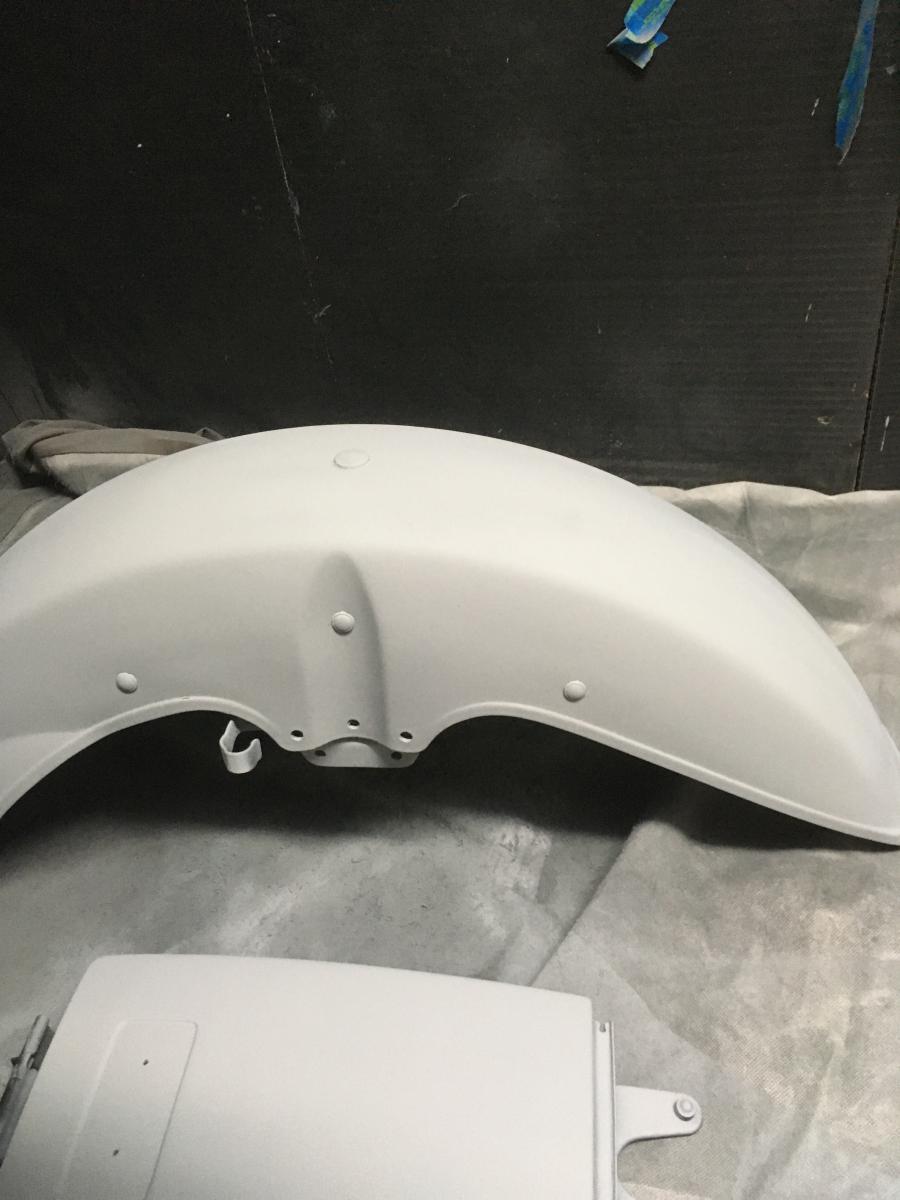
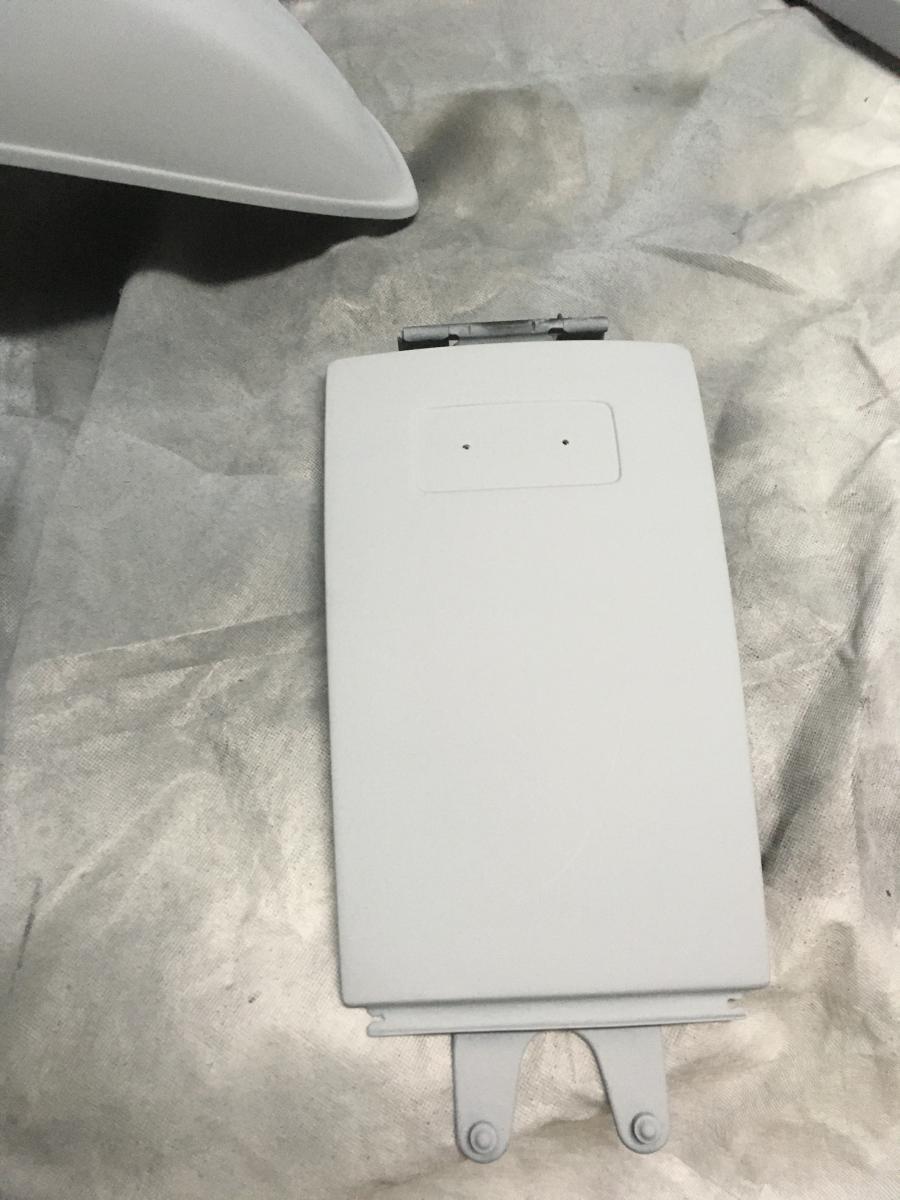
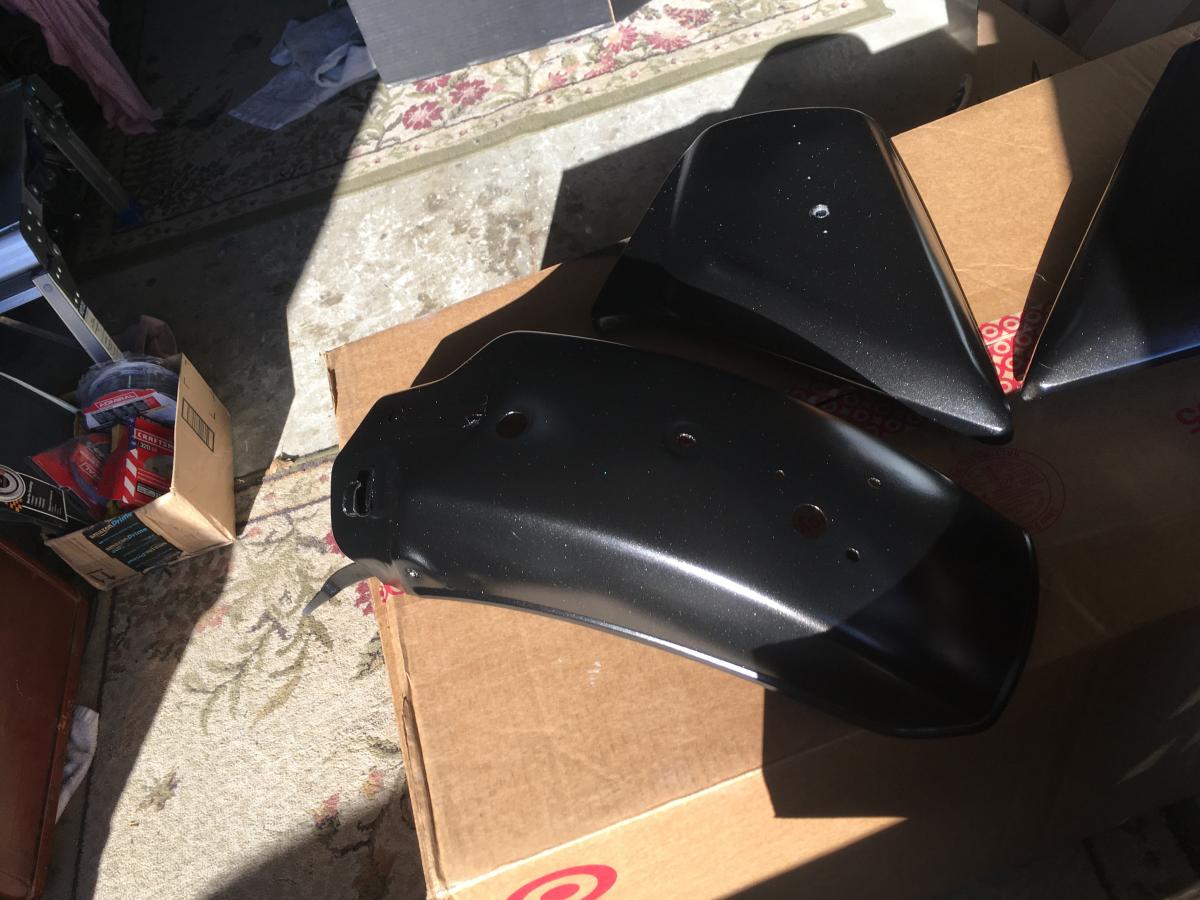
For the plastic front fender and ABS side covers:
1. After sanding and cleaning, two light coats of adhesive promoter followed by 4 light coats of grey primer/filler.
2. 1st sanding of the primer/filler is a block wet sanding with 400 grit. This exposes any missed spots, low spots or imperfections.
3. After wet sanding with 400, two more light coats of primer filler.
4. Wet sand with 600 for final smoothness.
5. If good, proceed with 2 light coats of black primer, followed by a light wet sand of 600. The different color allows me to see if I burn through the black primer when sanding.
6. Once satisfied with the smoothness, 2 light coats of grey primer sealer followed again by a light wet sand of 600.
It is at this point that the final smoothness must be absolute before the color coating goes on or the imperfections will be permanently in the finish. There are more steps involved here because this is a rattlecan paint job. With rattlecan, there is no controlling the flow rate of the paint so the lightest coatings possible are easiest to get smooth without runs.
The only difference for the metal parts is there is no adhesion promoter, but a self etching primer instead.
One of the reasons for so many layers is because I took all of the paint off and got down to bare metal, fiberglass, ABS and regular plastic. You cannot just clean, prime, color coat and clear with the mixture of materials these parts are made from. Each coating sprayed is very thin to build back up to the original mil thickness.
For the plastic front fender and ABS side covers:
1. After sanding and cleaning, two light coats of adhesive promoter followed by 4 light coats of grey primer/filler.
2. 1st sanding of the primer/filler is a block wet sanding with 400 grit. This exposes any missed spots, low spots or imperfections.
3. After wet sanding with 400, two more light coats of primer filler.
4. Wet sand with 600 for final smoothness.
5. If good, proceed with 2 light coats of black primer, followed by a light wet sand of 600. The different color allows me to see if I burn through the black primer when sanding.
6. Once satisfied with the smoothness, 2 light coats of grey primer sealer followed again by a light wet sand of 600.
It is at this point that the final smoothness must be absolute before the color coating goes on or the imperfections will be permanently in the finish. There are more steps involved here because this is a rattlecan paint job. With rattlecan, there is no controlling the flow rate of the paint so the lightest coatings possible are easiest to get smooth without runs.
The only difference for the metal parts is there is no adhesion promoter, but a self etching primer instead.
OP
OP
- Joined
- Dec 3, 2009
- Messages
- 10,969
- Reaction score
- 230
- Location
- Kingsport, Tennessee
- My Bike Models
- Former '82 GL1100 "The Slug"
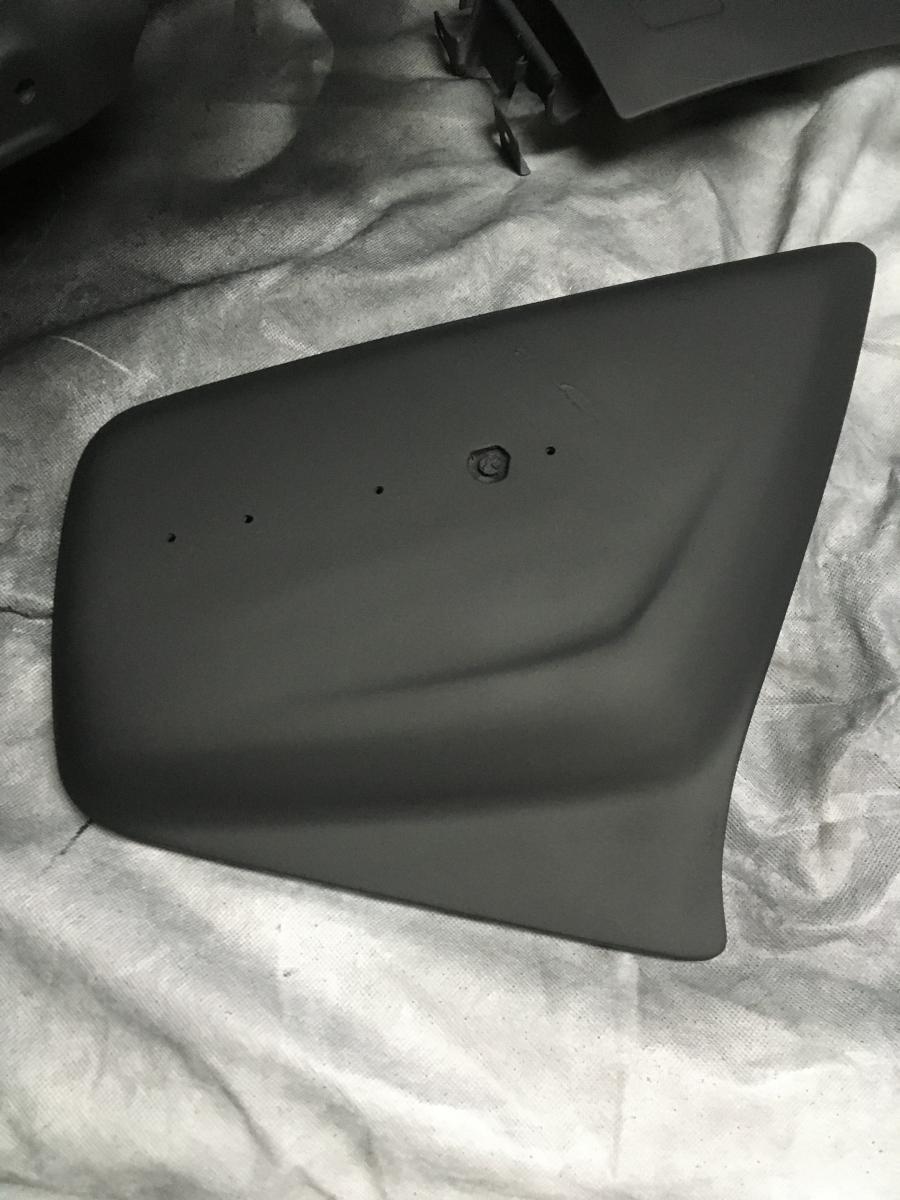
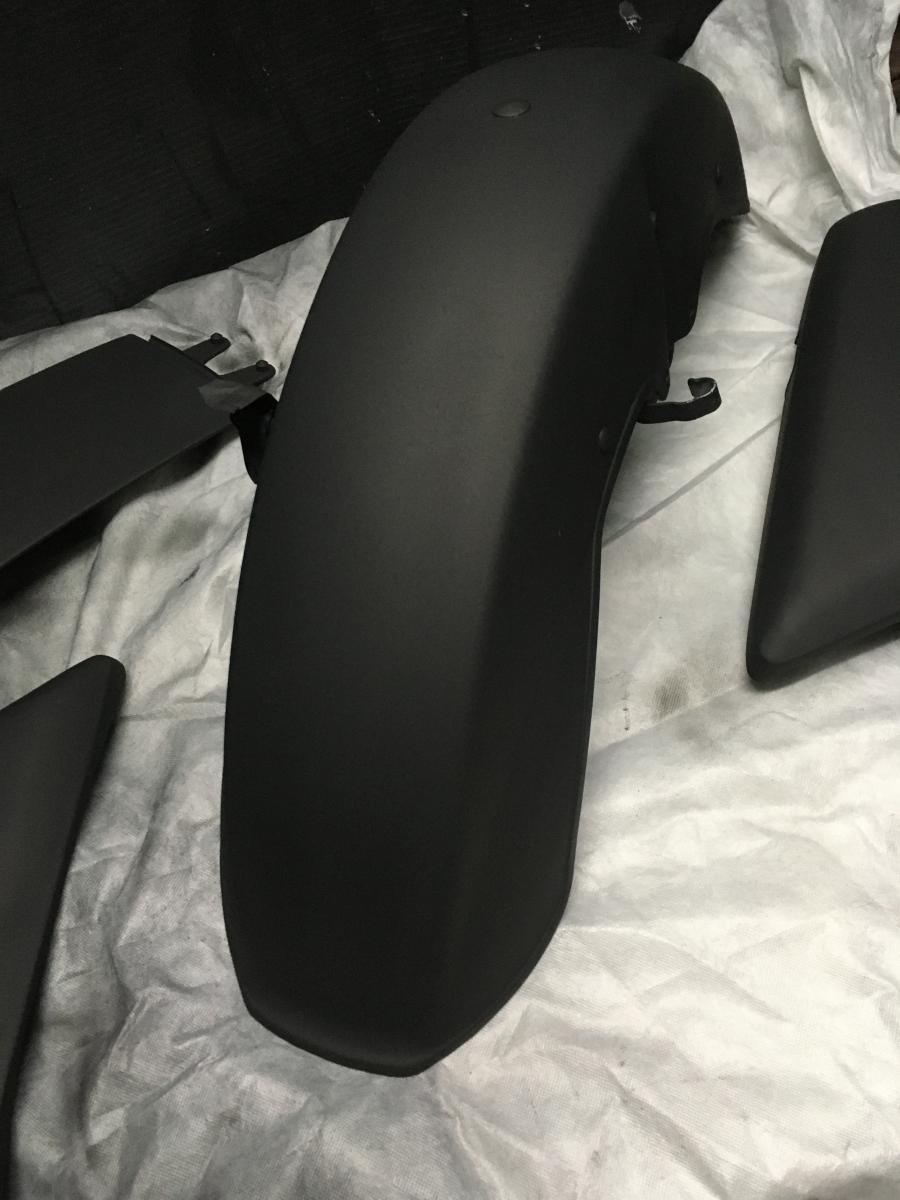
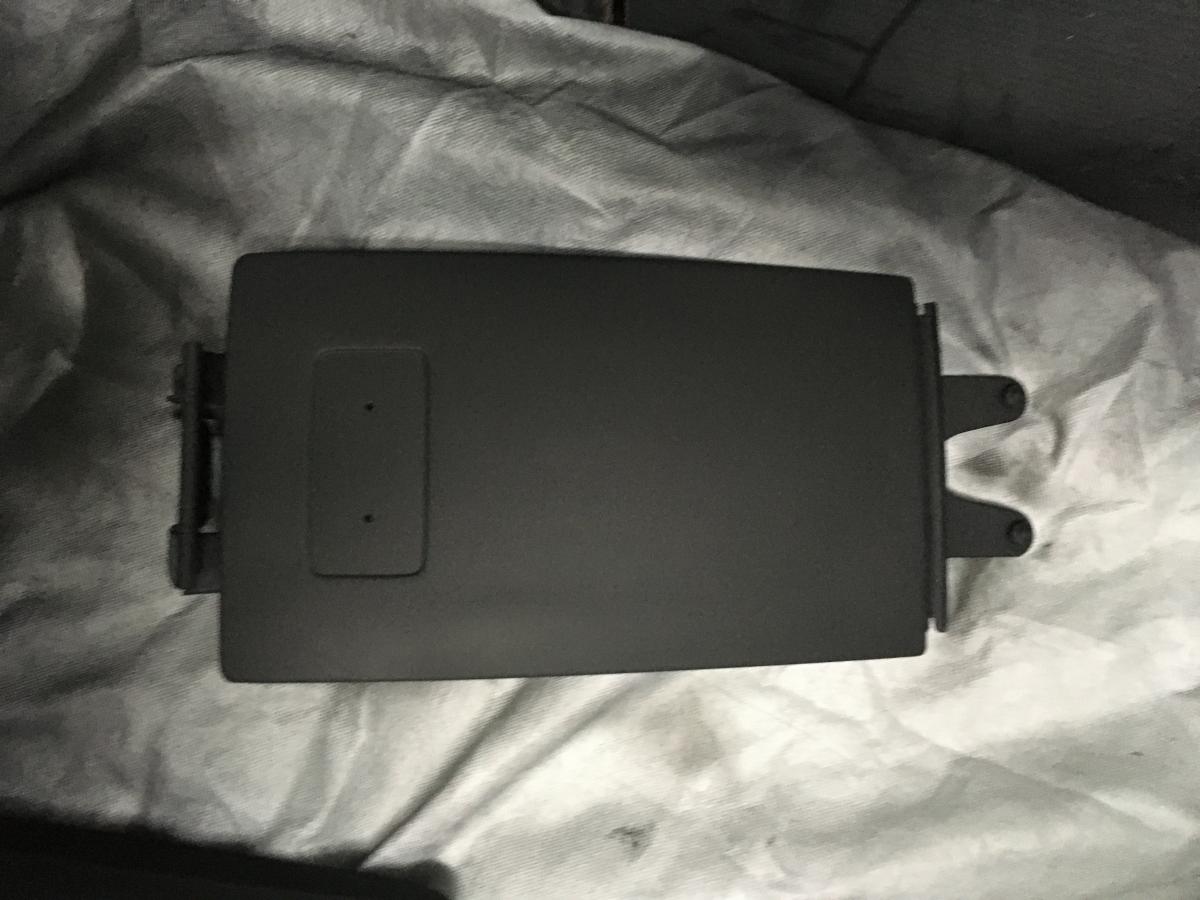
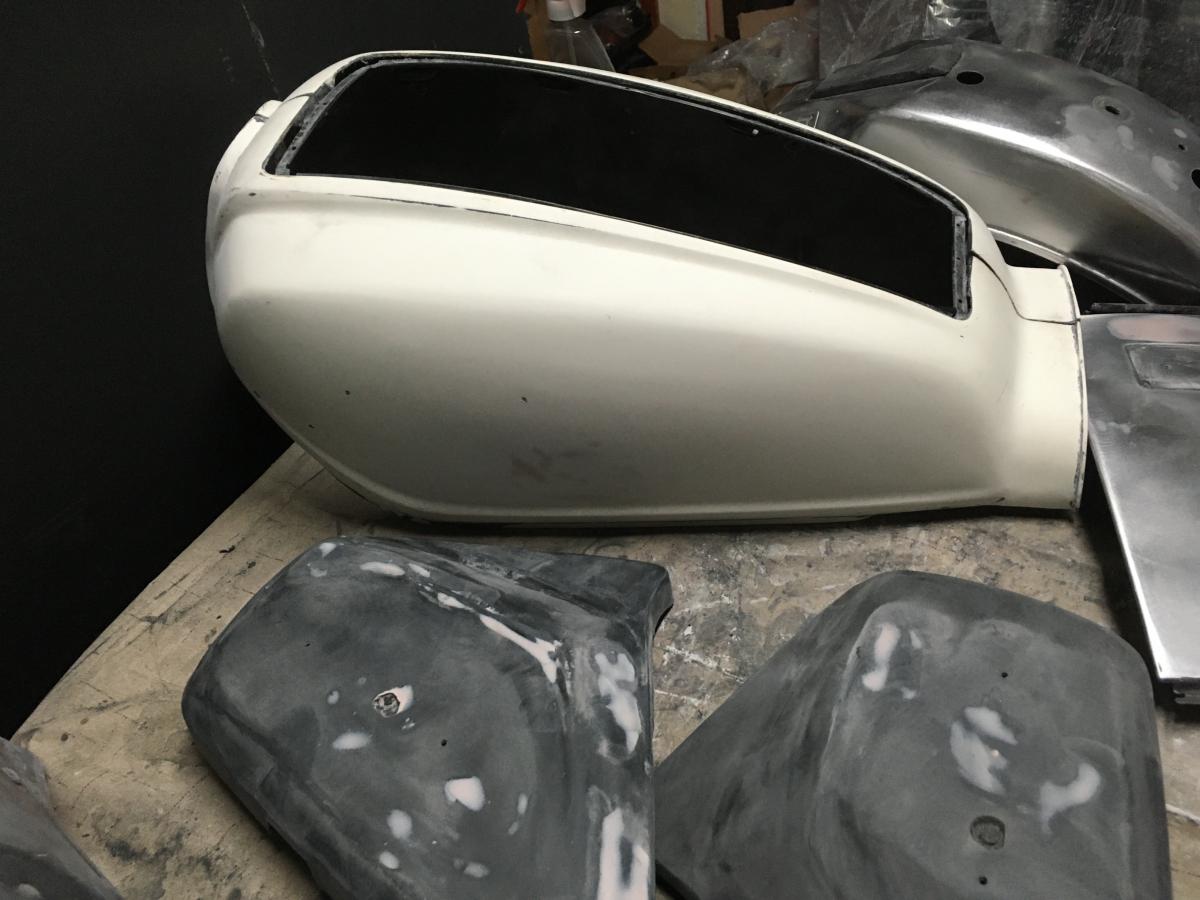
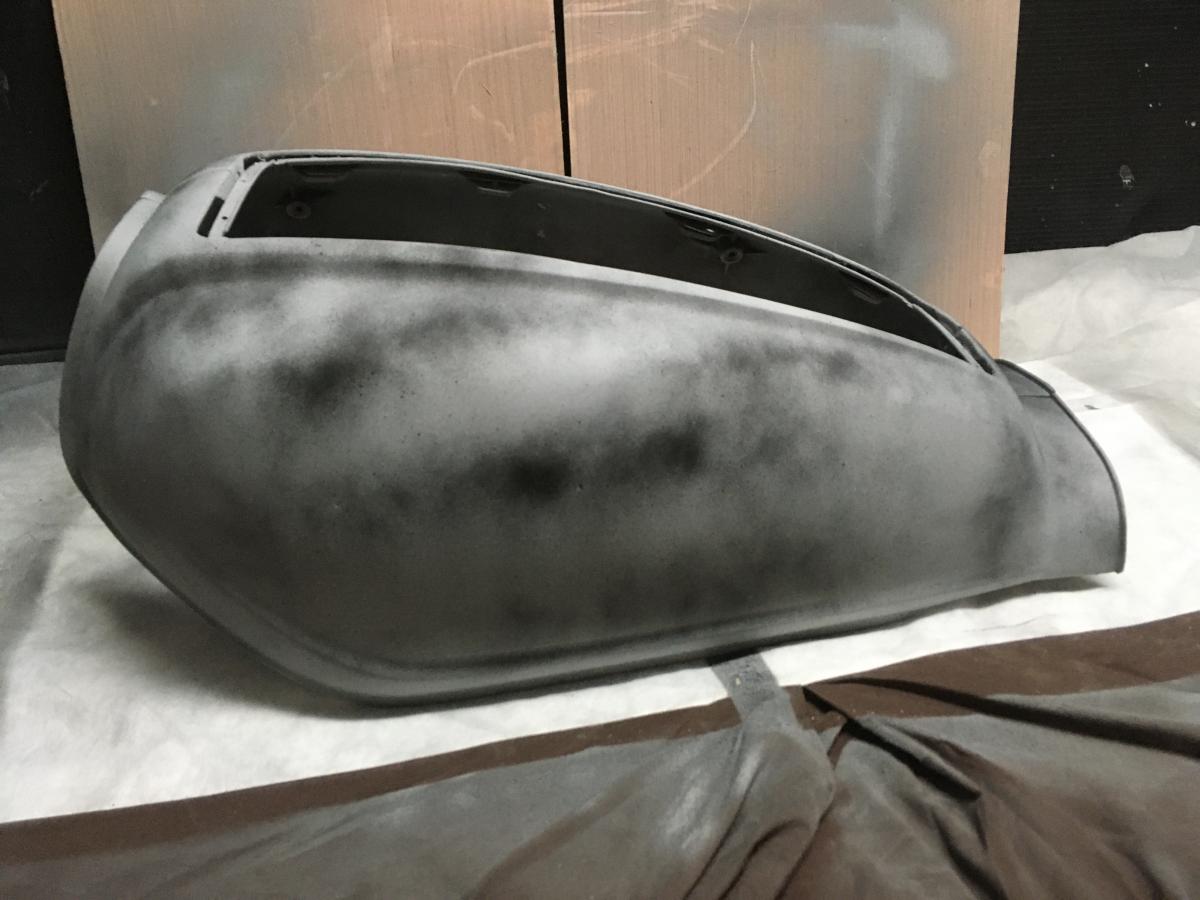
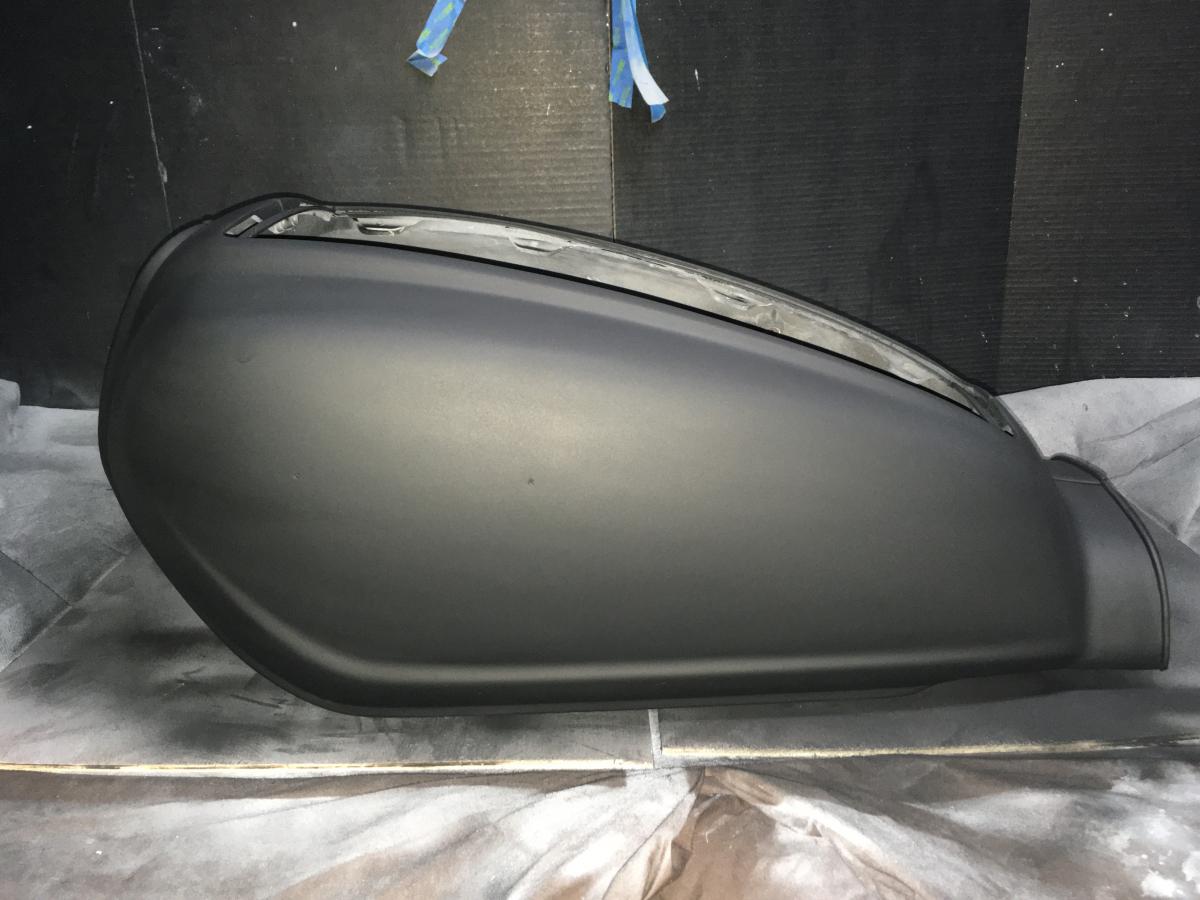
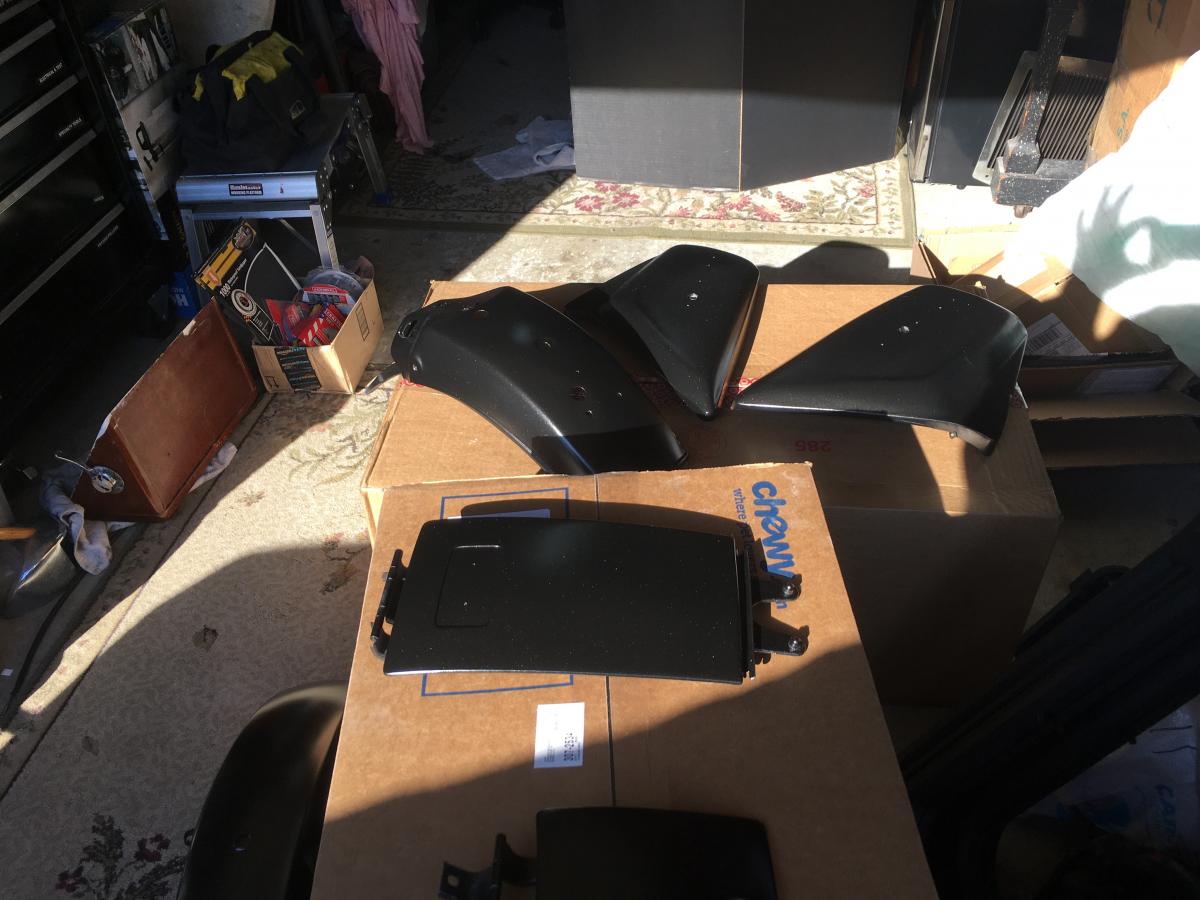
After the 600 wet sand, black sandable primer used. Looks good right?

OP
OP
- Joined
- Dec 3, 2009
- Messages
- 10,969
- Reaction score
- 230
- Location
- Kingsport, Tennessee
- My Bike Models
- Former '82 GL1100 "The Slug"
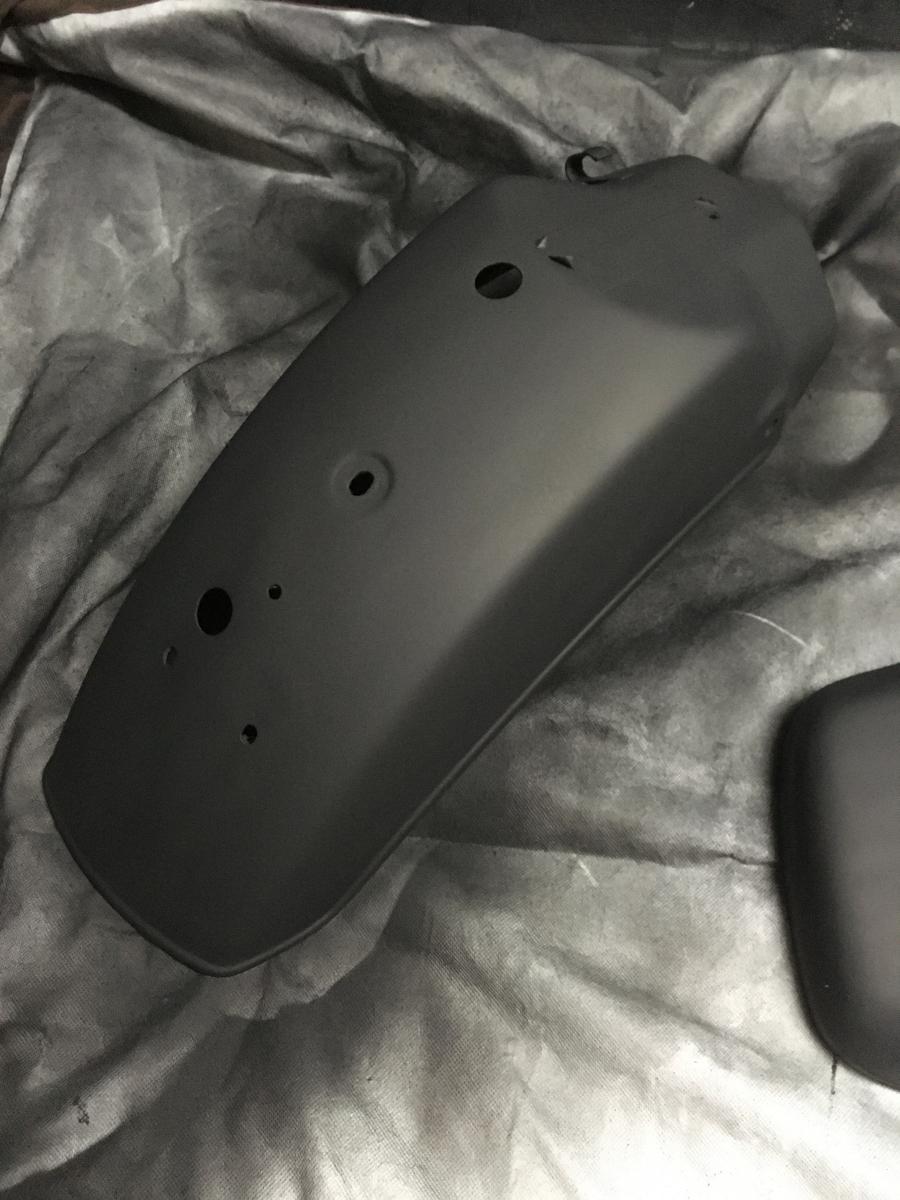
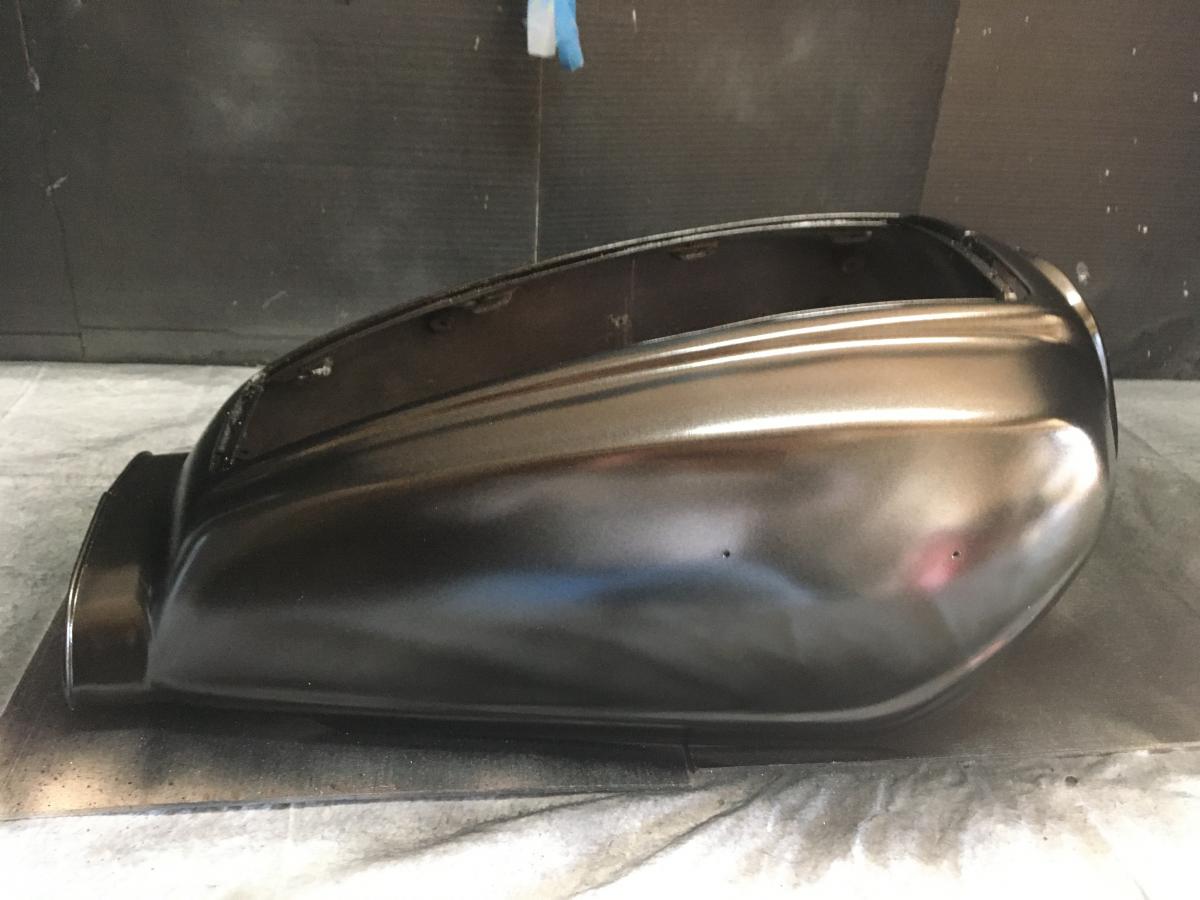
So, here is the reason you use different colors of primer between the layers. After wet sanding the black with 400 grit, imperfections are exposed! High spots sand right through to the grey primer making those areas easy to spot.
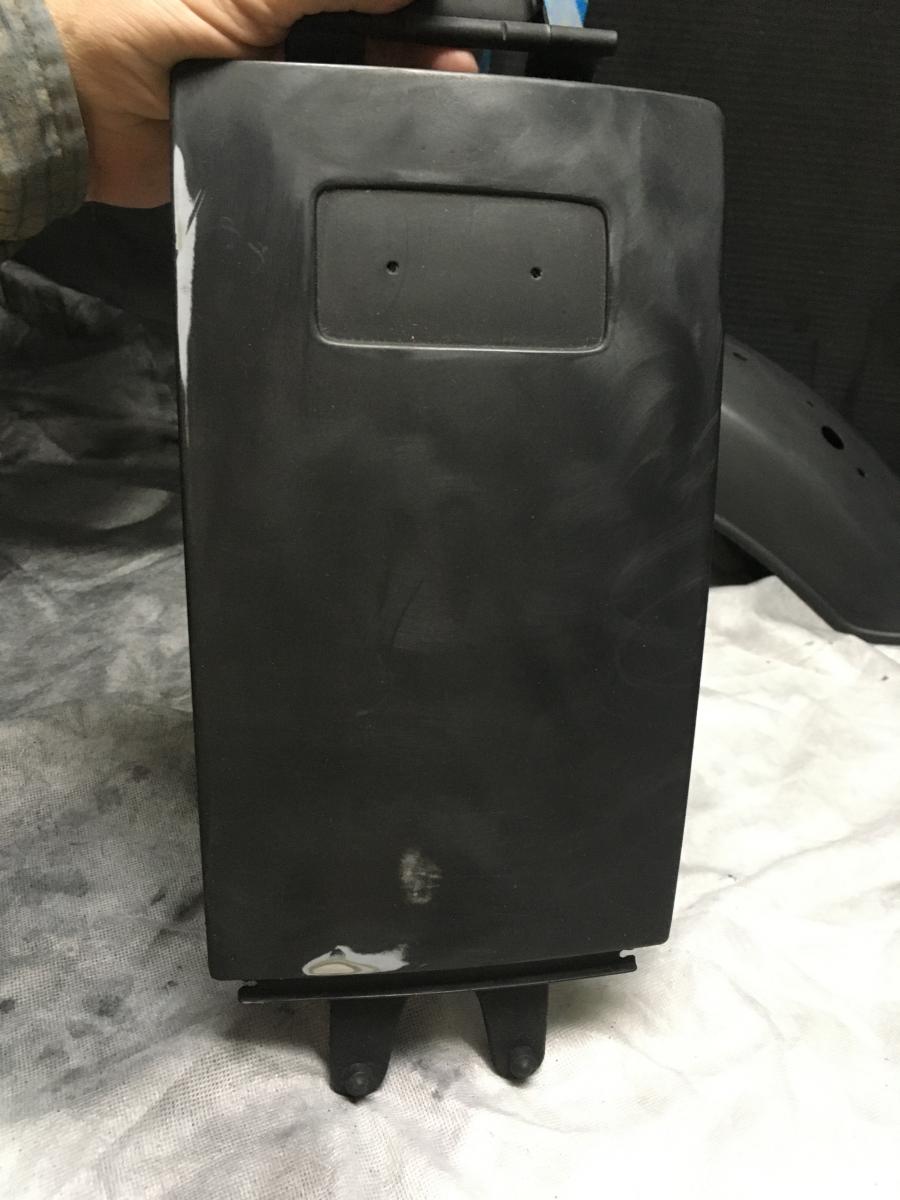
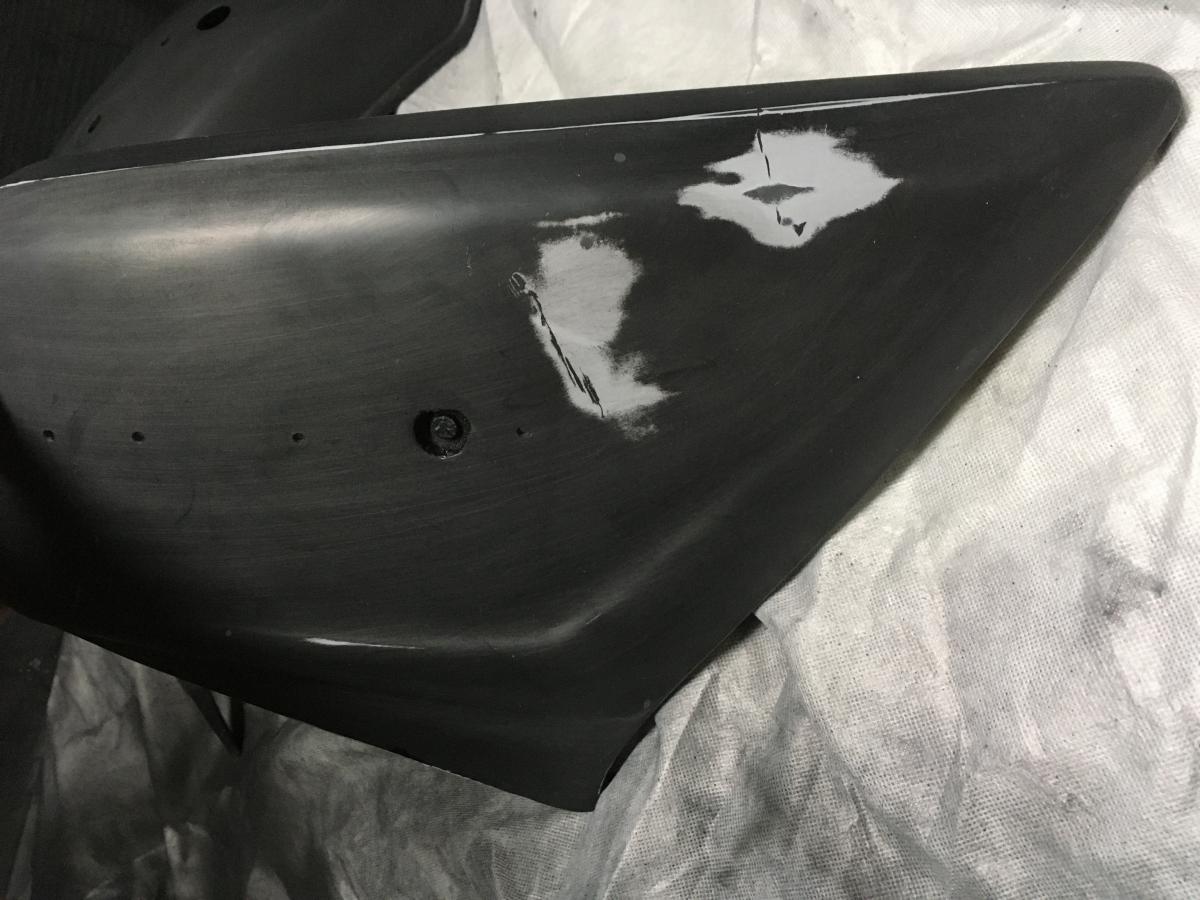
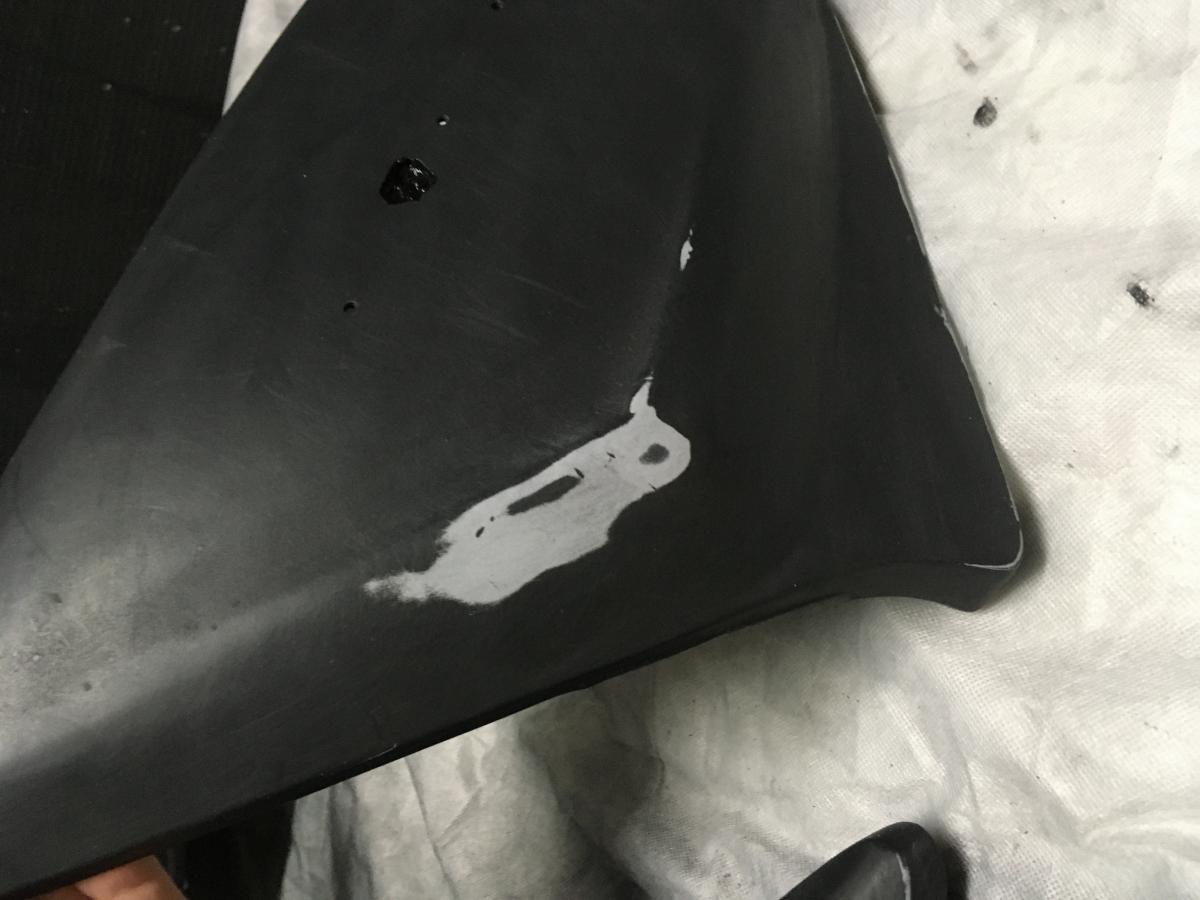
Fill the minor scratches one last time with primer filler and prepare for primer sealer. After sealing, the parts will be ready for the color coats.
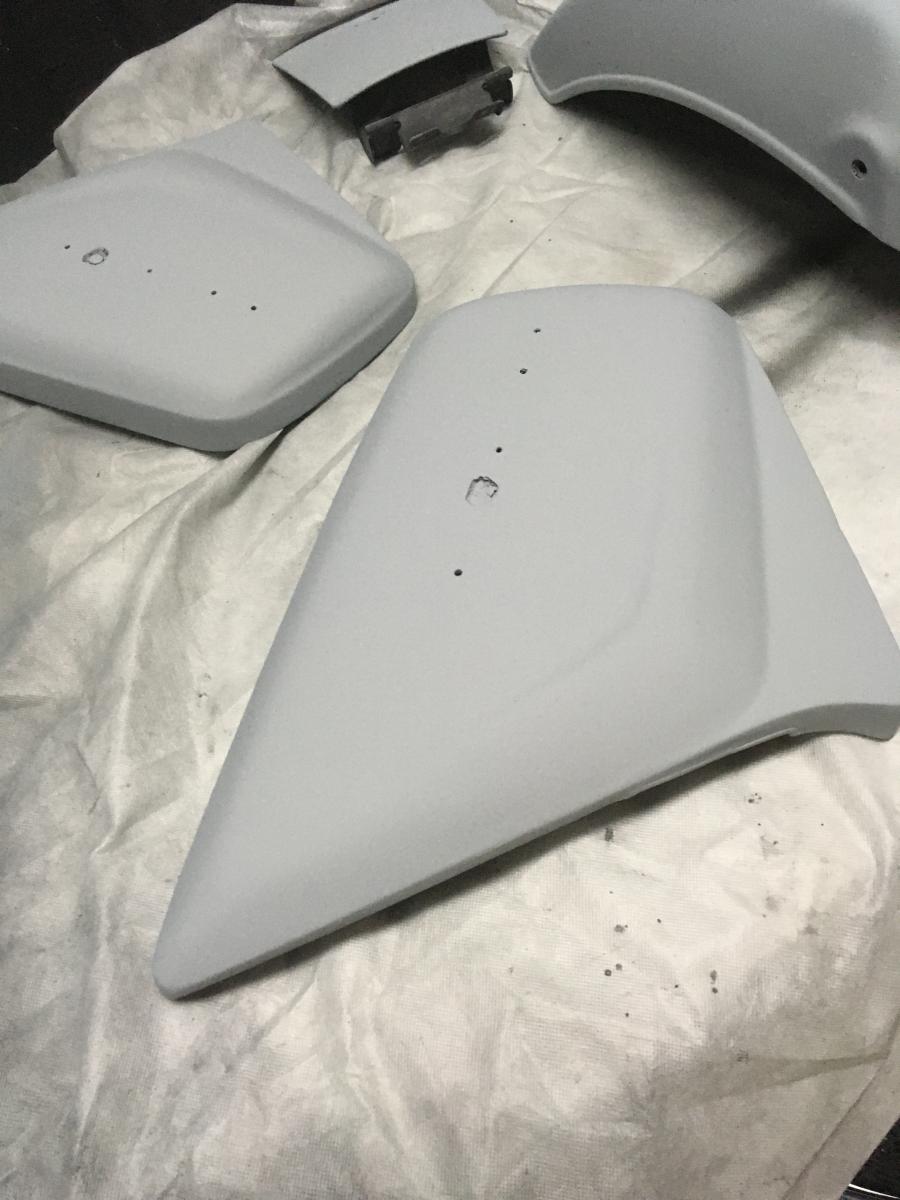
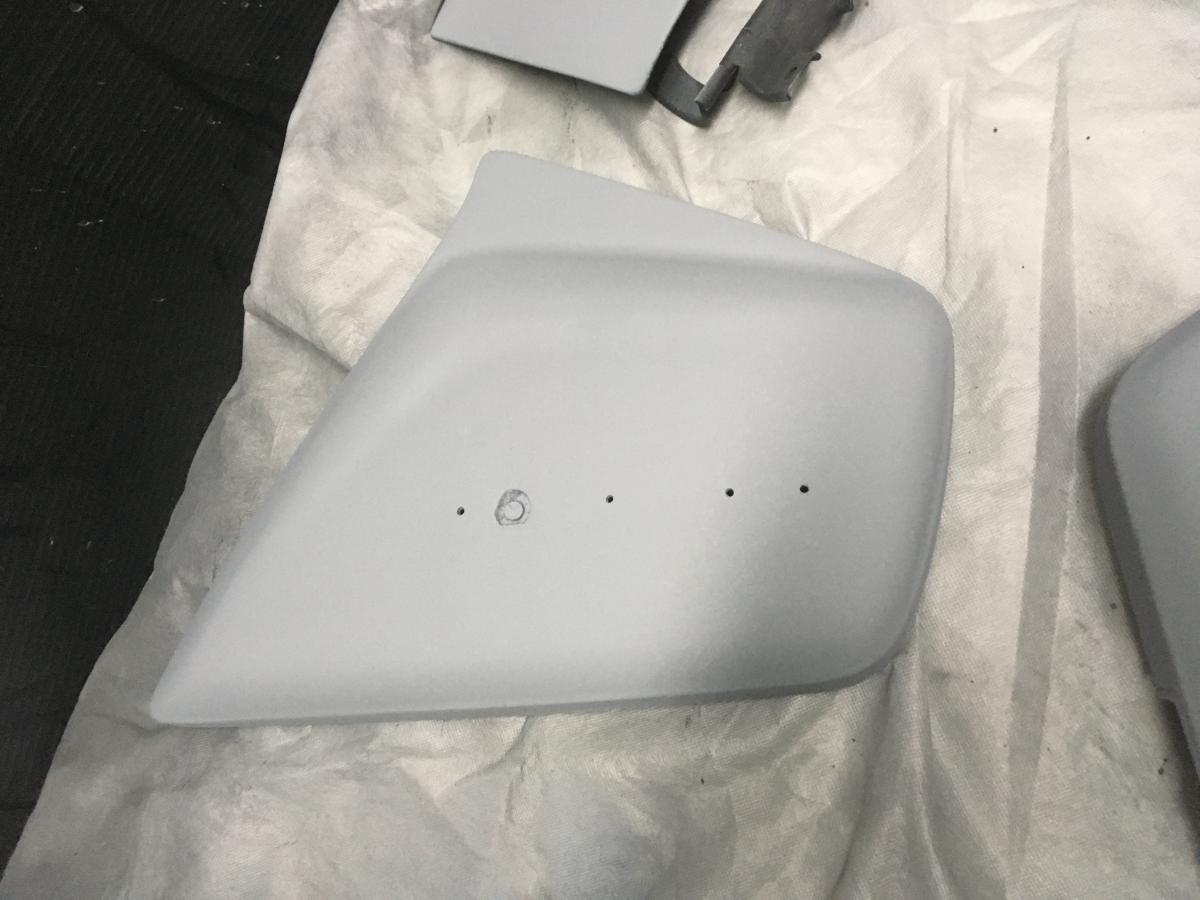
All of this primer work and sanding need to be performed before the color coat is added. You want the best, smoothest surface possible (600 grit max BTW) before shooting the color because once the color is shot, there is no going back. (At least not without a tremendous amount of work again.)
Fill the minor scratches one last time with primer filler and prepare for primer sealer. After sealing, the parts will be ready for the color coats.
All of this primer work and sanding need to be performed before the color coat is added. You want the best, smoothest surface possible (600 grit max BTW) before shooting the color because once the color is shot, there is no going back. (At least not without a tremendous amount of work again.)
OP
OP
- Joined
- Dec 3, 2009
- Messages
- 10,969
- Reaction score
- 230
- Location
- Kingsport, Tennessee
- My Bike Models
- Former '82 GL1100 "The Slug"
Once these parts are sealed I will start working on the shelter. I spent all of this time on the other parts mostly as a test bed to see what needed to be done to achieve the desired results. The shelter is the most readily viewed painted part on the bike and I wanted to be sure it would be perfect. I certainly did not want to practice these processes on the largest part! :hihihi:
- Joined
- Jan 27, 2013
- Messages
- 9,855
- Reaction score
- 34
- Location
- Brisbane Australia
- My Bike Models
- 1981 GL1100 “Rats Nest”
1998 GL1500c Val
1987 CBR1000f “The Pig”
1991 CBR1000f Red
:good:[url=https://classicgoldwings.com/forum/viewtopic.php?p=215998#p215998:3rmp0tc8 said:mcgovern61 » Wed Mar 04, 2020 12:56 am[/url]":3rmp0tc8]
Once these parts are sealed I will start working on the shelter. I spent all of this time on the other parts mostly as a test bed to see what needed to be done to achieve the desired results. The shelter is the most readily viewed painted part on the bike and I wanted to be sure it would be perfect. I certainly did not want to practice these processes on the largest part! :hihihi:
OP
OP
- Joined
- Dec 3, 2009
- Messages
- 10,969
- Reaction score
- 230
- Location
- Kingsport, Tennessee
- My Bike Models
- Former '82 GL1100 "The Slug"
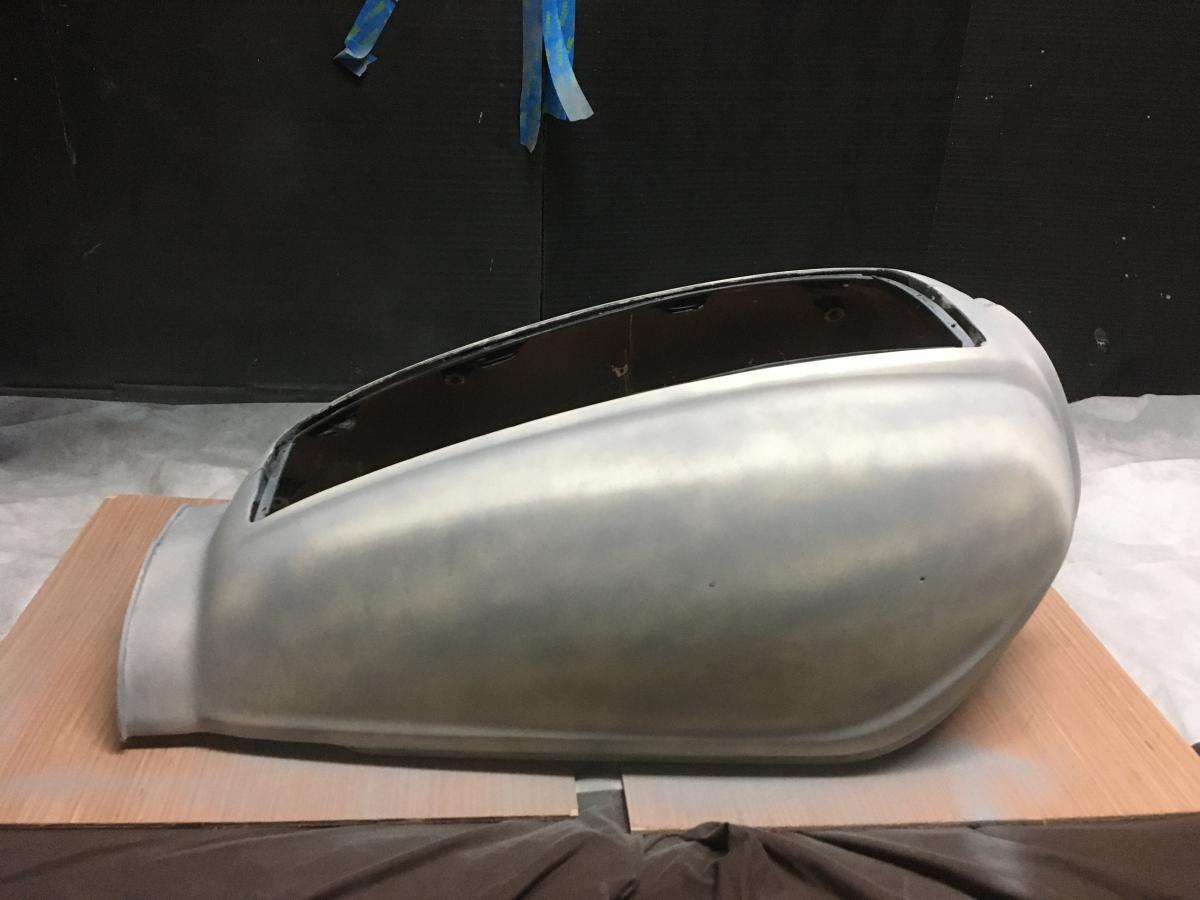
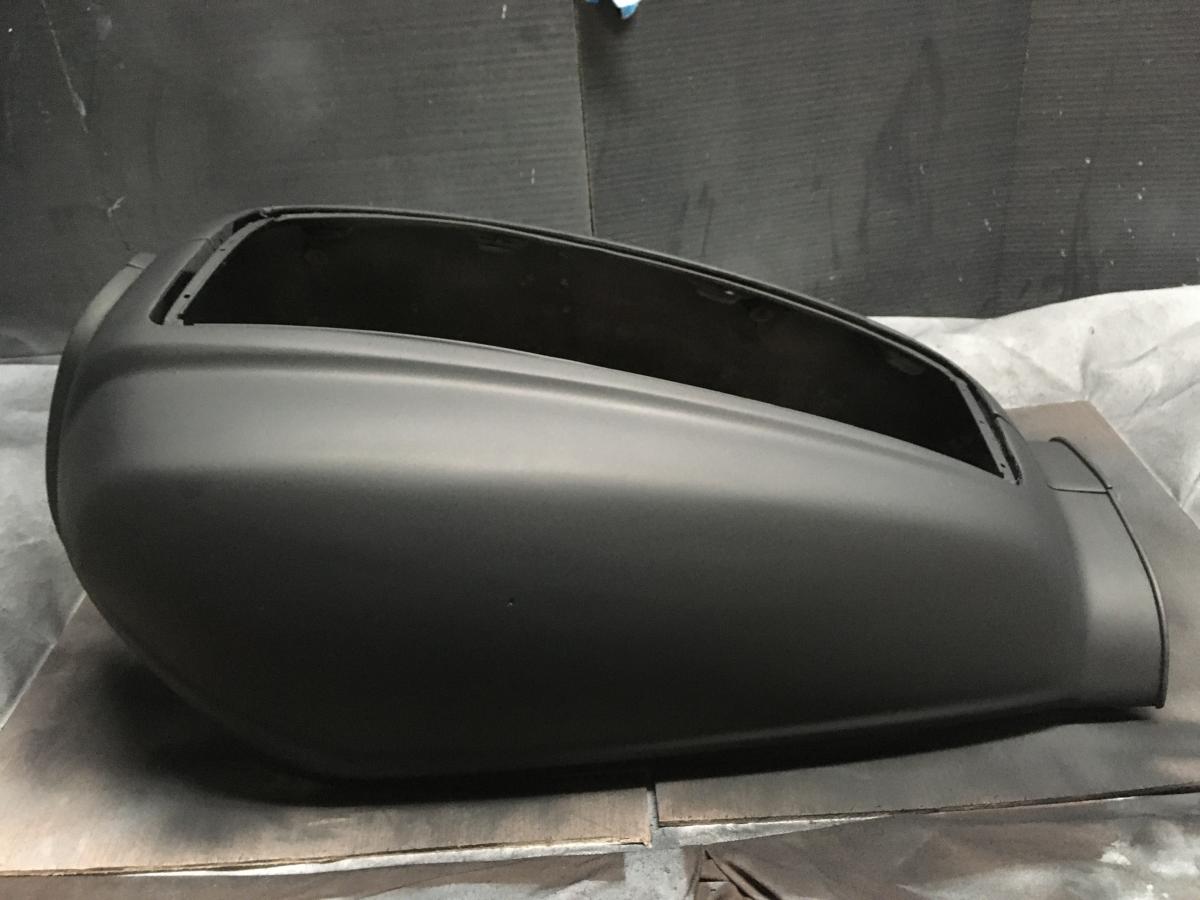
Finally working on the shelter. Sanded 120, 220, 320, 400, primer filler, scratch coat to test imperfections, 320 then 400 wet sand, and then final primer. Tonight will be final wet sanding 600 and then primer sealer.
After I seal the shelter tonight, I will let the primer gas off and plan on the color coats and clear on Sunday! :Egyptian:
After I seal the shelter tonight, I will let the primer gas off and plan on the color coats and clear on Sunday! :Egyptian:
This painting thing is quite addictive. Doing the shelter, dash, and a few other components to spruce up the look of the 1500. Looks so much better. Couldn't find an exact colour match, but the SEM Shadow Blue is quite nice.
Your project is looking quite good. You must have the patience of Job. Keep going, looking forward to seeing the end result.
Your project is looking quite good. You must have the patience of Job. Keep going, looking forward to seeing the end result.
OP
OP
- Joined
- Dec 3, 2009
- Messages
- 10,969
- Reaction score
- 230
- Location
- Kingsport, Tennessee
- My Bike Models
- Former '82 GL1100 "The Slug"
It sure is a lot of hours of prep. I could never do this for a living and give high praise to those folks that do!
OP
OP
- Joined
- Dec 3, 2009
- Messages
- 10,969
- Reaction score
- 230
- Location
- Kingsport, Tennessee
- My Bike Models
- Former '82 GL1100 "The Slug"
Primer sealer finished on the shelter. Dried for two days. Scuff all parts with 600 scuff pad lightly. Shoot the color coats! :Egyptian: :music3: :music2:
OP
OP
- Joined
- Dec 3, 2009
- Messages
- 10,969
- Reaction score
- 230
- Location
- Kingsport, Tennessee
- My Bike Models
- Former '82 GL1100 "The Slug"
Waited 45 minutes to an hour and shot 3 clear coats:
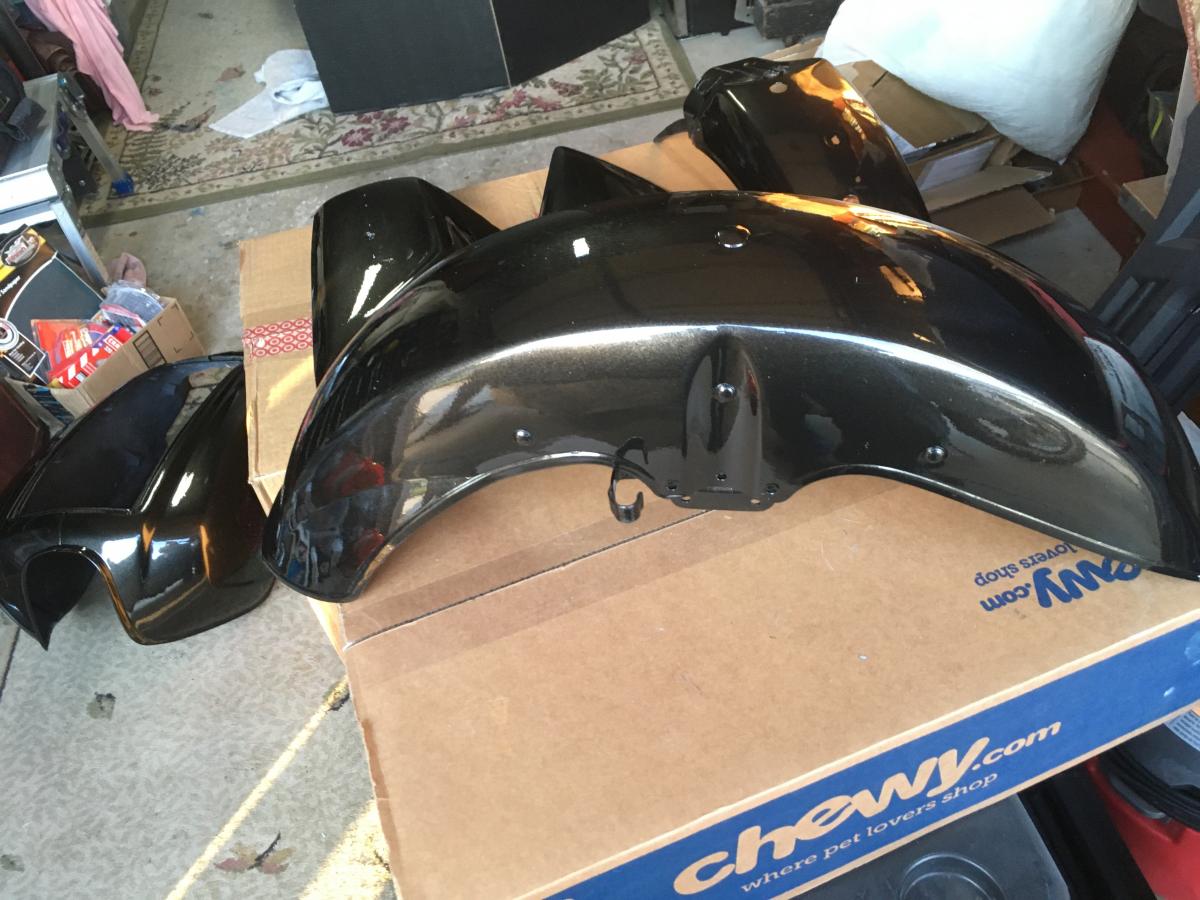
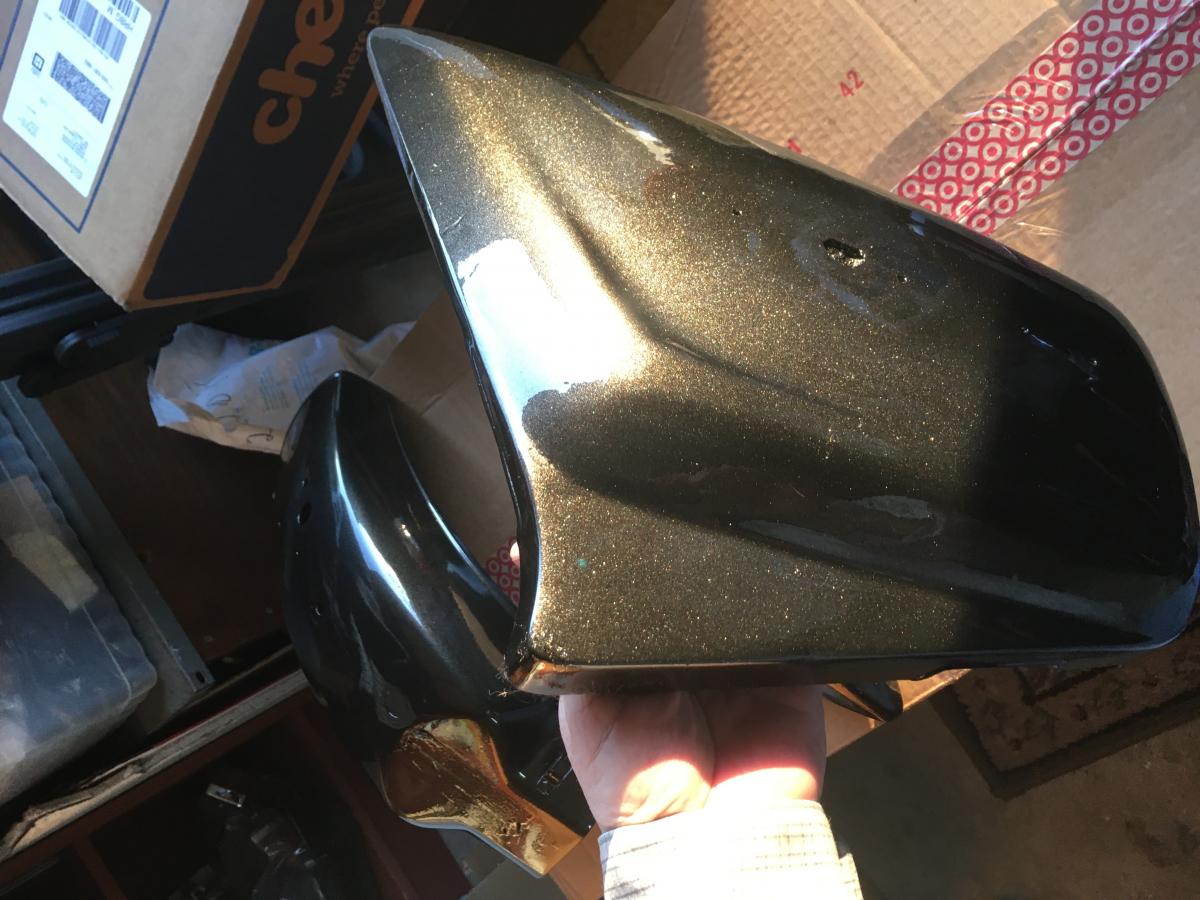
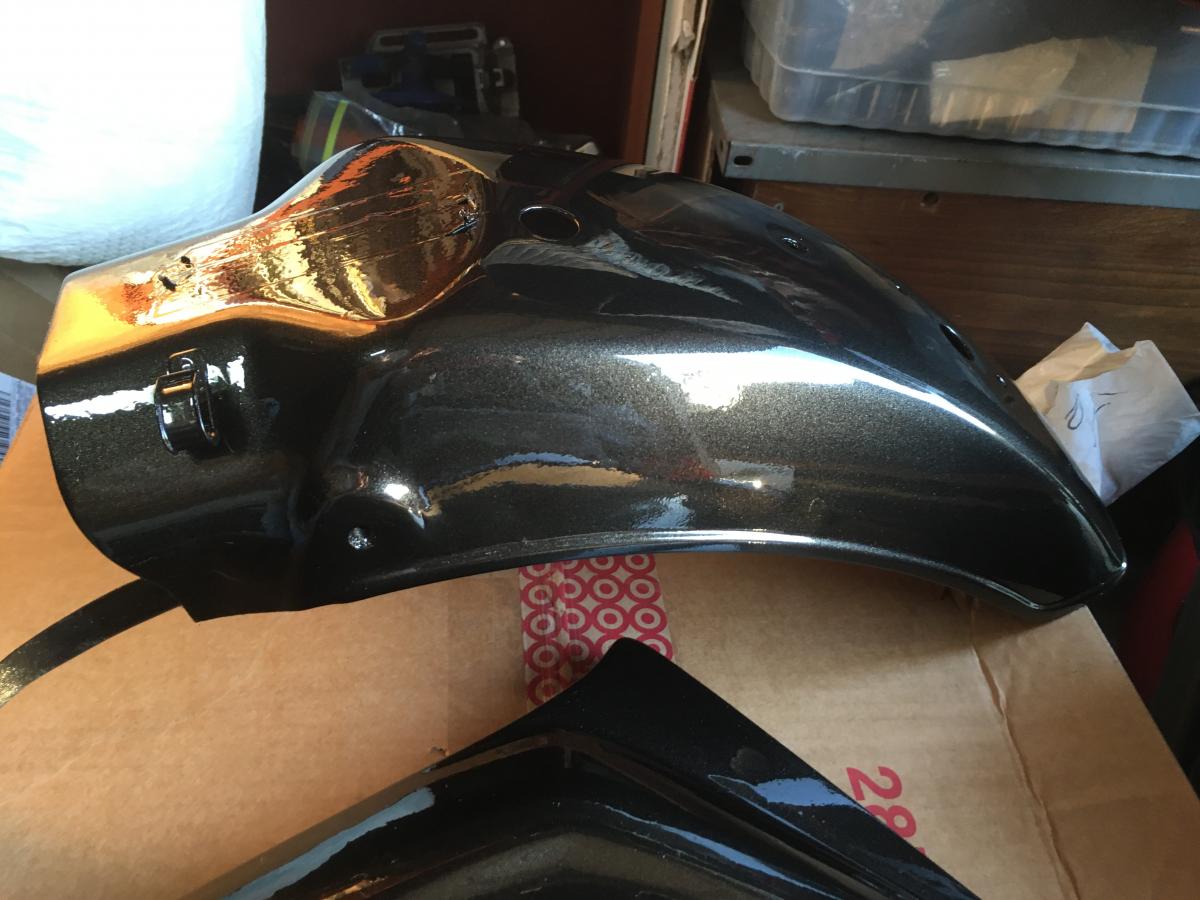
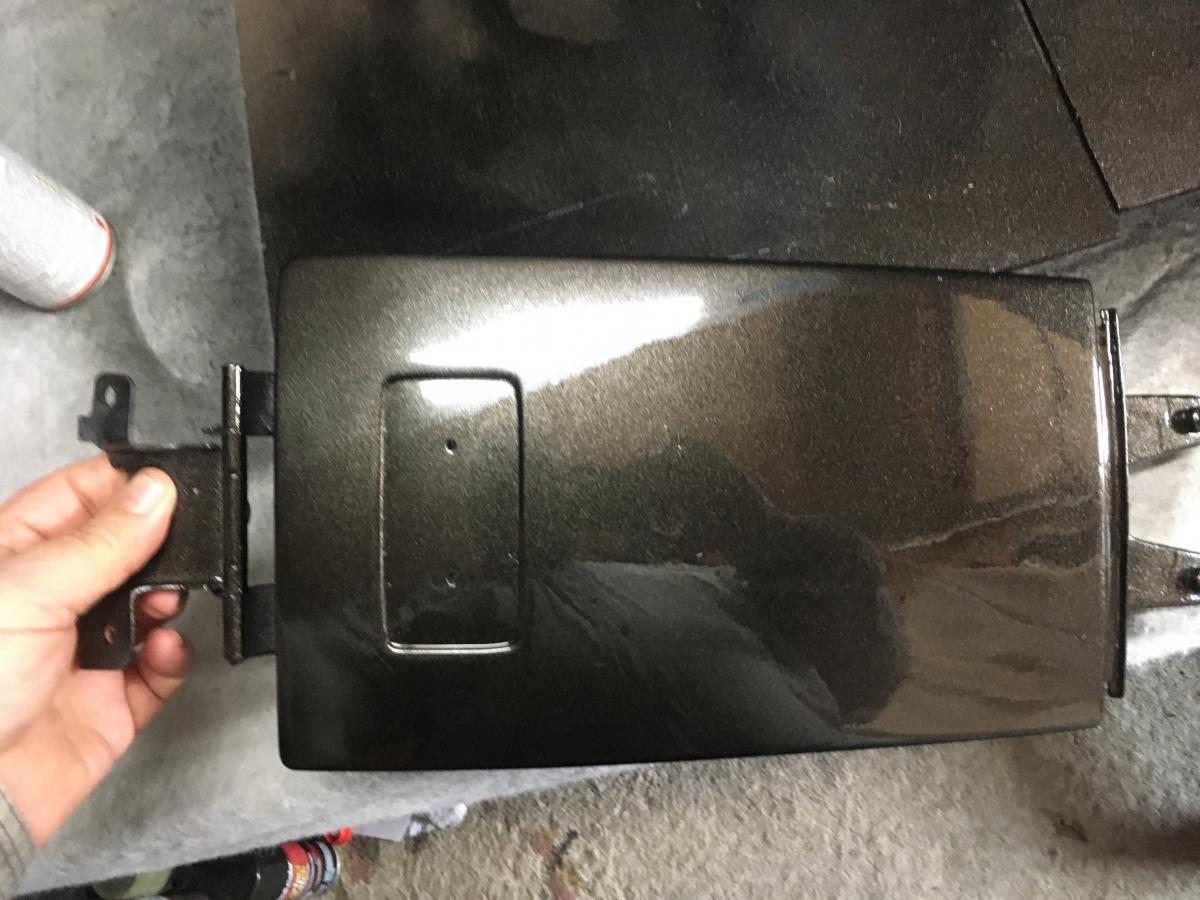
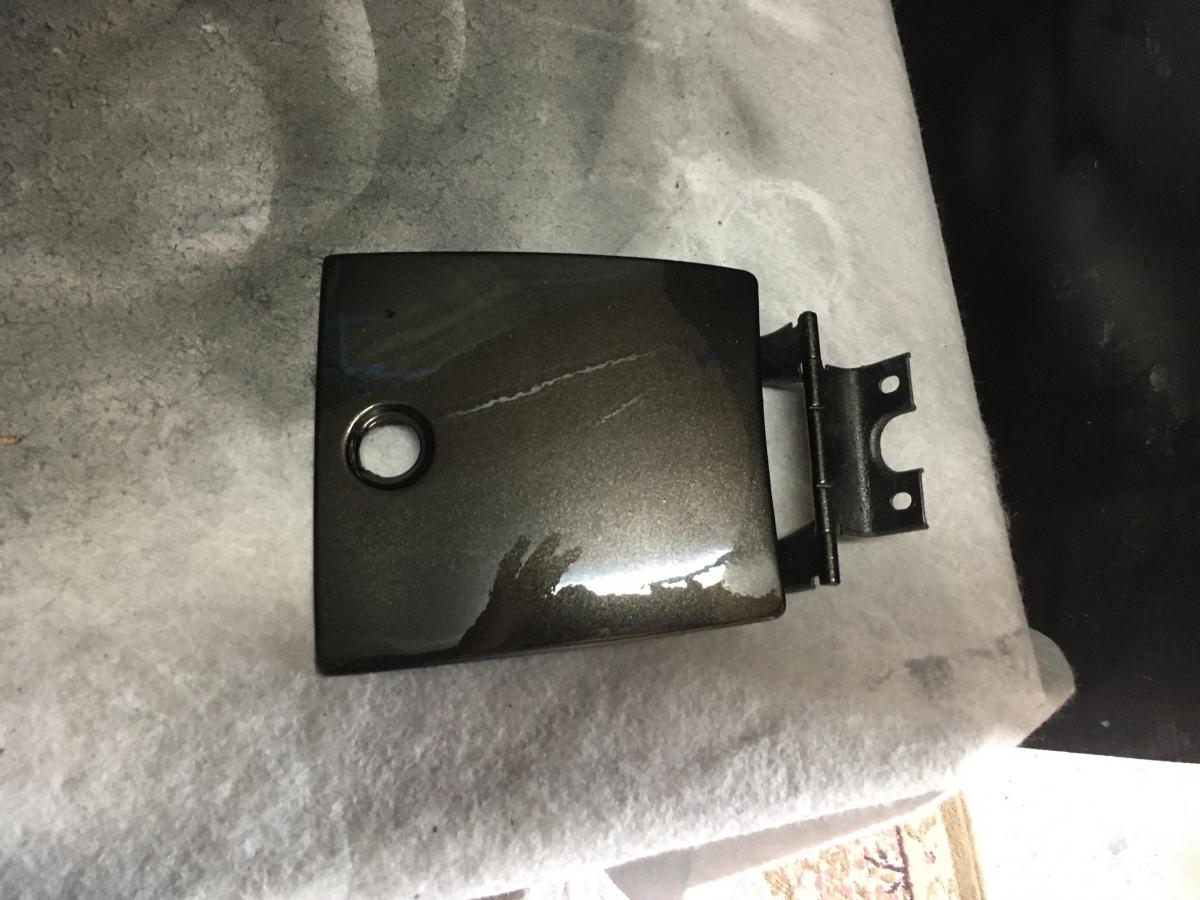
Don't be fooled by that last picture. That is not a smudge or line in the paint, that is a reflection of the ceiling.
Not too bad for a Rustoleum primer package, Duplicolor Black metallic and 2K Clear coat all rattle can. k:
k:
Don't be fooled by that last picture. That is not a smudge or line in the paint, that is a reflection of the ceiling.
Not too bad for a Rustoleum primer package, Duplicolor Black metallic and 2K Clear coat all rattle can.
k:
OP
OP
- Joined
- Dec 3, 2009
- Messages
- 10,969
- Reaction score
- 230
- Location
- Kingsport, Tennessee
- My Bike Models
- Former '82 GL1100 "The Slug"
Next step, wait at least 2-4 days for the clear to fully cure and then wet sand with 1000, 1200 and then 1500. That will get rid of any blemish or dust and any orange peel if it develops (no sign of orange peel yet). Once sanded to 1500, I will add the vinyl decals and shoot a very light coat of clear over them. Once that sets up, the final two coats of clear will be shot to seal the decals and smooth the final coats.
The last steps are cutting and polishing for a full gloss.
The last steps are cutting and polishing for a full gloss.
- Joined
- Dec 3, 2009
- Messages
- 9,232
- Reaction score
- 262
- Location
- Duncanville, Texas
- My Bike Models
- 1981 GL1100 Innerstate("The Turd")SOLD!!, 1996 GL1500 Innerstate
:good: opcorn:
opcorn:Was the Duplicolor one of their lacquers? I had fairly good results with a Duplicolor metalic lacquer, but learned DON'T WET SAND IT! Wet sanding it really smudged it up. Luckily I only did it in a fairly unnoticable spot. 2k clear really looks great over Duplicolor lacquer.
OP
OP
- Joined
- Dec 3, 2009
- Messages
- 10,969
- Reaction score
- 230
- Location
- Kingsport, Tennessee
- My Bike Models
- Former '82 GL1100 "The Slug"
Yes it is the Duplicolor and no I did not wet sand it. The only coatings that are Duplicolor are the color coats. They were covered by the 2K clear with no wet sanding in between.
OP
OP
- Joined
- Dec 3, 2009
- Messages
- 10,969
- Reaction score
- 230
- Location
- Kingsport, Tennessee
- My Bike Models
- Former '82 GL1100 "The Slug"
Re-looking at the pictures post clear coat and it sure looks like a lot of smears, smudges and blemishes, but that is not the case. All of those spots are actually reflections of items above or next to the parts. All of the parts really did turn out smooth. :wave: